
Building Email Templates
Email templates allow you to curate the perfect email for others to use when sharing any asset or module. Adding an email template to the platform allows you to craft a compelling message based on the content shared meanwhile, allowing your team to be as efficient as possible.
There are two places to save email templates within Engage:
Attached to a module
Attached to an asset
Read more below on how to set up either option.
Email Templates by Module:
Crafting email templates by module allows your reps to have access to email templates based on the module, not dependent on which assets the module contains. A good use case for this would be a workspace introduction module. If you have a module that gives your buyers an introduction to the workspace, this is an email you would want to save to the module not the asset because the asset within the module might be different or personalized per team member.
Here's how to set up Email Templates by Module:
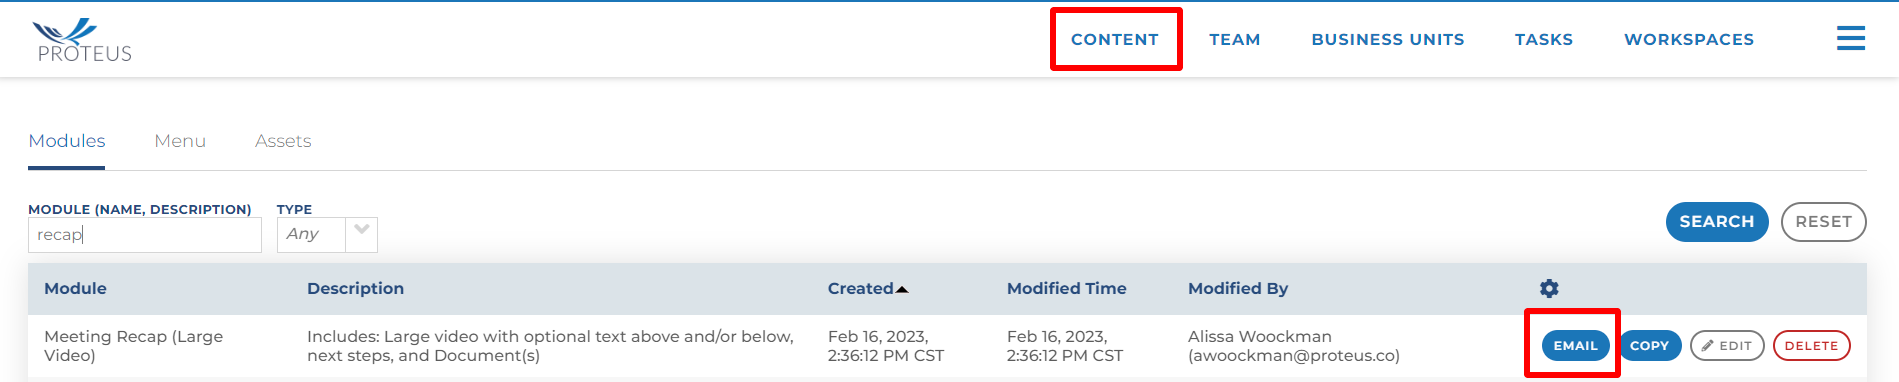
Visit the Asset Library in Engage. This is accessible by clicking the "Content" button in your menu. This button is only visible if your user has a "content manager" role.
The page will default load to the "Modules" tab.
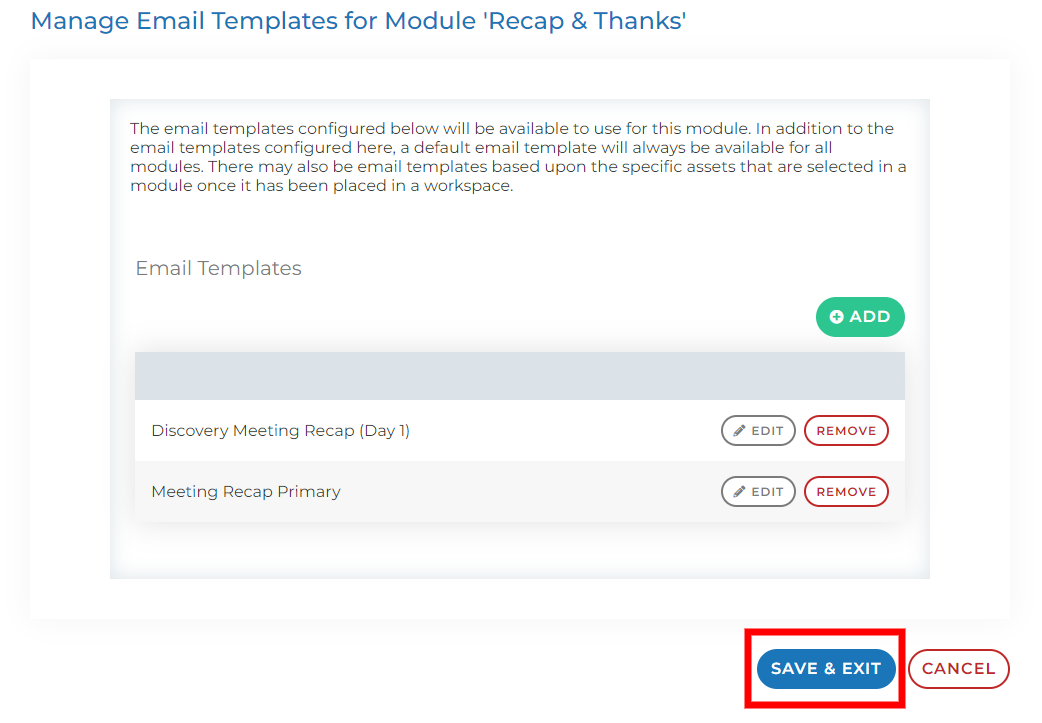
Once there you will find a list of all the modules. Find the module you want to create an email template for and click "Manage Emails" on the right
From here you will click the green Add button to create your email template:
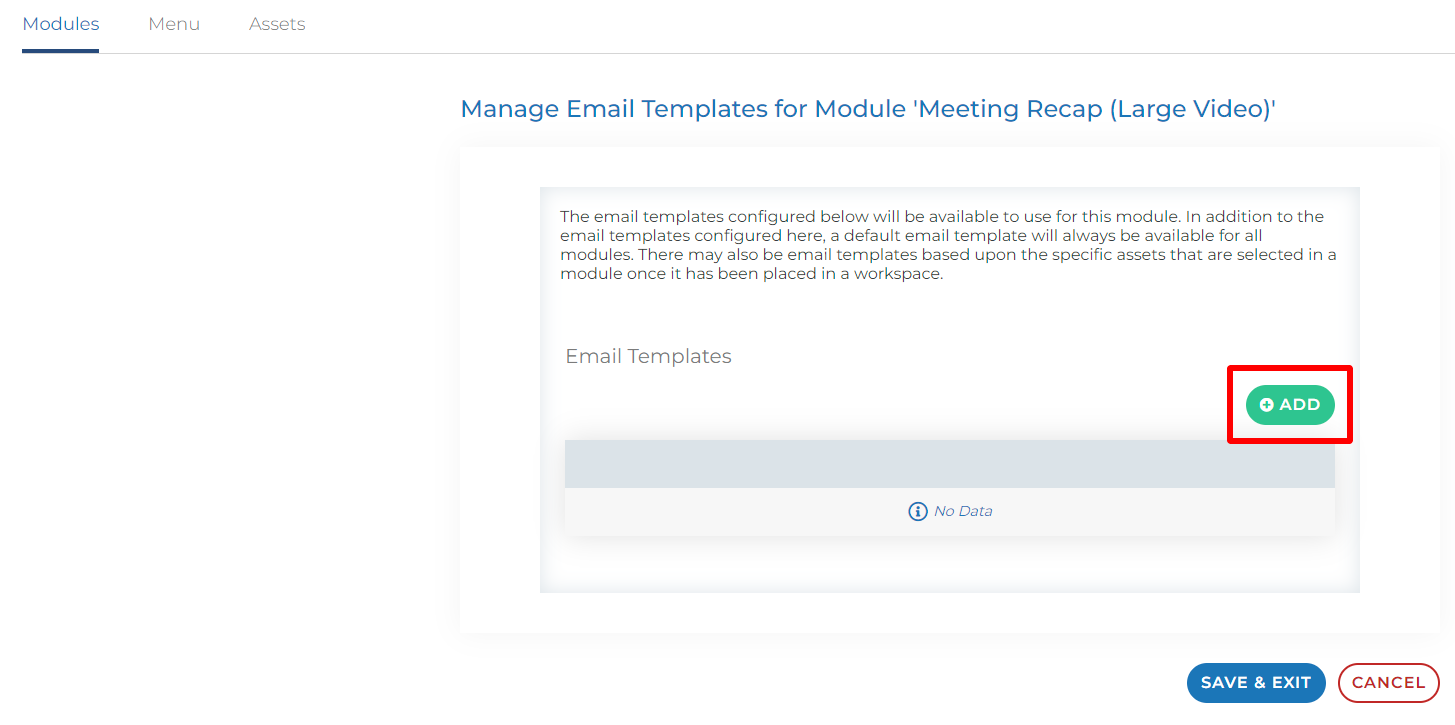
A window will open to craft your message:
Craft your Email Template
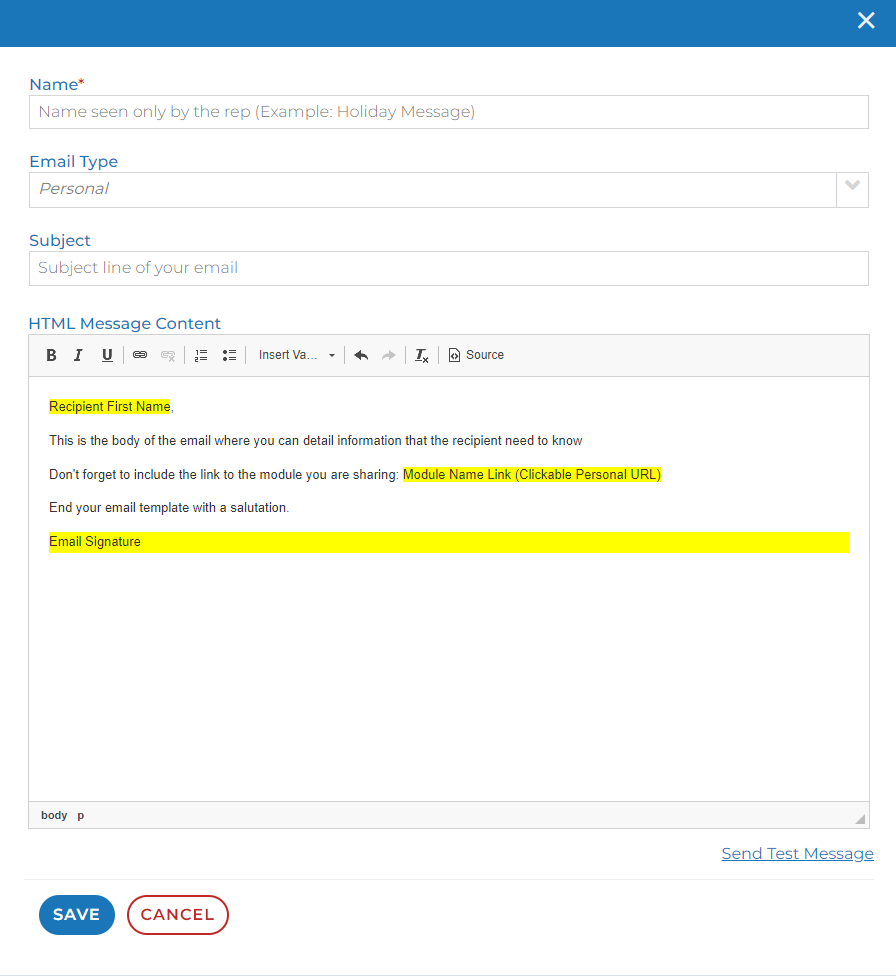
Name of the Email Template - this is what the internal team member will see and choose from a drop down list when using this template. External contacts will NOT see this email template name.
Email Type: This can be set to either "Personal" or "System." Personal email is the type you will use most often. These are intended to look like a personal, regular email you would draft from your own email client (Gmail, Outlook, ect.) and should always be sent from a real person. System emails usually include notification type alerts and design elements like what you receive when a new comment is added on a module or when someone has downloaded a document, ect. These normally come from a generic company email address and are most often used inside triggers. These have more advanced variables and you should reach out to support if you need help building.
Subject - This will be the email Subject line for the email you're crafting. Your subject line is small - but very important. Take time to think about what would gain attention. Best practices are to not include exclamation points, question marks, or too many capital letters as these subject lines tend to cause your email to land in spam filters of your recipients.
Message Content - This is where you'll craft the body of the email. Feel free to use Variable fields to personalize the message. In the menu, under the "Insert Variables" you can add dynamic fields that will populate custom text. For example "First Name". IMPORTANT NOTE: Always be sure to include the variable for "Module Name Link (Clickable Personal URL)" This is how the Personal URL (or PURL) is shared with the contact/buyers and how they will get into the workspace.
A tip – the "Module Name Link (Clickable Personal URL)" will appear as a hyperlink in your email. The text will be the title of the module. Try working that into your text. Example: Check out these resources I've included for you here: "Module Name Link (Clickable Personal URL)"You can also click the "Send Test Message" button which will send the template you have built so far to your user's email address. This will give you a clearer view of what the email will look like to the recipient.
Here's an example of what that looks like, in this case the module title is "Happy Thanksgiving!" 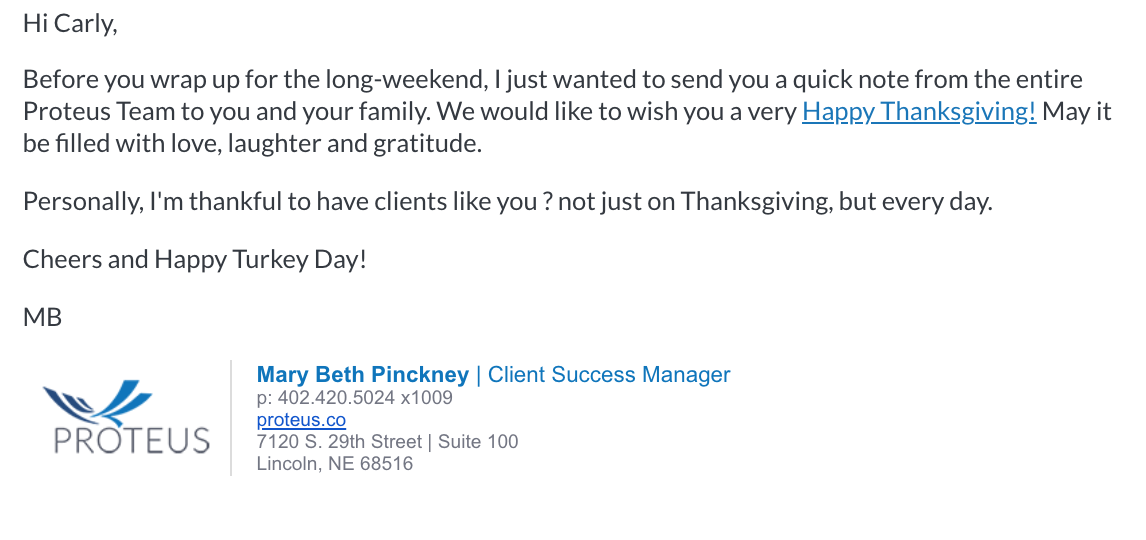
7. Click Save to save the email template and then click the "Save & Exit" button below your list of templates before exiting. If you navigate away from this page before clicking the "save & exit" button, you will lose your email templates.
Email Templates by Asset
Each module is made up of one or more assets. An asset is a piece of content (image, video, text, ect.) that is stored inside Engage and can be easily copied into the corresponding module. When an email template is saved to an asset, any time that particular asset is used in any module, the email template will be available for your team members.
For example, you create two PDF documents and upload both to the Inline Document asset type. PDF A has an email template saved to it, but PDF B does not have an email template saved. When a team member shared the Module, "Inline Document Viewer" and choses PDF A, the email template associated with it will be available for the team member to use when notifying the contacts/buyers. If instead your team member shares the Module, "Inline Document Viewer" and choses PDF B, the email template will not be available.

Here's how to set up Email Templates on an Asset:
Visit the Asset Library in Engage. This is accessible by clicking the "Content" button in your menu. This button is only visible if your user has a "content manager" role.
The page will default load to the "Modules" tab, so you will need to click the "Assets" tab at the top of the page:
Inside of an asset type, click either the green Add button on the top right to create a new asset or click the Edit button attached to one of the existing assets
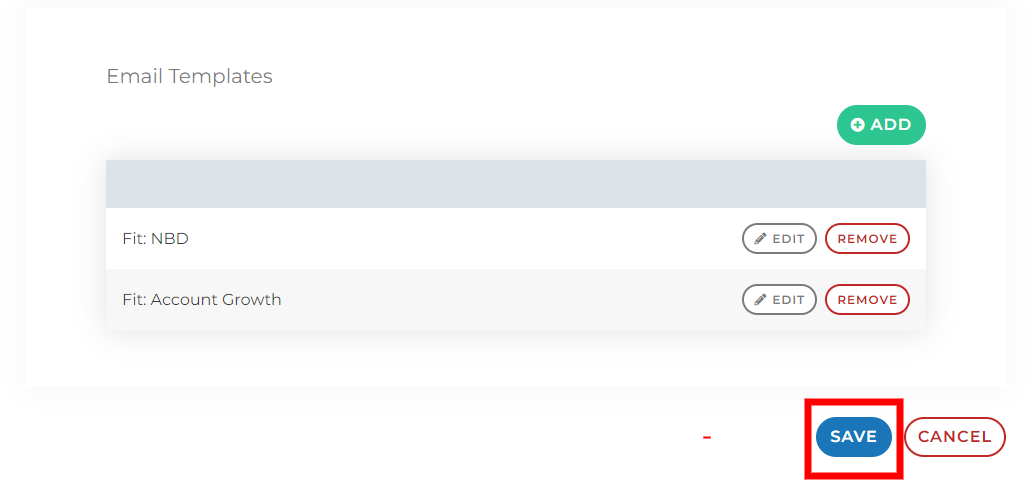
Scroll to the very bottom of the page and you will find the email templates section
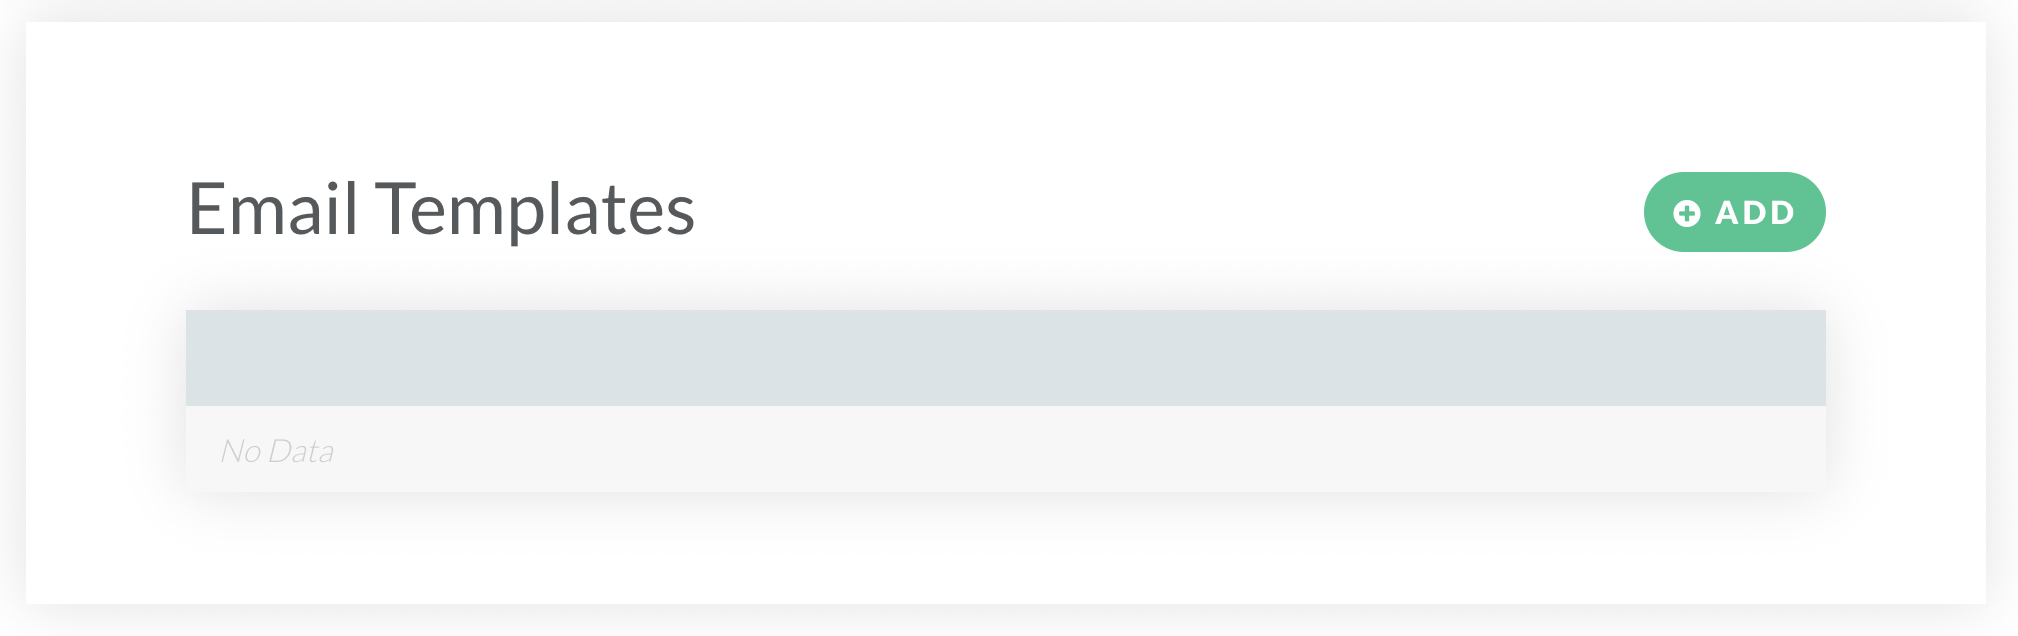
To create an email template click the green "Add" button and a window will open to craft your message:
Craft your Email Template
Enter the Name of the Email Template: This is what the rep will see and choose from a drop down list when using this asset. External contacts/buyers will NOT see this email template name.
Email Type: This can be set to either "Personal" or "System." Personal email is the type you will use most often. These are intended to look like a personal, regular email you would draft from your own email client (Gmail, Outlook, ect.) and should always be sent from a real person. System emails usually include notification type alerts and design elements like what you receive when a new comment is added on a module or when someone has downloaded a document, ect. These normally come from a generic company email address and are most often used inside triggers. These have more advanced variables and you should reach out to support if you need help building.
Enter Subject: This will be the email Subject line for the email you're crafting. Your subject line is small - but very important. Take time to think about what would gain attention.
Message Content: This is where you'll craft the body of the email. Feel free to use Variable fields to personalize the message. In the menu, under the "Insert Variables" you can add dynamic fields that will populate custom text. For example "First Name". IMPORTANT NOTE: Always be sure to include the variable for "Module Name Link (Clickable Personal URL)" This is how the Personal URL (or PURL) is shared with the contact/buyers and how they will get into the workspace.
A tip – the "Module Name Link (Clickable Personal URL)" will appear as a hyperlink in your email. The text is title of the module. Try working that into your text.You can also click the "Send Test Message" button which will send the template you have built so far to your user's email address. This will give you a clearer view of what the email will look like to the recipient.
Here's an example of what that looks like, in this case the module Headline is "Happy Thanksgiving!"
7. Click Save to save the email template and then click the "Save" button below your list of templates before exiting. If you navigate away from this page before clicking the "save" button, you will lose your email templates.
Other questions? Please click the "HELP?" button in the upper right corner of your Engage screen or contact support.