
Groups
A group is essentially a separate workspace within a workspace where you can add modules, documents, ect. that will only be visible/accessible to people within the group.
For example: If you want to share a contract with only the decision maker (contact side) and the internal financial team, you would create a group, select only these people, and share a module containing the contract.
To add a group, open a workspace and click the “create a new group” button.
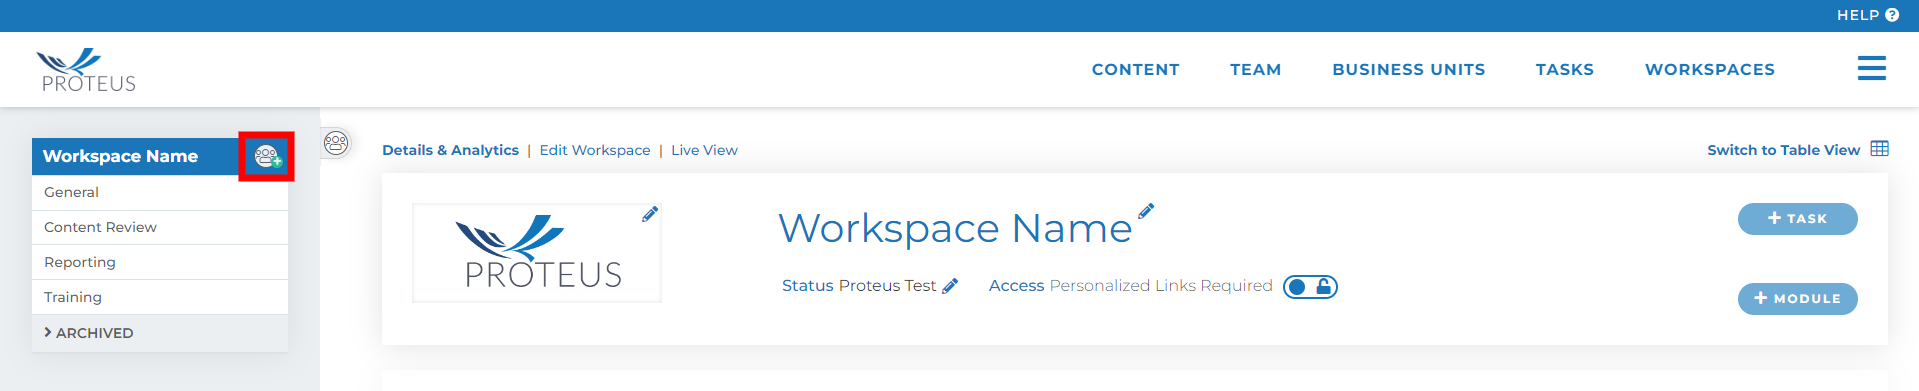
Workspace Detail View
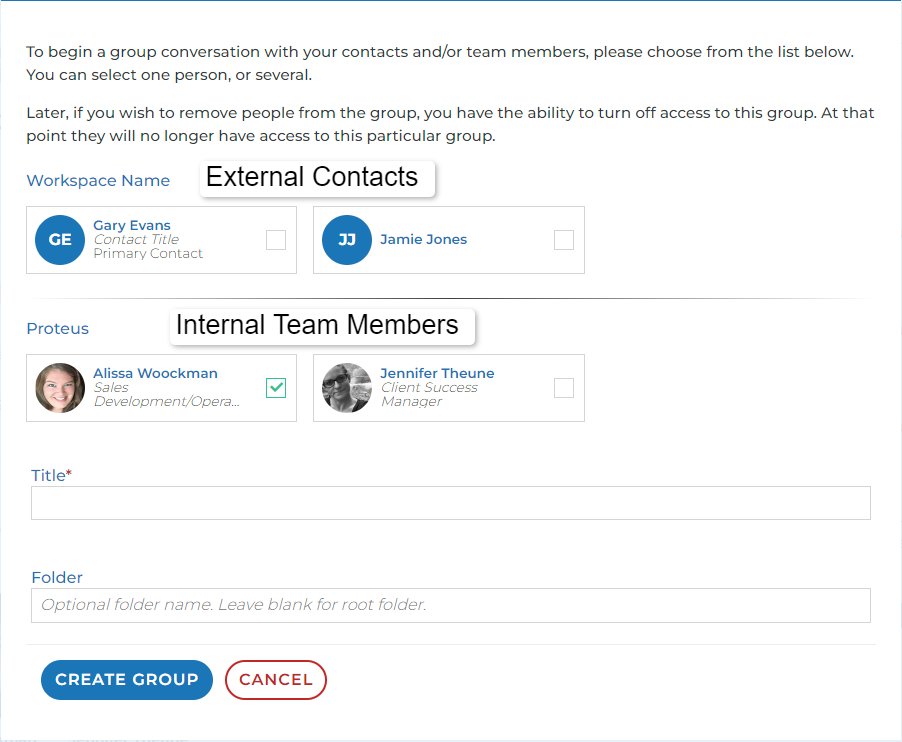
In order to finish creating your group, you need to select participants for this group. You can add both contacts and internal team members to a group. The contacts are listed at the top section while the internal team members are listed below them.
Check the check box next to any person you would like to include in the group. The user creating the group will be selected by default. Groups can be created with no participants, but we don’t recommend that for visibility reasons. Best practices are to at least have your user as a participant of any group you create.
Once you’ve decided on your participants, you need to choose a title for your group. If you choose a name that matches a group that already exists, the system will prompt you to type a new name. Be aware that spaces before, after, or between letters/words will count as part of the group name. This may come into play when configuring triggers or bulk adding modules to groups.
The people you select to be included in this group will be able to see the name of the group on the side panel above (listed in the image below). The “general” group is the main workspace and is always accessible by everyone on the workspace. Both contacts and internal team members have the ability to create a group at any time.
Any person in this group will also have the ability to add or remove people from the group. In order to do so, open the group by clicking the group name from your side panel. Once open, you’ll see a banner containing the title of the group and a button - “edit title or participants”
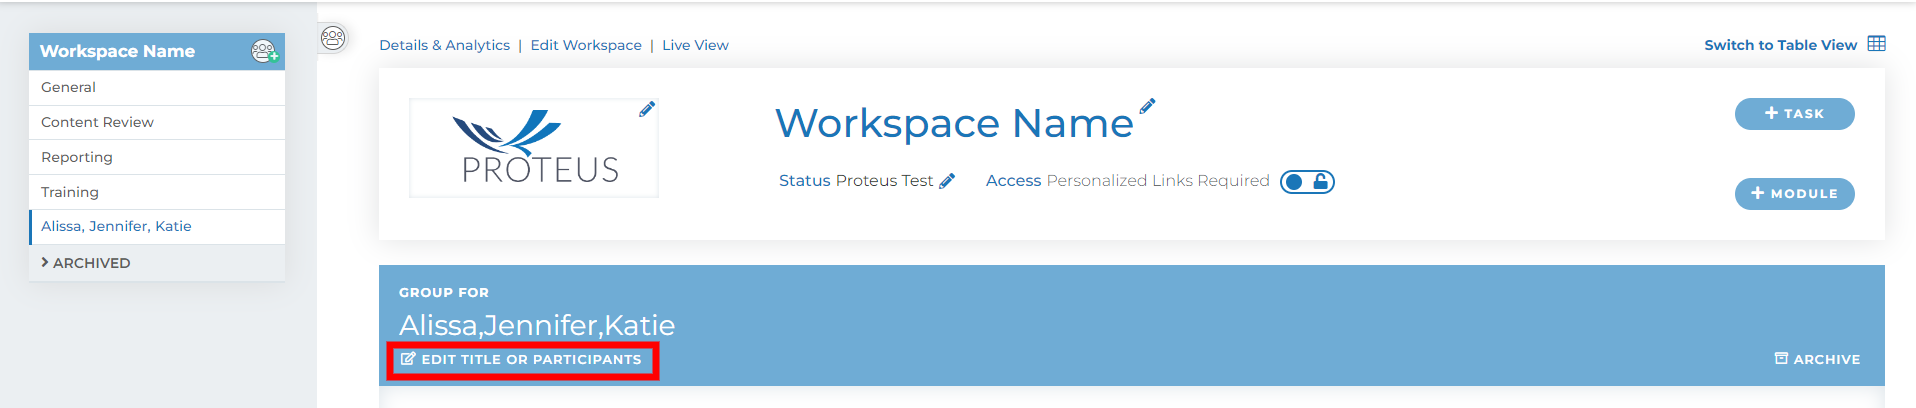
Group detail view
Clicking this button will open the same window pictured when creating your group. You may deselect or select any person as well as edit the name of the group. Once you’ve made your changes, click “save group”
People that have been removed from the group will no longer see this group listed in their side panel and will be redirected to the general group (main workspace) when trying to access any emails/links to the group they have been removed from.
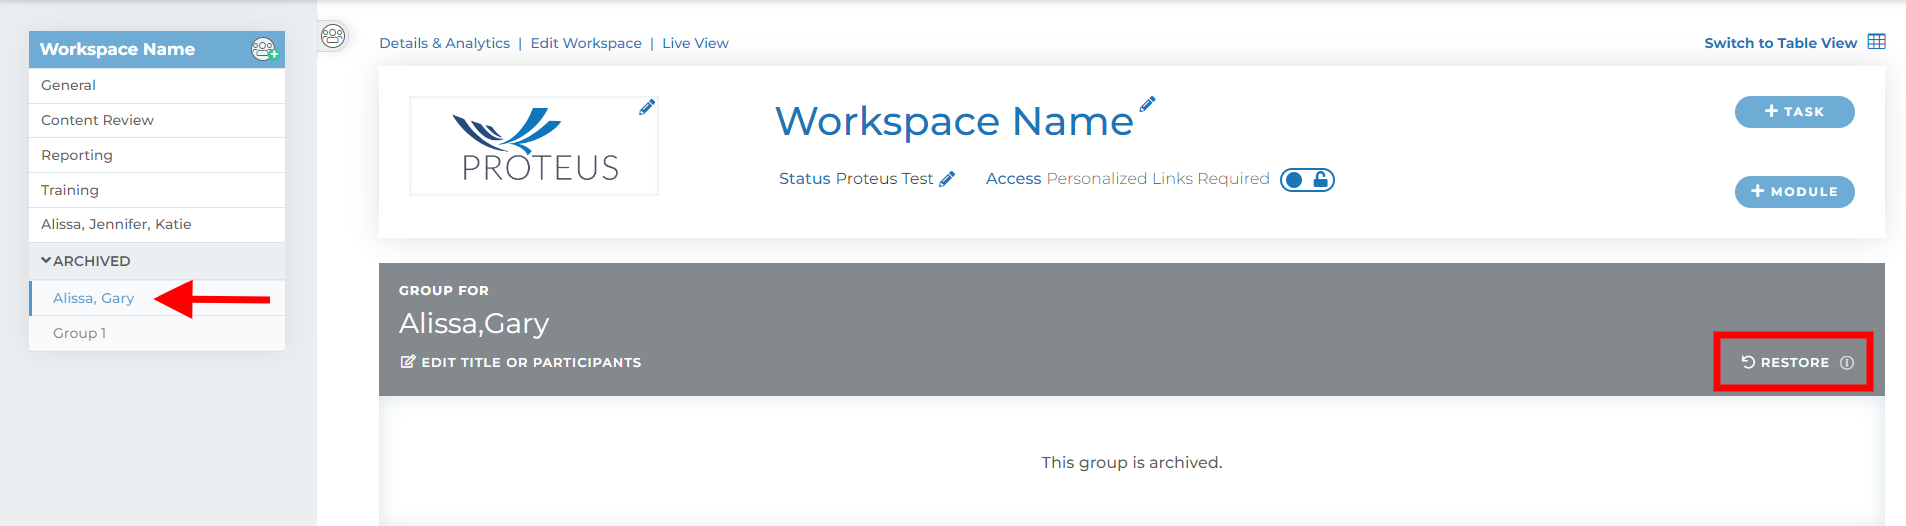
Any participant of a group also has the ability to “archive” a group (button shown in above photo). Once archived, a group will no longer be visible to any of the group’s participants. However, internal team members will have access to any archived groups located at the bottom of the side panel (see “archived” folder in the photo below).
Once a group has been archived, it can be “restored”. This will cause the group to reappear in the side panel and once again be available to all participants within the group. A group that has been restored will again display all content (modules, comments, ect.) that were inside the group before being archived. Contacts have the ability to archive groups but only internal team members can restore groups.
Any Questions? Please click the "HELP?" button in the upper right corner of your Engage screen or contact support.