
Uploading & Cropping images
There are many modules that utilize images to help enhance your content inside a workspace. This article will help you understand what images work best inside our modules and how to make them look the best.
Recommended Image Size
Each of our modules that have an image option contain suggested dimensions. This is a size recommendation (represented in pixels) based on how much space this image is allotted inside the specific module.
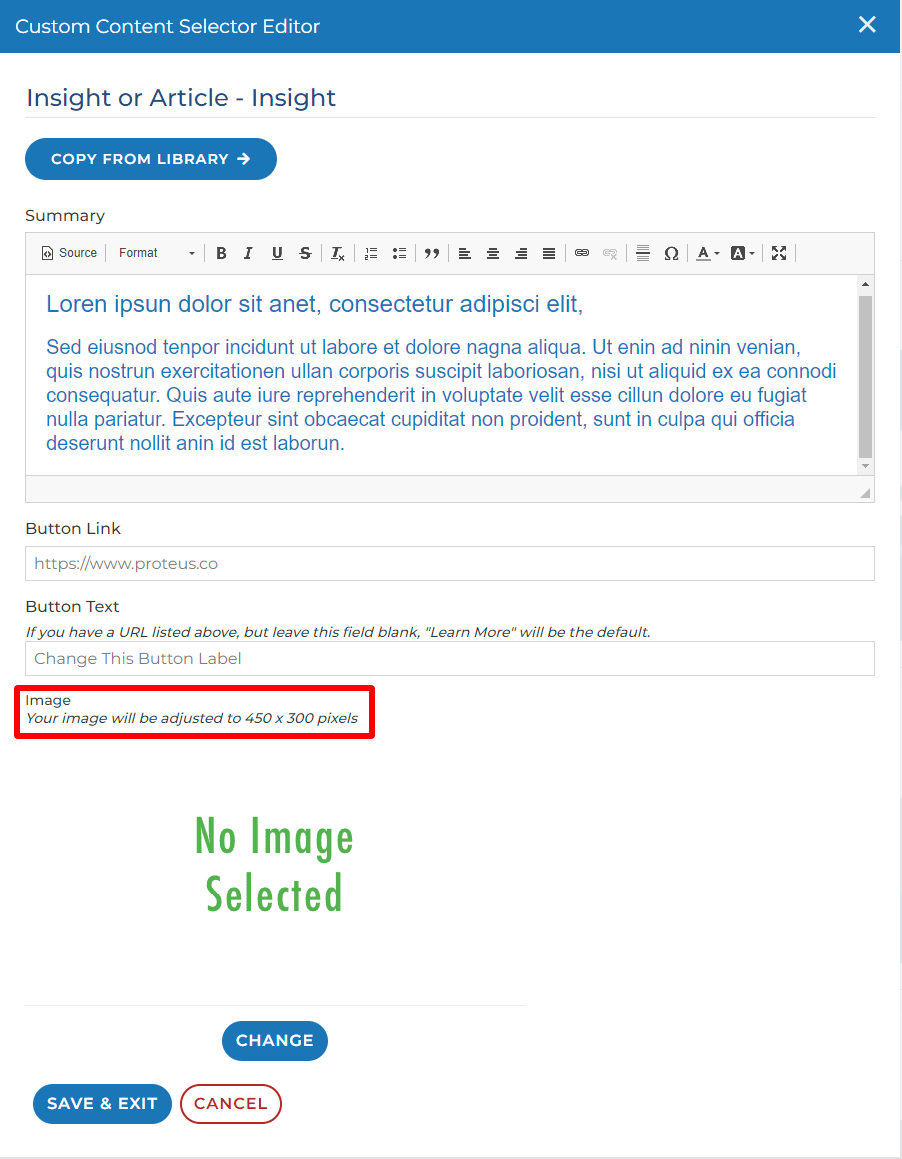
For example: Our insight module allows for a 450 (height) by 300 (width) image.
If you are not sure what the dimensions of your image are, there is an easy way to tell.
Check size of your image
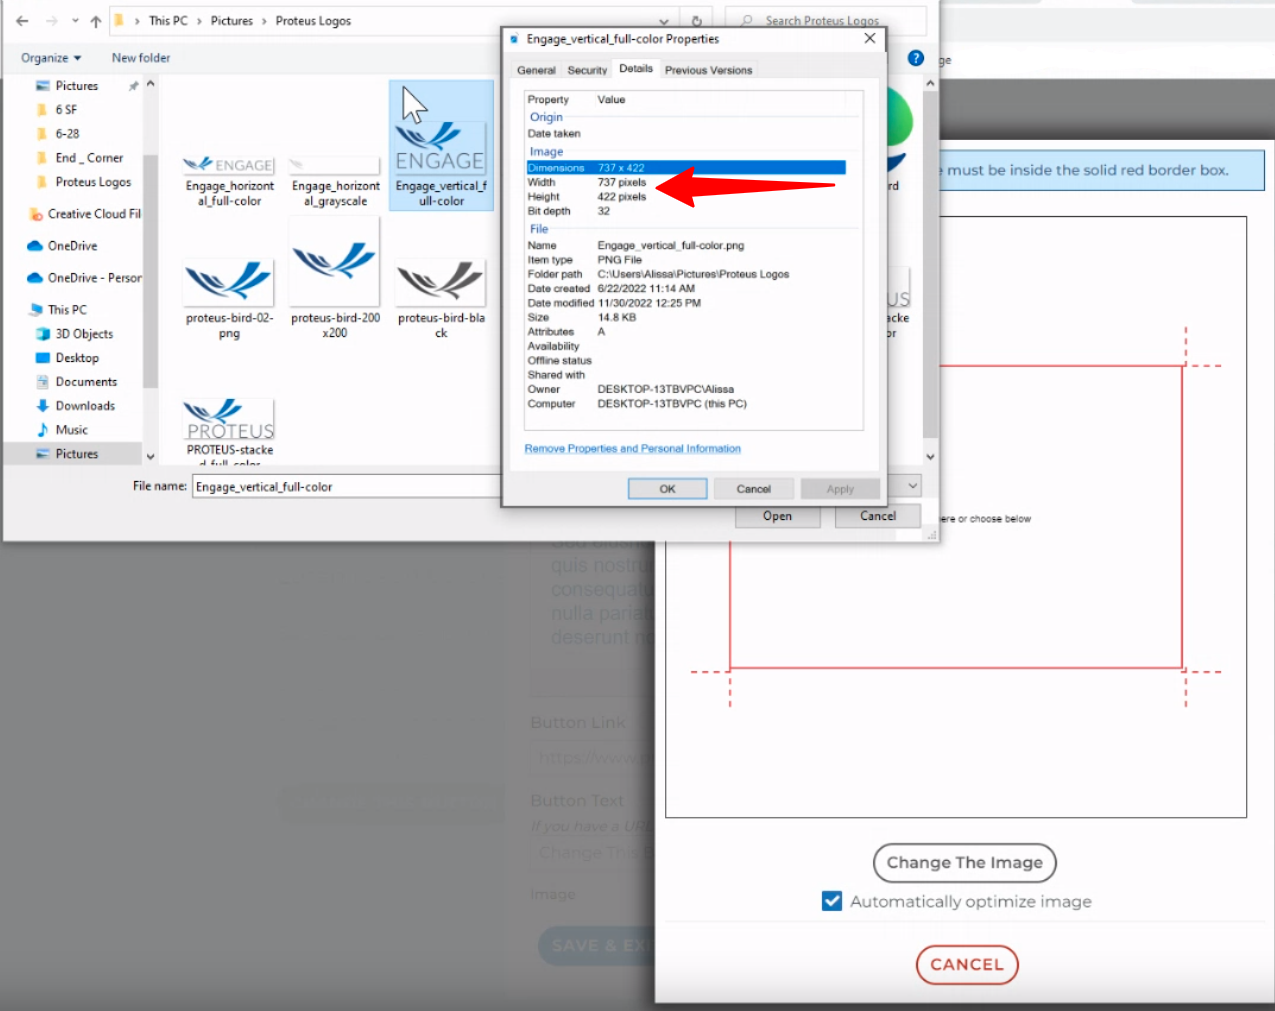
Open the location of your image on your computer
Right click the image and select “properties” from the list of options
Click the “Details” tab of the properties window
There is an “image” section which tells you the height and width of your image in pixels
If you wish to upload an image, keep in mind that if the dimensions of your original image are smaller than the recommended dimensions, you have two options:
The image will not take up the entire space that the image is allotted. This means the image will appear smaller than the allotted space, but the image will still maintain its integrity.

You can stretch the image to make the image fit across the entire space. However, doing so will more than likely affect the image quality (for example your image may appear blurry or grainy). It can be a challenge to enlarge the image size without losing image quality.
If after resizing, your image does not appear to your liking, we suggest using a different, larger image.
If your image is larger than the recommended dimensions, Engage will resize your image to be the size of the allotted space.
Once you find an image you like, you will need to upload this image into the module by clicking the “change” button. Doing so will open our image cropper.
Clicking the “change the image” button will open up the file system of your computer and allow you to choose a photo.
Once you have selected the photo from your computer, click the open button
This will cause your image to appear inside the image cropper. If your image width or height is larger than the dimensions of the box, Engage will automatically resize the image to fit inside the box while still keeping the aspect ratio of your image.
Aspect Ratio is the ratio of width to height of your image. For example:
Square image (length and width are the same size)
Rectangular image (width is larger than length)
Horizontal image (length is larger than width)
For example, if we are asking for a square image, and you upload a horizontal image, you will need to crop that image in order for it to fit inside the square dimensions. This means you will lose some of that horizontal image.
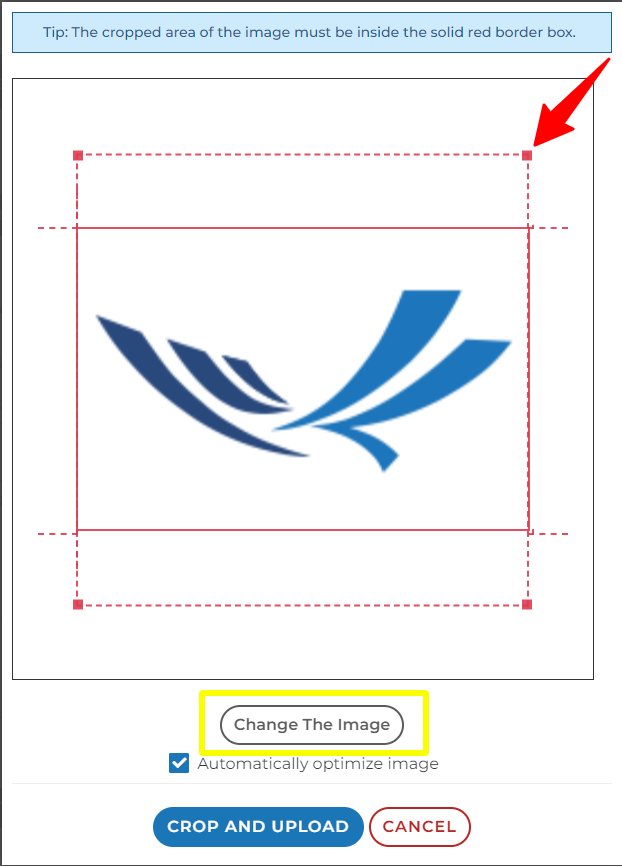
Drag the corners of your image to resize it so that it fits inside the cropped area to your liking. You can also move your image existing by clicking and dragging up, down, left, and right to crop the part you want inside the red borders.
As noted in the image above, if any part of your image stretches outside the red borders, that portion of the image will not be included in the module.
Click crop & upload button
Once saved, your original image has been resized to how it was cropped. As a result, if you decide that you want to crop your image differently, you will need to reupload the image again and not edit what is currently saved as the logo.
Image Types
SVG: Vector image format. Useful for deal for user interface elements, icons, diagrams, etc., that must be drawn accurately at different sizes. Better for small images or images needing sharp lines.
JPEG: Most universal. Useful for large, high resolution, or colorful images to help compress and maintain quality.
PNG: These files are pixel-based and cannot be scaled up without pixilation. Meaning resizing these will surly result in loosing image integrity. Useful for logos, icons and simple illustrations where transparency (removing white backgrounds) is needed.
GIF: This is an animated image. Some of our modules allow for this type, but it must be selected as the file type. Useful for animated graphics where few colors are needed.
Understanding Thumbnails
There are some types of modules where you are given a thumbnail option in addition to your original image. A thumbnail is just a smaller version (normally square version) of your original image. We use this square image in spaces where your original image won’t fit in the allotted space. For example, where several images are gathered together or next to each other.
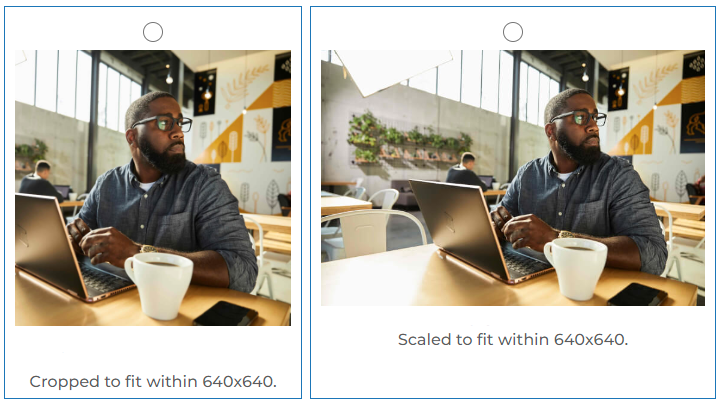
Creating a thumbnail gives you the opportunity to choose what portion of the original image displays.
As you can see in this screenshot, is it more important to highlight the subject of the photo of the environment as a whole? This selection can be important when presenting some images. A thumbnail lets you decide what portion of your image is most important.
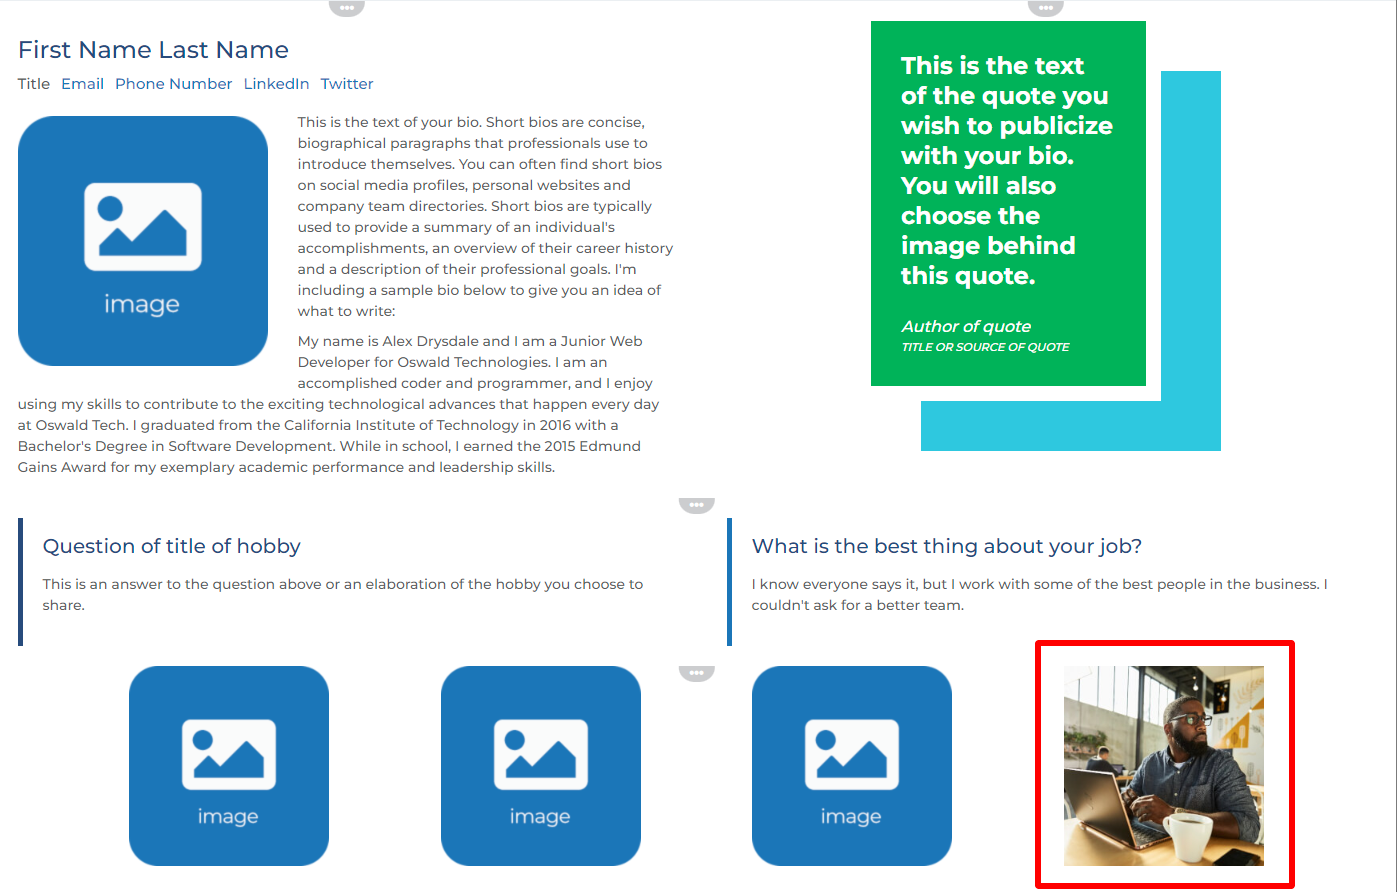
Here is what a thumbnail image might look like in the context of a user’s bio module
When a user clicks the thumbnail image, the original image will open to it’s full size.
Thumbnails are not required. If you don’t provide one, Engage will crop your image in order to fit the constraints of the allotted space inside the module.
Questions? Please click the "HELP?" button in the upper right corner of your Engage screen or contact support.