
Salesforce: How to add/access an Engage workspace from Salesforce
Engage offers a seamless connection with Salesforce to make life easier for reps and increase efficiency all around. This integration not only records the activities reps and contacts take in the Engage platform, but allows reps to create workspaces directly from inside of Salesforce, so that all pertinent information is automatically brought over without any double-entry. Workspaces can be created from either an Account page or an Opportunity page. Information syncs back and forth automatically between Salesforce and Engage. Standard fields kept in sync include:
- Contact - Name, email, phone, and any configured contact labels (picklist value)
- Stage of the opportunity
- Account or Opportunity owner is automatically pulled into the workspace as Primary Rep (unless your Company has a custom Primary Rep configuration)
- Other additional customized fields from Salesforce can also be integrated with the workspace as needed
After your integration is completed (see steps here: Salesforce: Integration Step By Step Instructions) creating a workspace directly from Salesforce is simple. See the instructions below.
Step-by-step guide
To create a single workspace from Salesforce:
- Open the Account or Opportunity you wish to create a workspace from in Salesforce.
- Click on the "Add Workspace" button, typically found in the upper right hand corner of the page (see screenshot). This will create the workspace in Engage based on the settings you have already created and pull in the contacts and team members you have specified in settings.

If the Account or Opportunity you are viewing already has a workspace created, the button will look like this instead:
- Once a workspace is created through Salesforce it will remain linked to the Salesforce Opportunity or Account.
- Contact information will automatically be update on both sources if changes are made on either.
- However, depending on the integration configuration with your company's Salesforce that whether it is one-time sync or continuous sync between the Salesforce Opportunity or Account and the Engage workspace after the initial Engage workspace creation.
- All activities and emails sent through the workspace will also be logged as activities for that Salesforce Account or Opportunity.
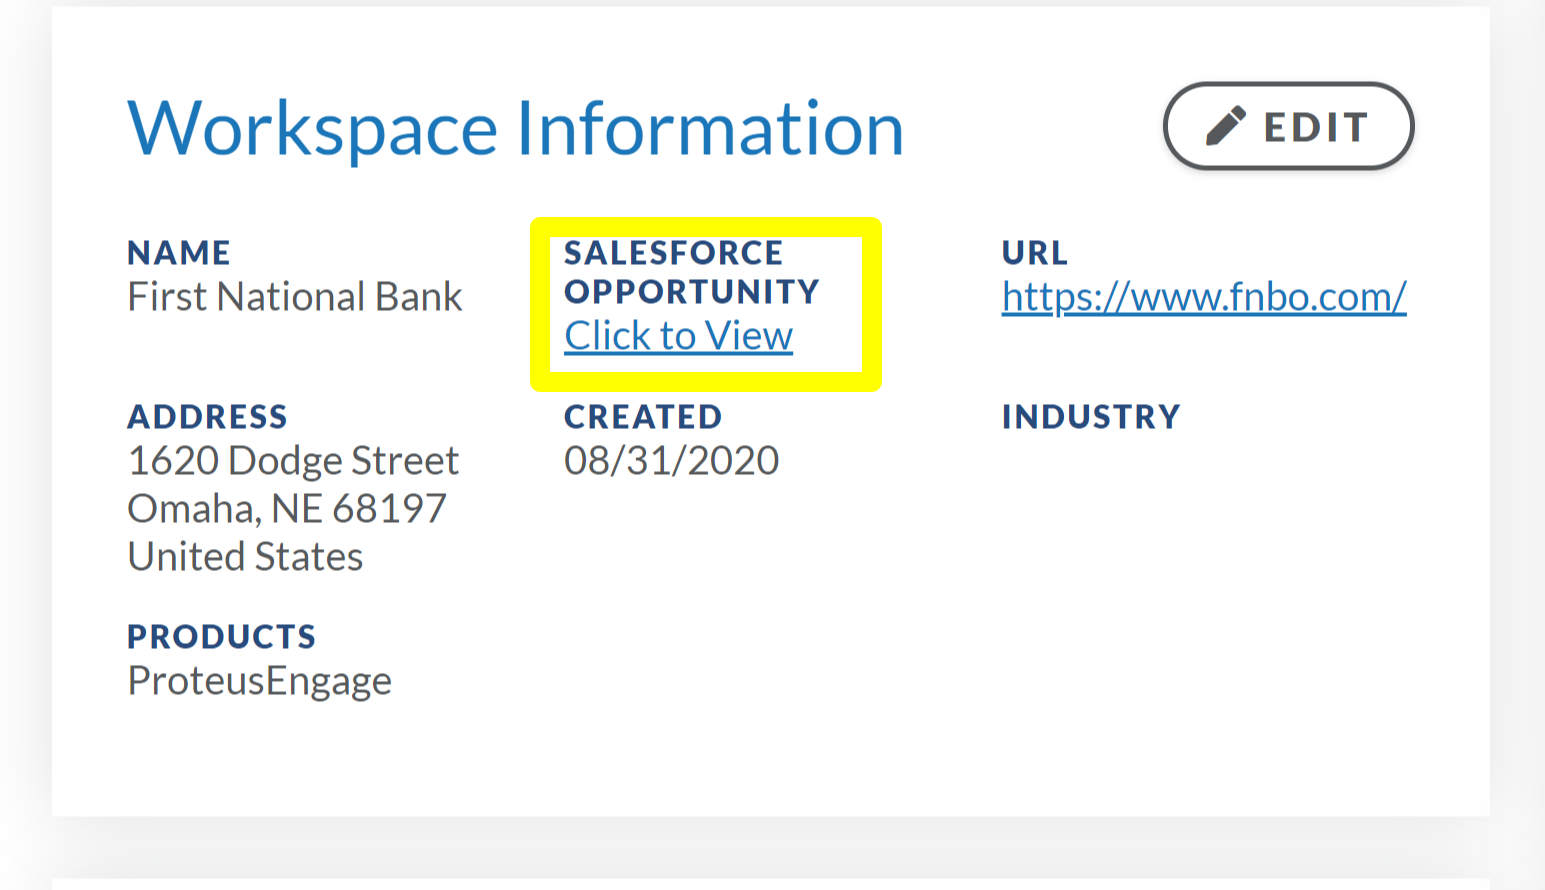
- If a workspace is connected to Salesforce, you will be able to reference back to the Account or Opportunity from the workspace details page, as seen below.
Things to consider:
Creating a workspace for an Opportunity within an Account will not change the button on the Account itself to show that a workspace was created. Best practice is to choose whether you will create workspaces off Accounts or Opportunities within Accounts, and not to do both, as duplicates could occur.
Automation can be created based on information from Salesforce, for example:
- Posting modules to the workspace based on the Account Owner in Salesforce
- Sending customized emails based on stage changes in Salesforce
- Sending notifications through Engage based on the contacts in Salesforce
Work with your Client Success Manager to customize automations and connected content with your integration.
Questions? Please click the "HELP?" button in the upper right corner of your Engage screen or contact support.