
All about Modules
Inside an Engage workspace, we use what we call Modules to showcase different content pieces.
Inside your Engage site, we have added a set of default modules. These are our standard modules that are used to display some of the most popular content our clients want to showcase on their workspaces. This article covers which of your standard modules are best to use for some of the most popular content pieces our clients share on their workspaces.
Things to Showcase:
1. Share Files:
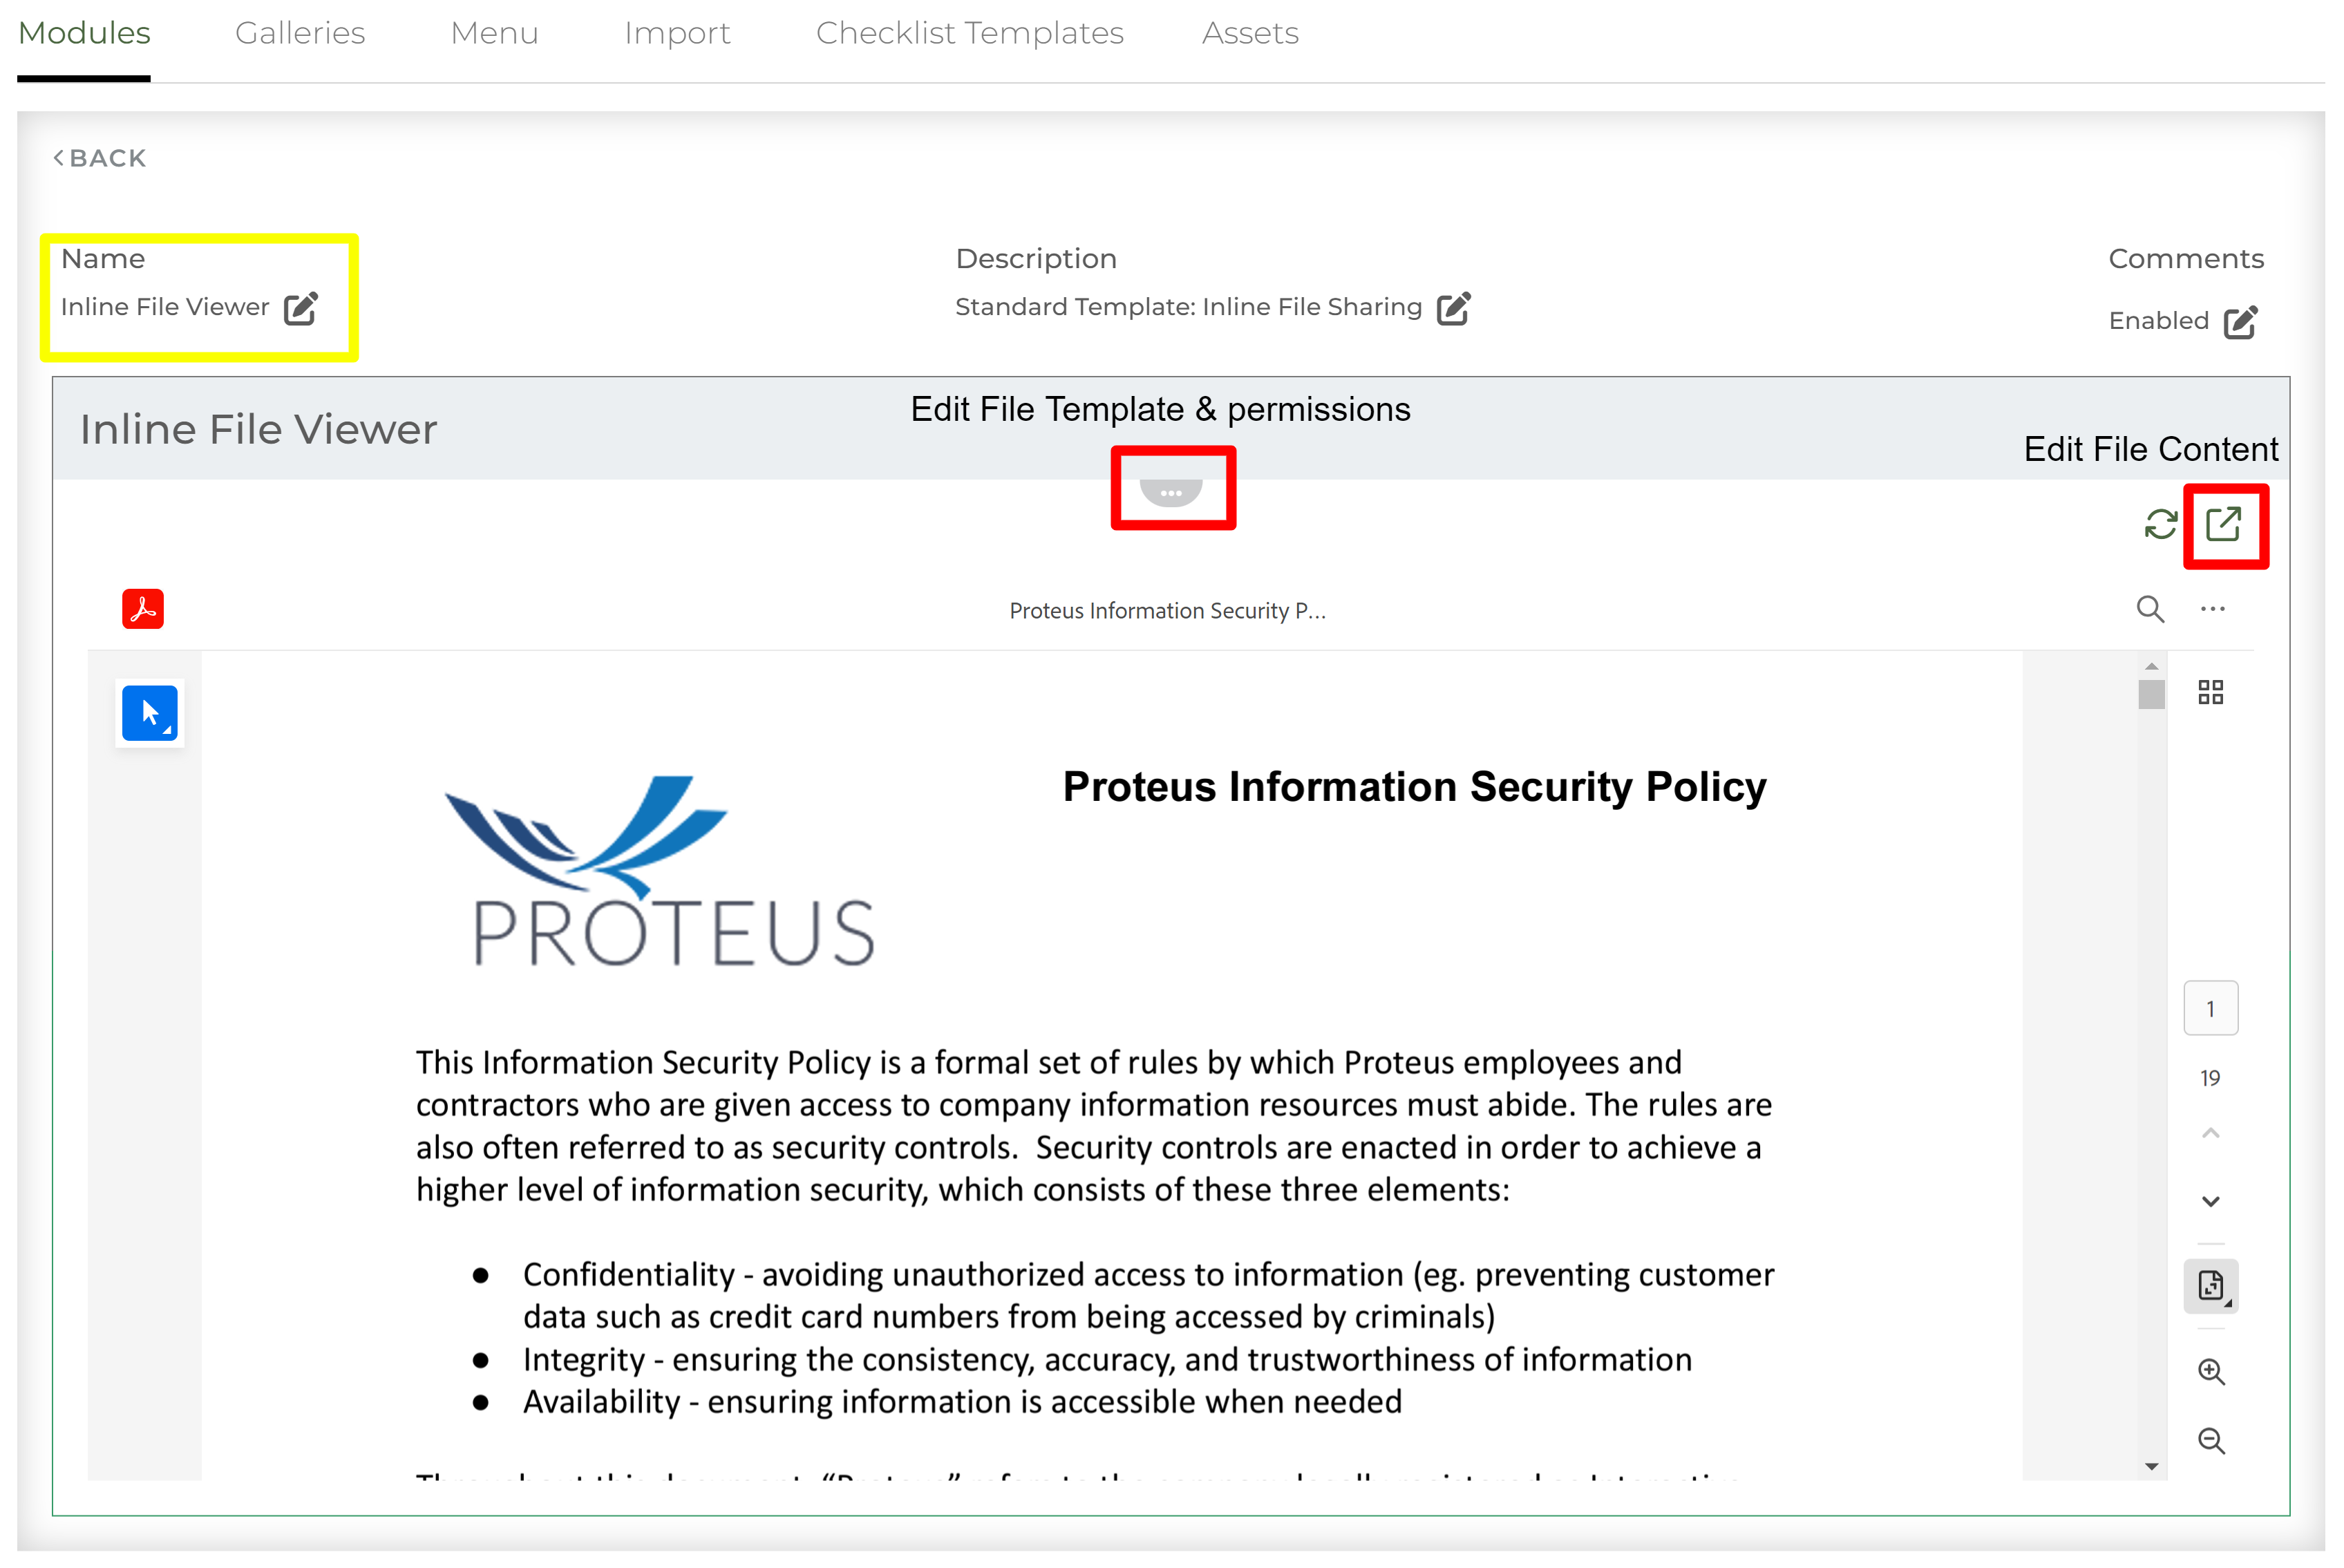
The two modules you’ll want to use to share files are Inline File Viewer or Multi File Sharing.
Inline File Viewer utilizes one file and displays the full file inside the workspace.
Multi File Sharing allows you to share multiple files as well as organize them into folders
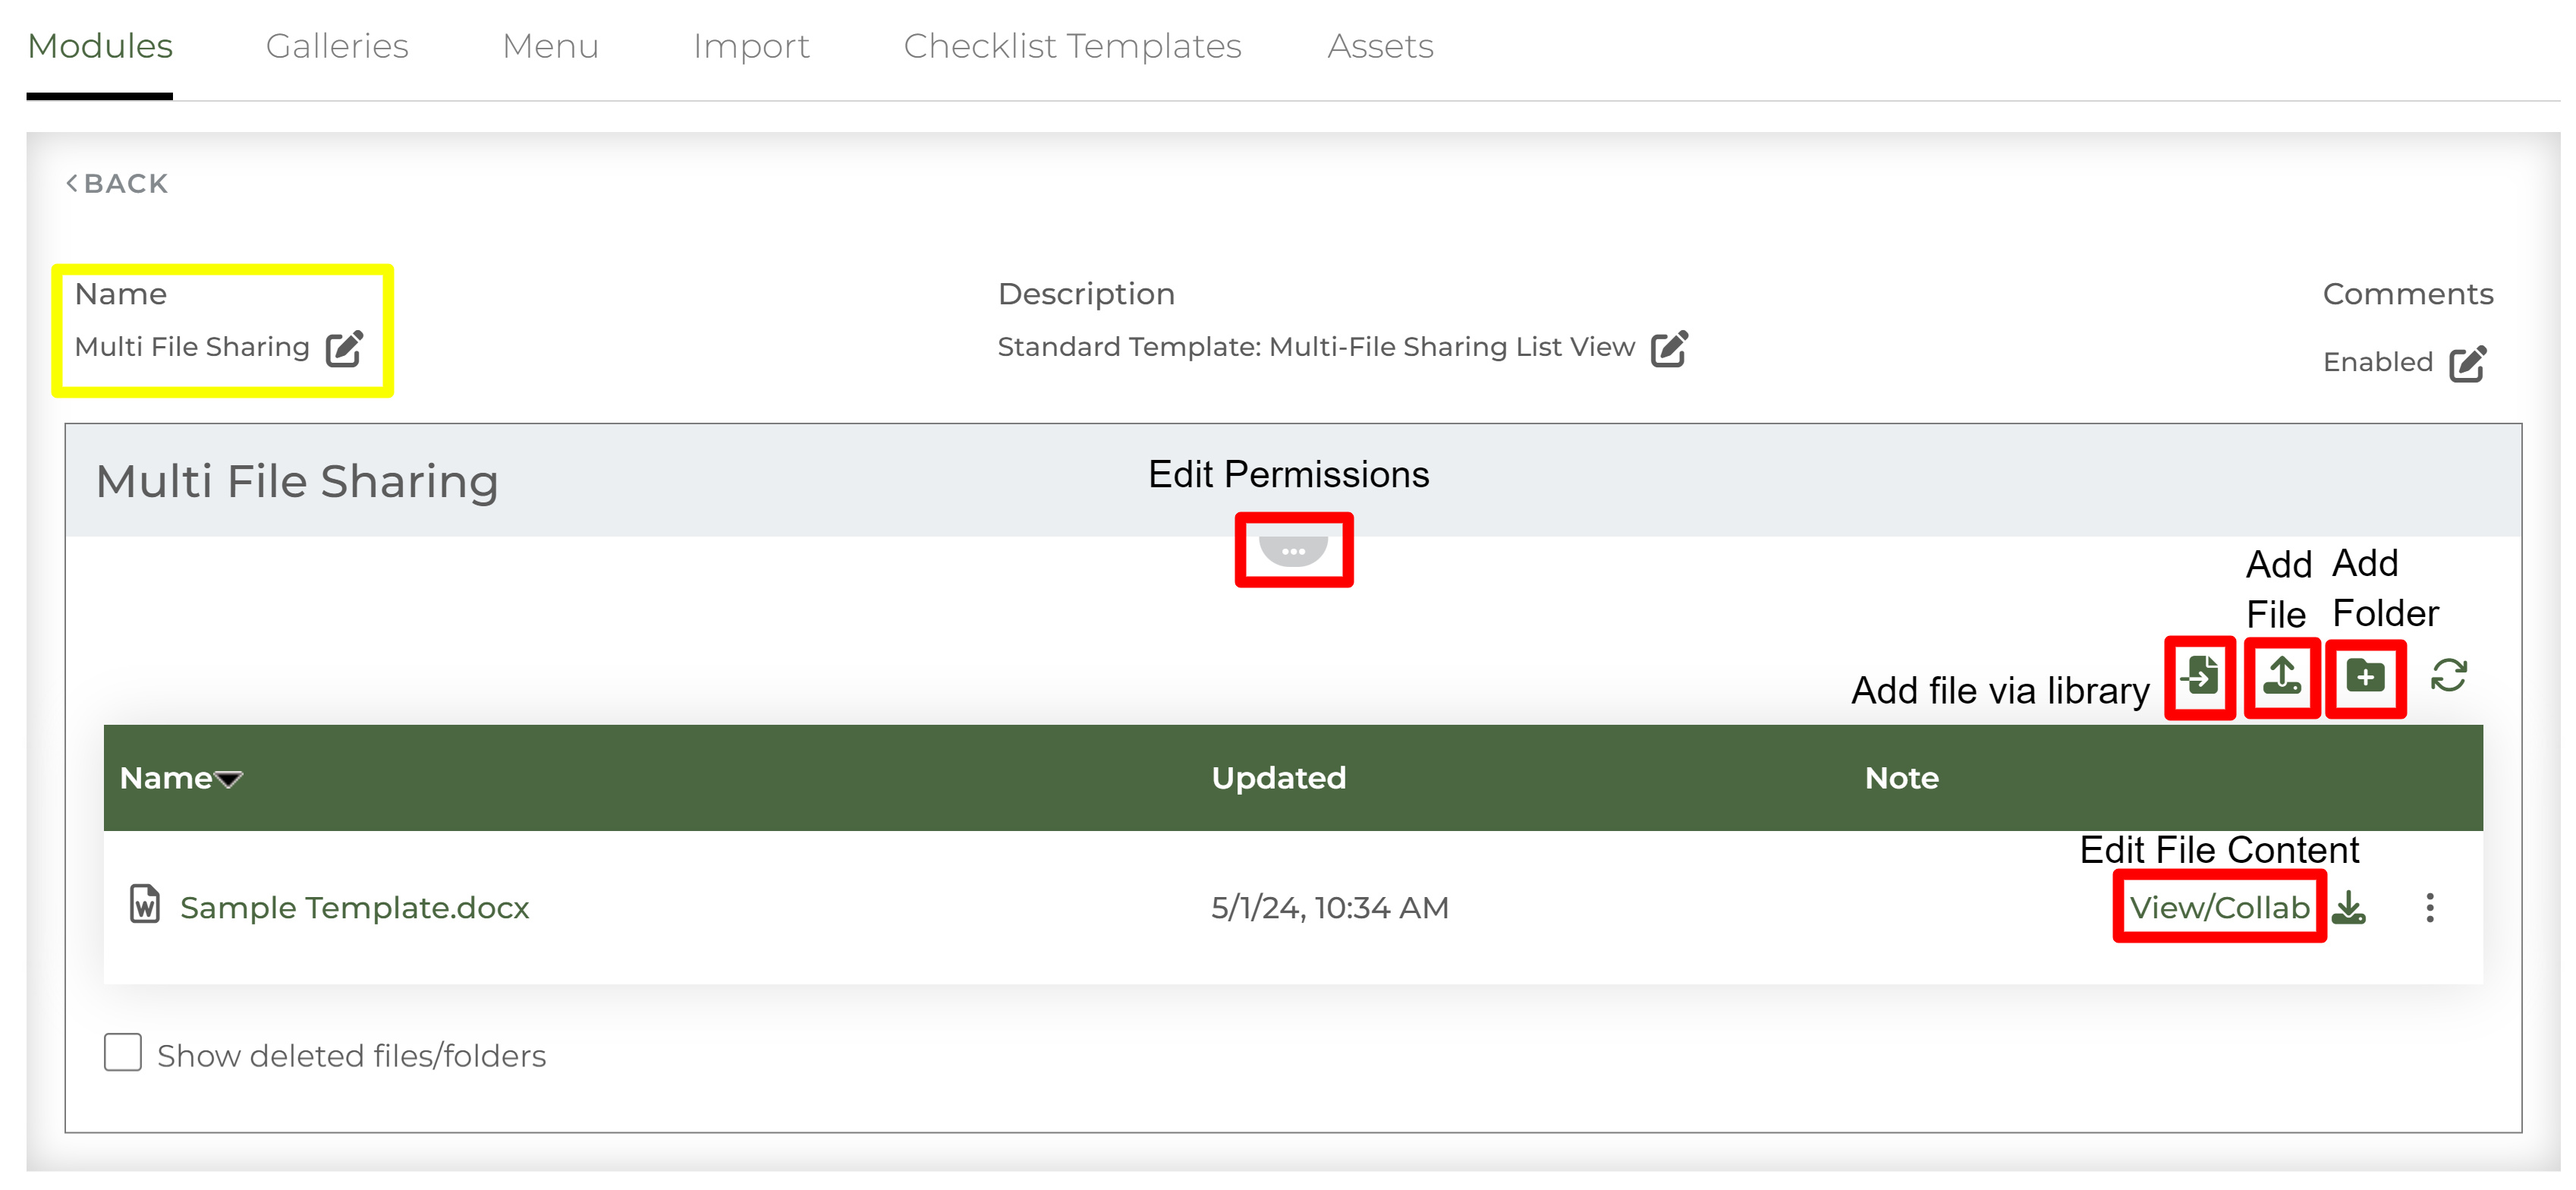
Both modules have several permission levels that can allow for both internal team members and contacts to edit, comment, download, add notes, etc. depending on how you would prefer to collaborate.
2. List of to-dos (checklist)
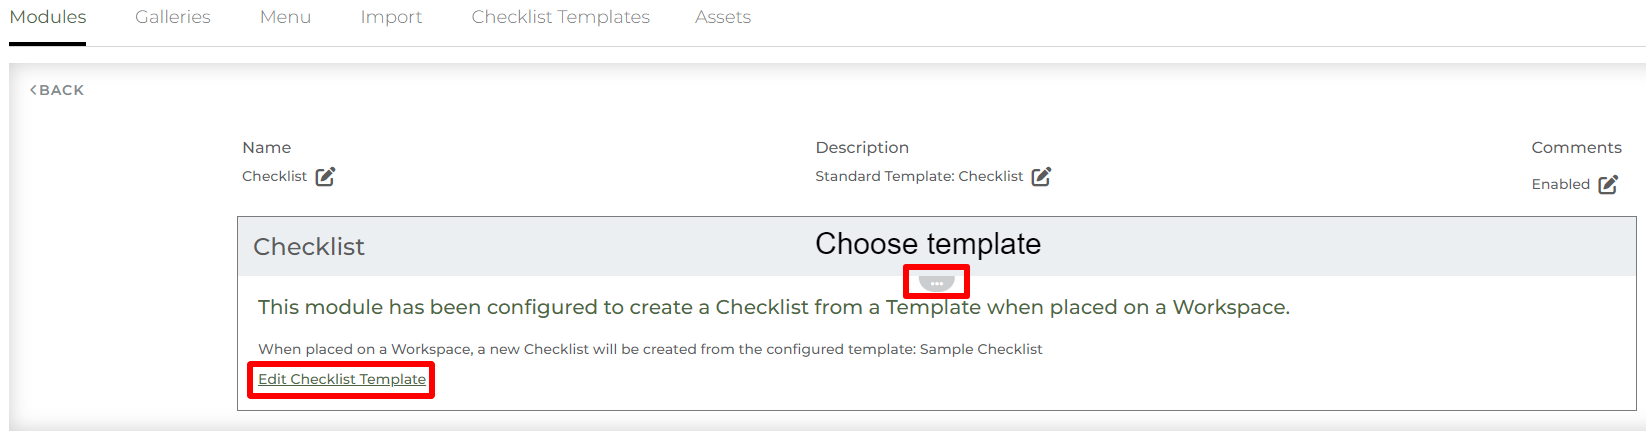
If you have a project you are working on and you need an interactive mutual plan, look no further than our Checklist module. This module contains a list of items that are assigned to users to complete. Each item contains a text description of what the task entails. These items can contain images, videos, other modules, etc. as set by content managers. You can see the details of the checklist item by clicking on the item.

Inside module management, these modules are built by selecting a template from checklist template library. This library is managed by content managers. The checklist template you select will display once this module is added to a workspace.
3. Company blog, news article, or insight
Every company has insight pieces they want to share like use cases, articles, or announcements. The module you want to use is called “Insight.” This module allows you to add a public URL that people who view this module can visit. The link is placed underneath accompanying side by side text and an image of your choosing.
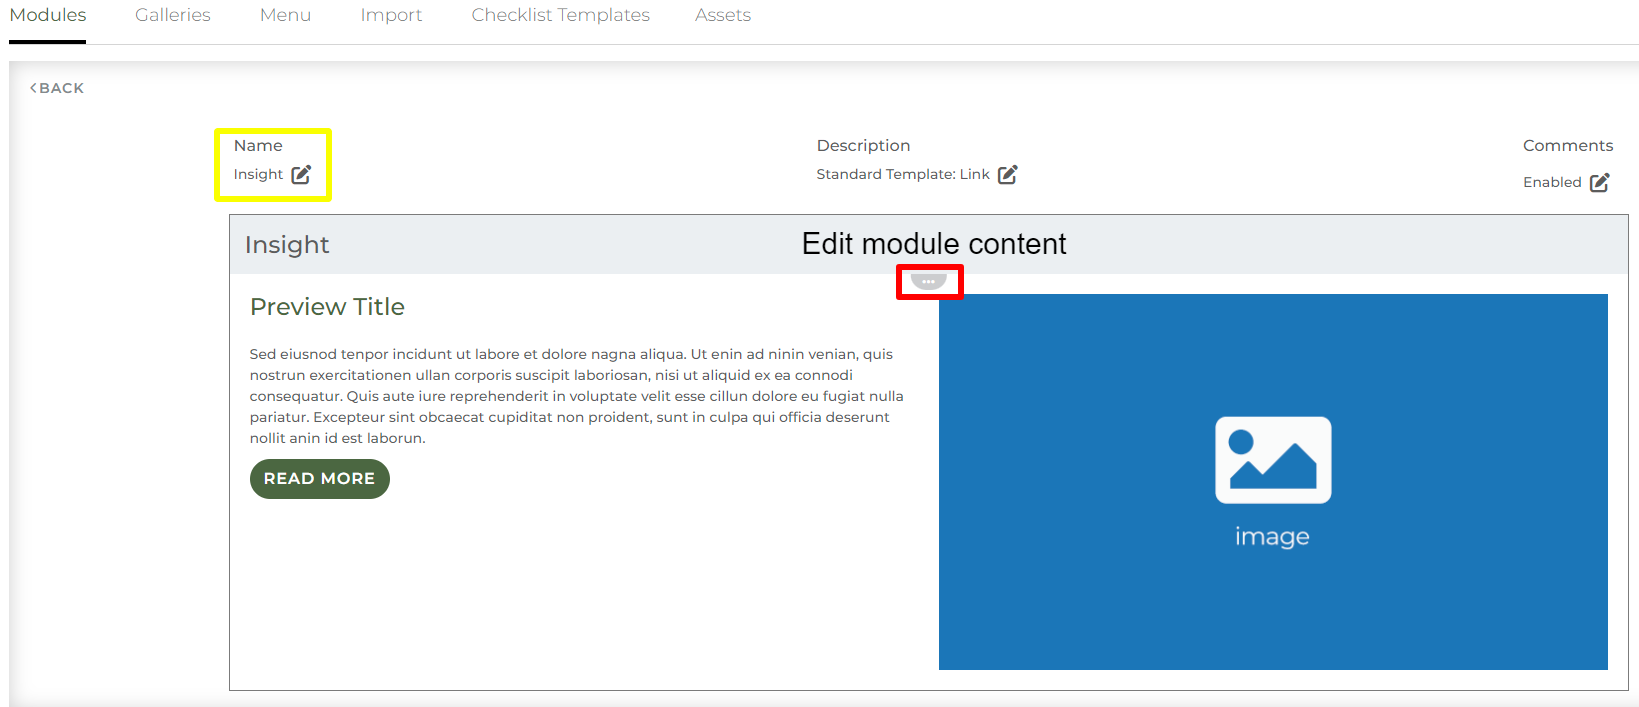
Each one of these modules comes with a feature that allows you to pull the image and text from the public URL you plan on linking out to. For example, if you want to share a blog post from your website, the module will pull in the image and initial paragraph text that you have already built into the article. This feature is represented through a button in edit view of the module called “Load Preview Image and Text From Link”
You can also choose the placement of the image, text within the button, and the image/text size ratio.
4. Videos
We have several modules that incorporate videos. These modules allow you to use an uploaded video file, embed a Youtube video, or embed a Vimeo video.
These modules can help display any video you might want to share including product videos, demo videos, or meeting recordings.
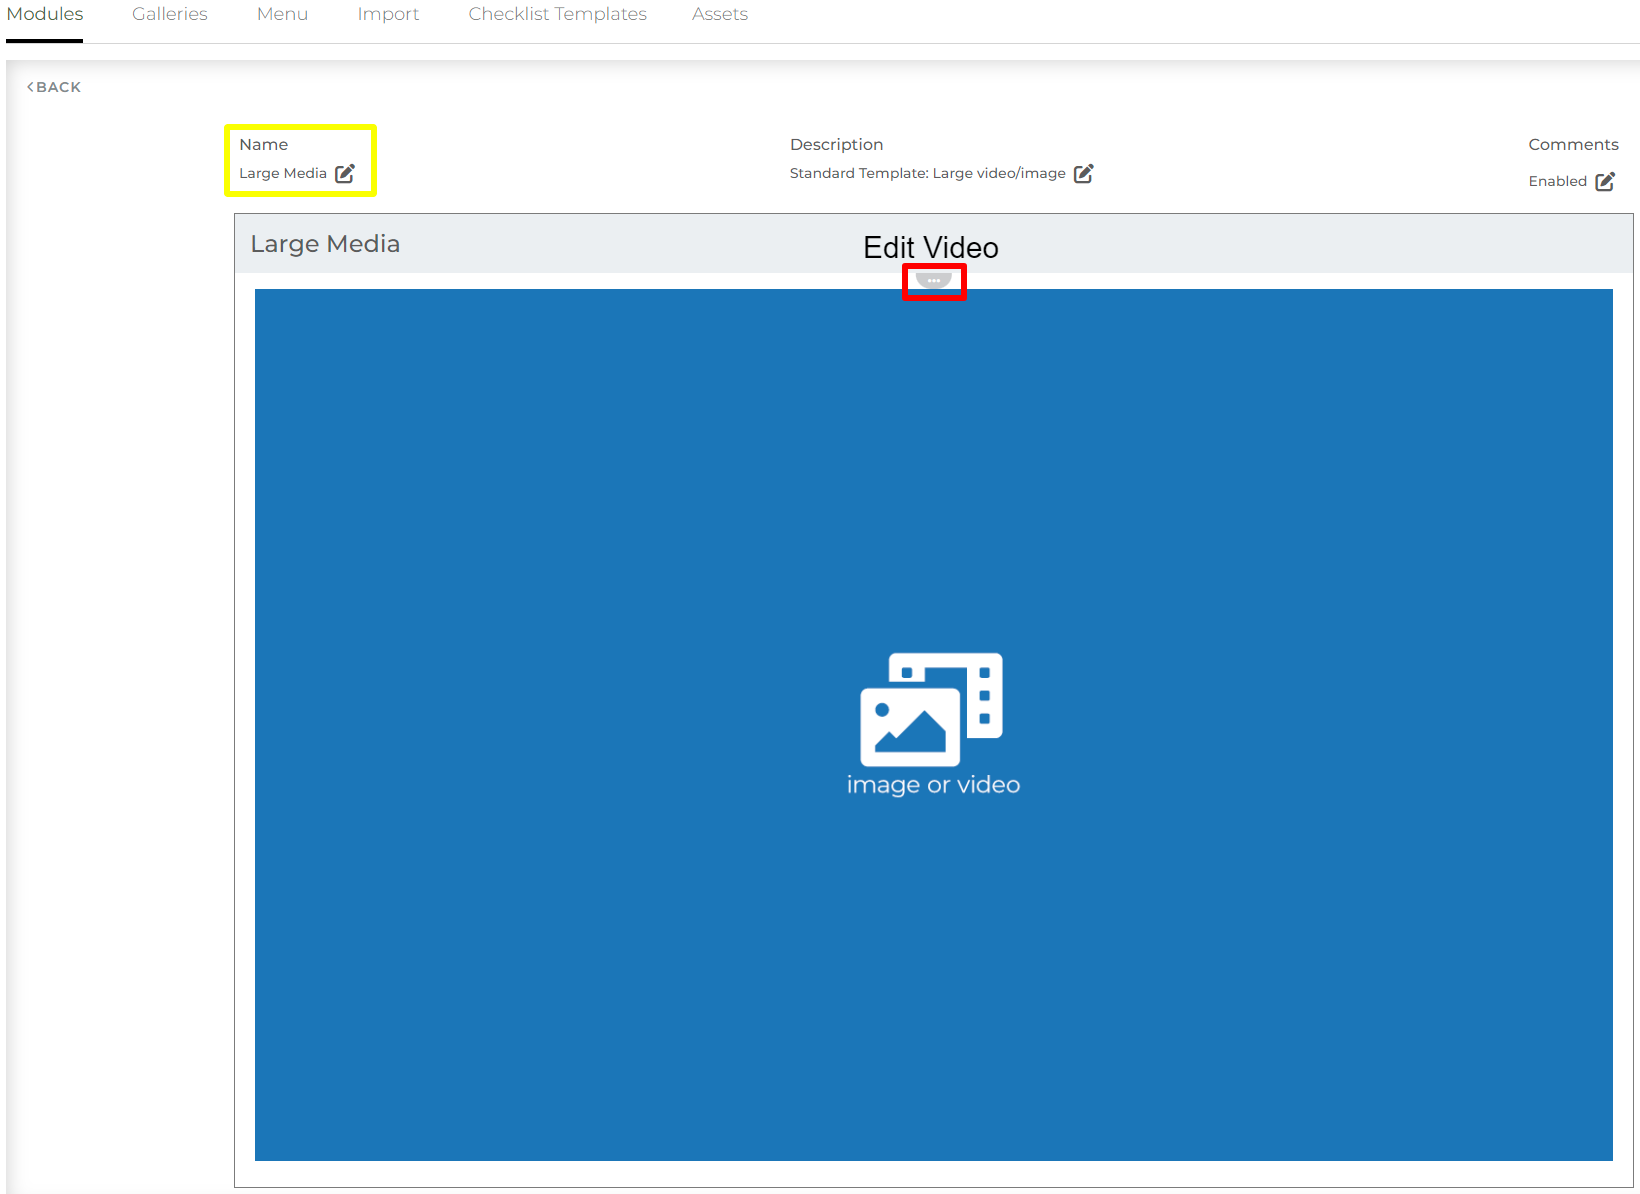
Large Media: If you want the video to take up the full width of a module.
Small Media: If you want the video to take up half the width of the module and be accompanied by other content like descriptive text.

5. Meeting agenda’s or summaries
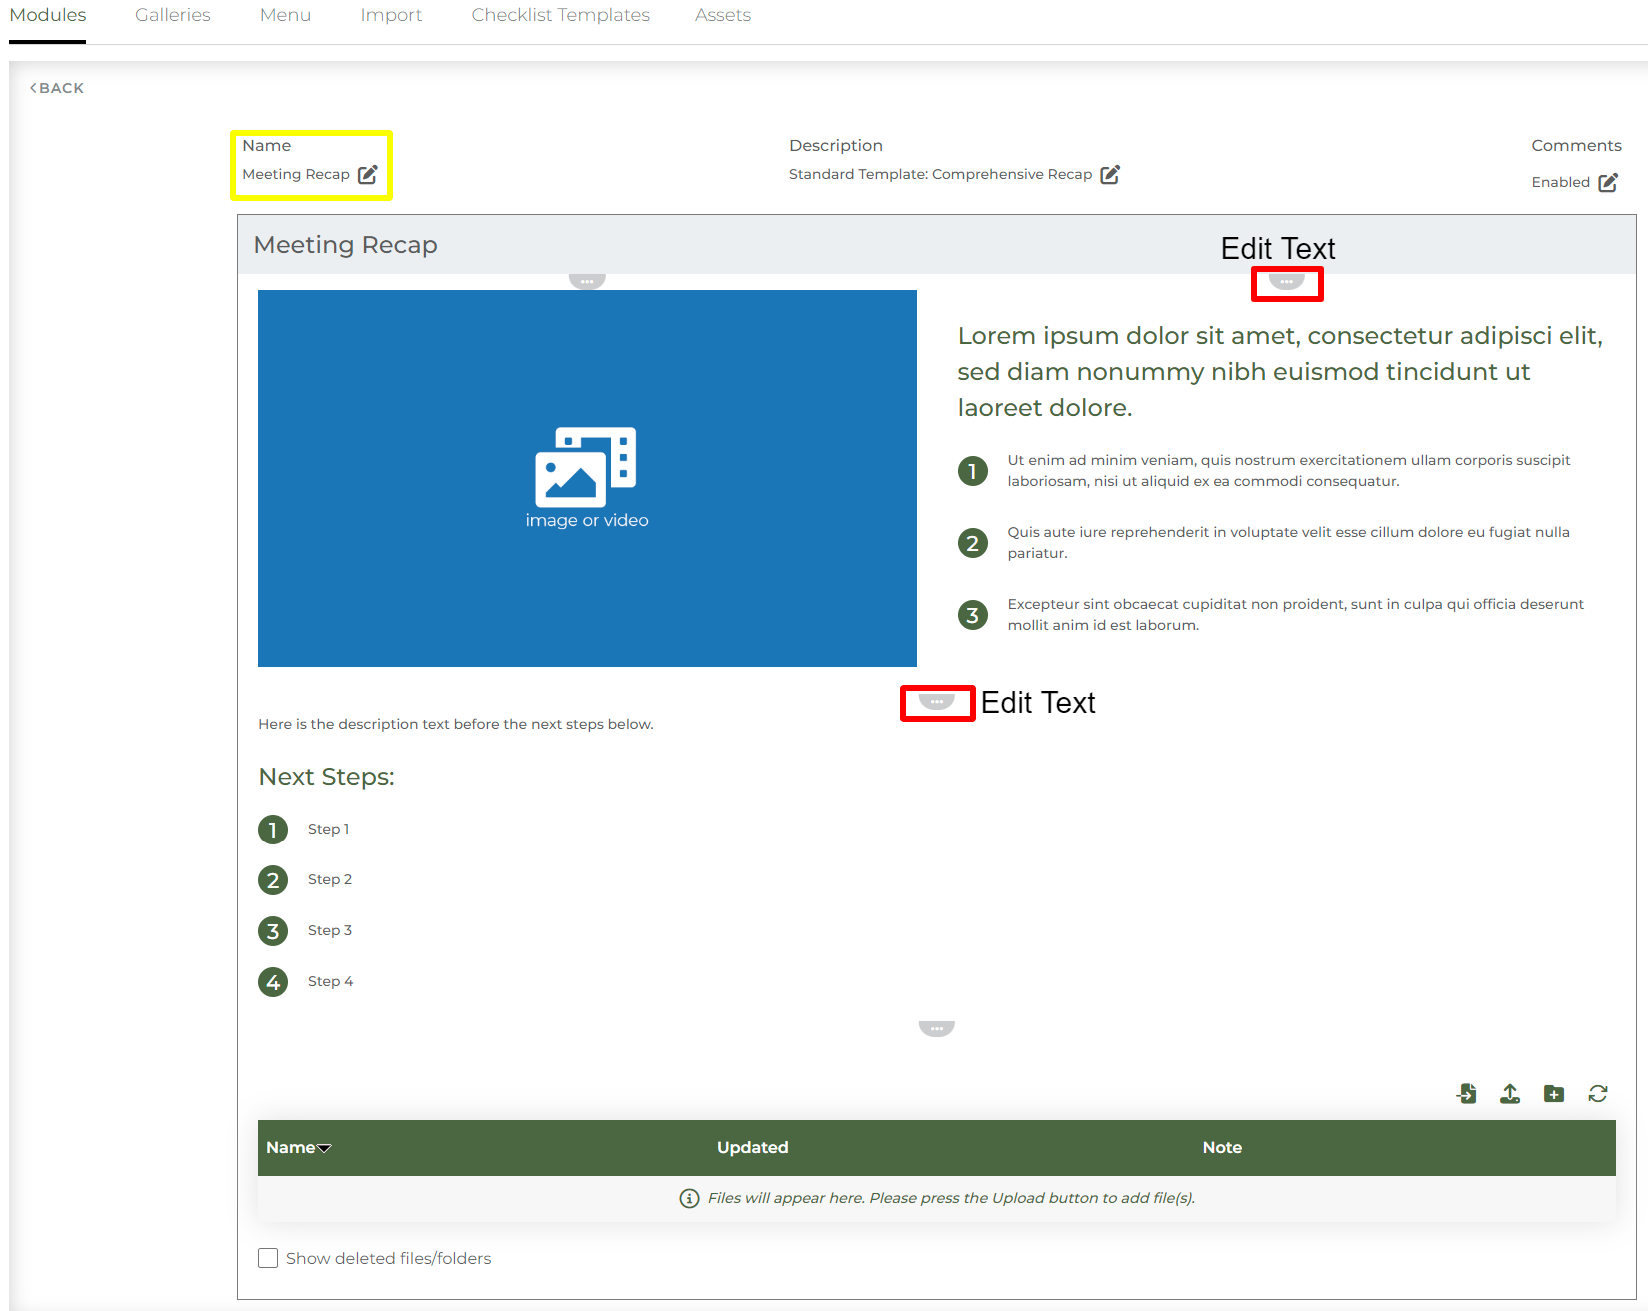
Our Meeting Recap module is used to help the entire team remember what was discussed and holds team members accountable on any action items assigned during the meeting. This module is simply a combination of the Small Media and the Multi File Sharing modules (mentioned above). This module also contains a text section to list important meeting agenda items or next steps after a meeting.
6. Team members
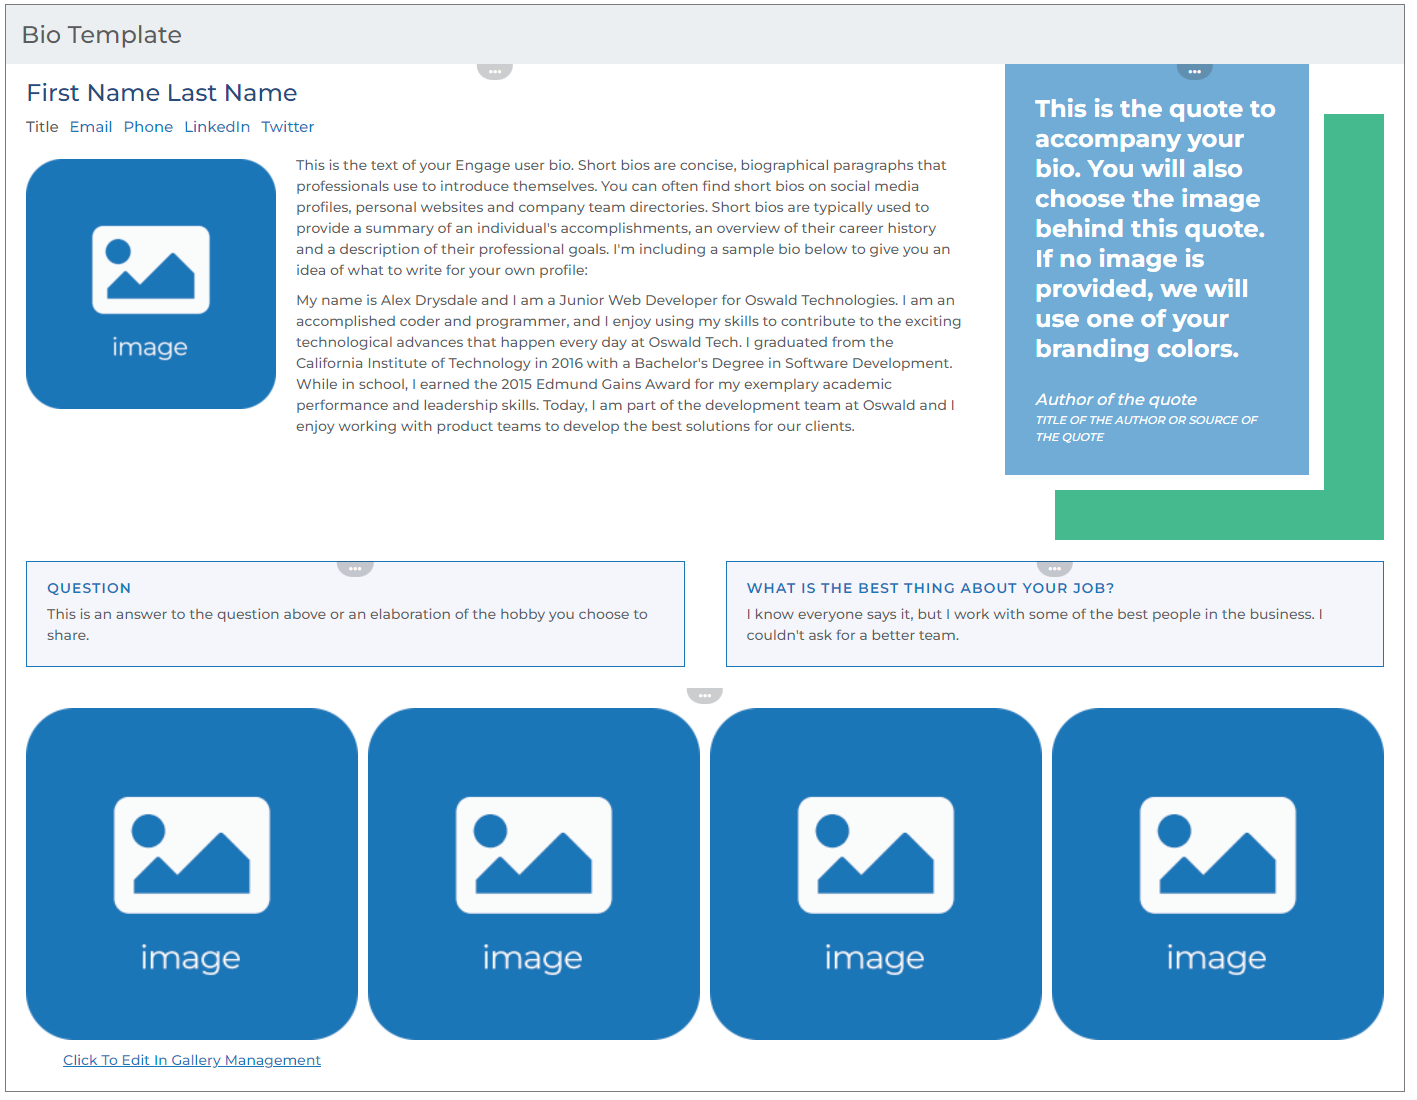
The Team Bio Module is used to showcase the information for a specific user. This module is blank by default and can not be edited in module management. The content for these modules are populated once this module is on a workspace by selecting an enabled team member from the drop-down.
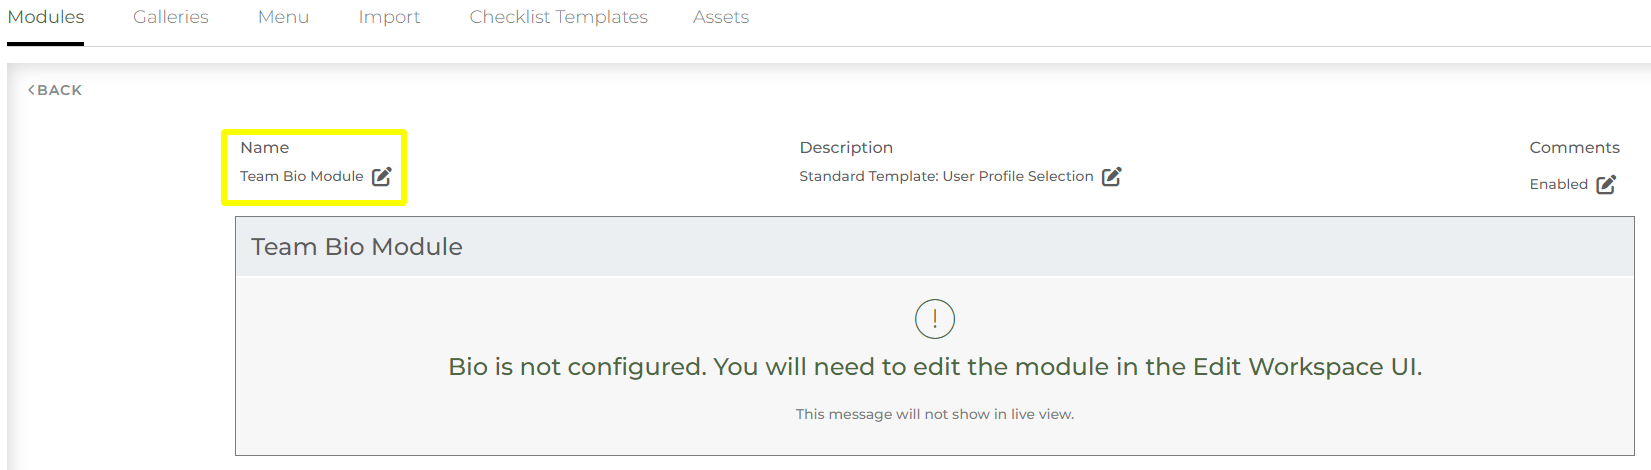
Only the users who have their bios enabled are listed as options to select from. Each user is responsible for the content available for this module through their user profile. To learn how content becomes available for this module, please review our bio related article. If you’d like to change what content pieces are available for your user’s bios, please reach out to support.
Multiple versions of a user bio can be created by using the “Bio Library” module type when creating a new module.
7. Gallery of images
Maybe you have a group of photos form a product line, an event, or a group of team members. The Gallery module would be a great module to use. This module allows you to group all the photos together in a collage and incorporate photo titles, captions, and messages to each of the images.
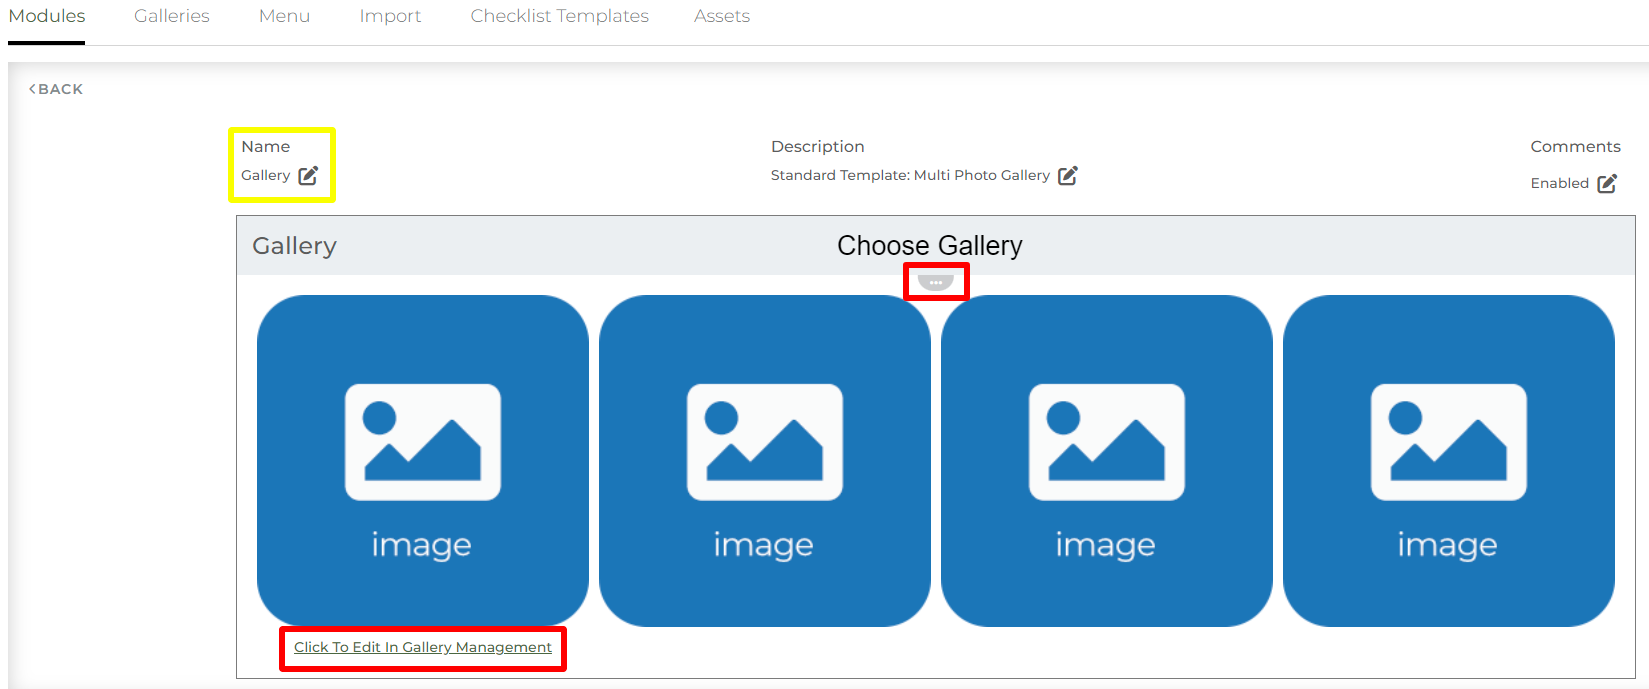
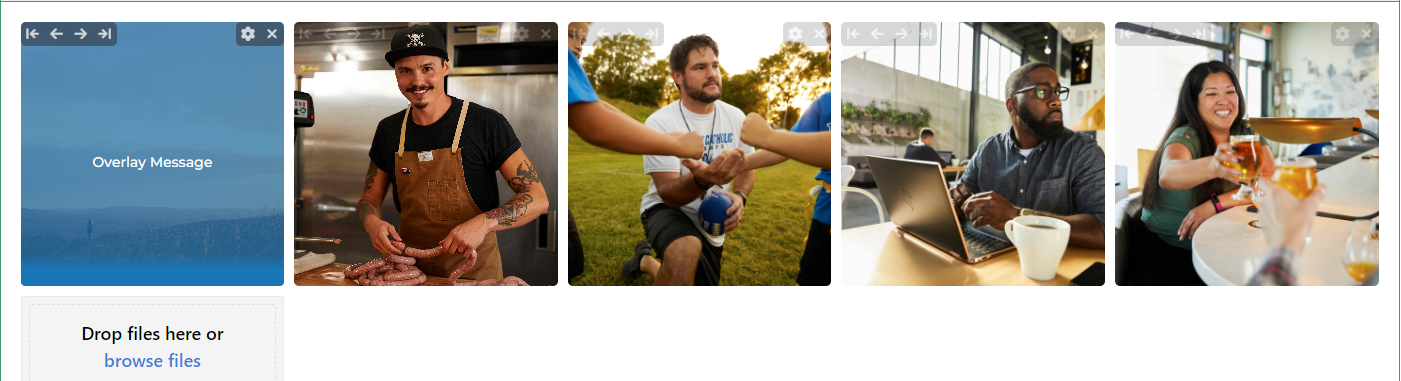
Similar to how the Checklist module works, Gallery modules are built by selecting a template from gallery library. This library is managed by content managers.
8. Your company info
It is common practice for our clients to provide an introduction for visitors to their workspace. This introduction would help tell a little bit more about your company and the benefits you offer. Similar to your website’s ‘About Us’ page.
Therefore, we have a module called About Us. This module includes some of the content pieces we have reviewed above including Insight and Media modules. This module also includes a quote from one of your customers or one of your executives as well as some stats about the product or service you are offering.
.png?inst-v=291b74b5-47f8-4e32-8370-1e378bcb2cb4)
9. Display Embeds
Some of our Engage clients are using third party tools for things like form building or scheduling meetings. As a result, we have built a module that will allow you to display these tools for your reps and contacts to use inside a workspace.
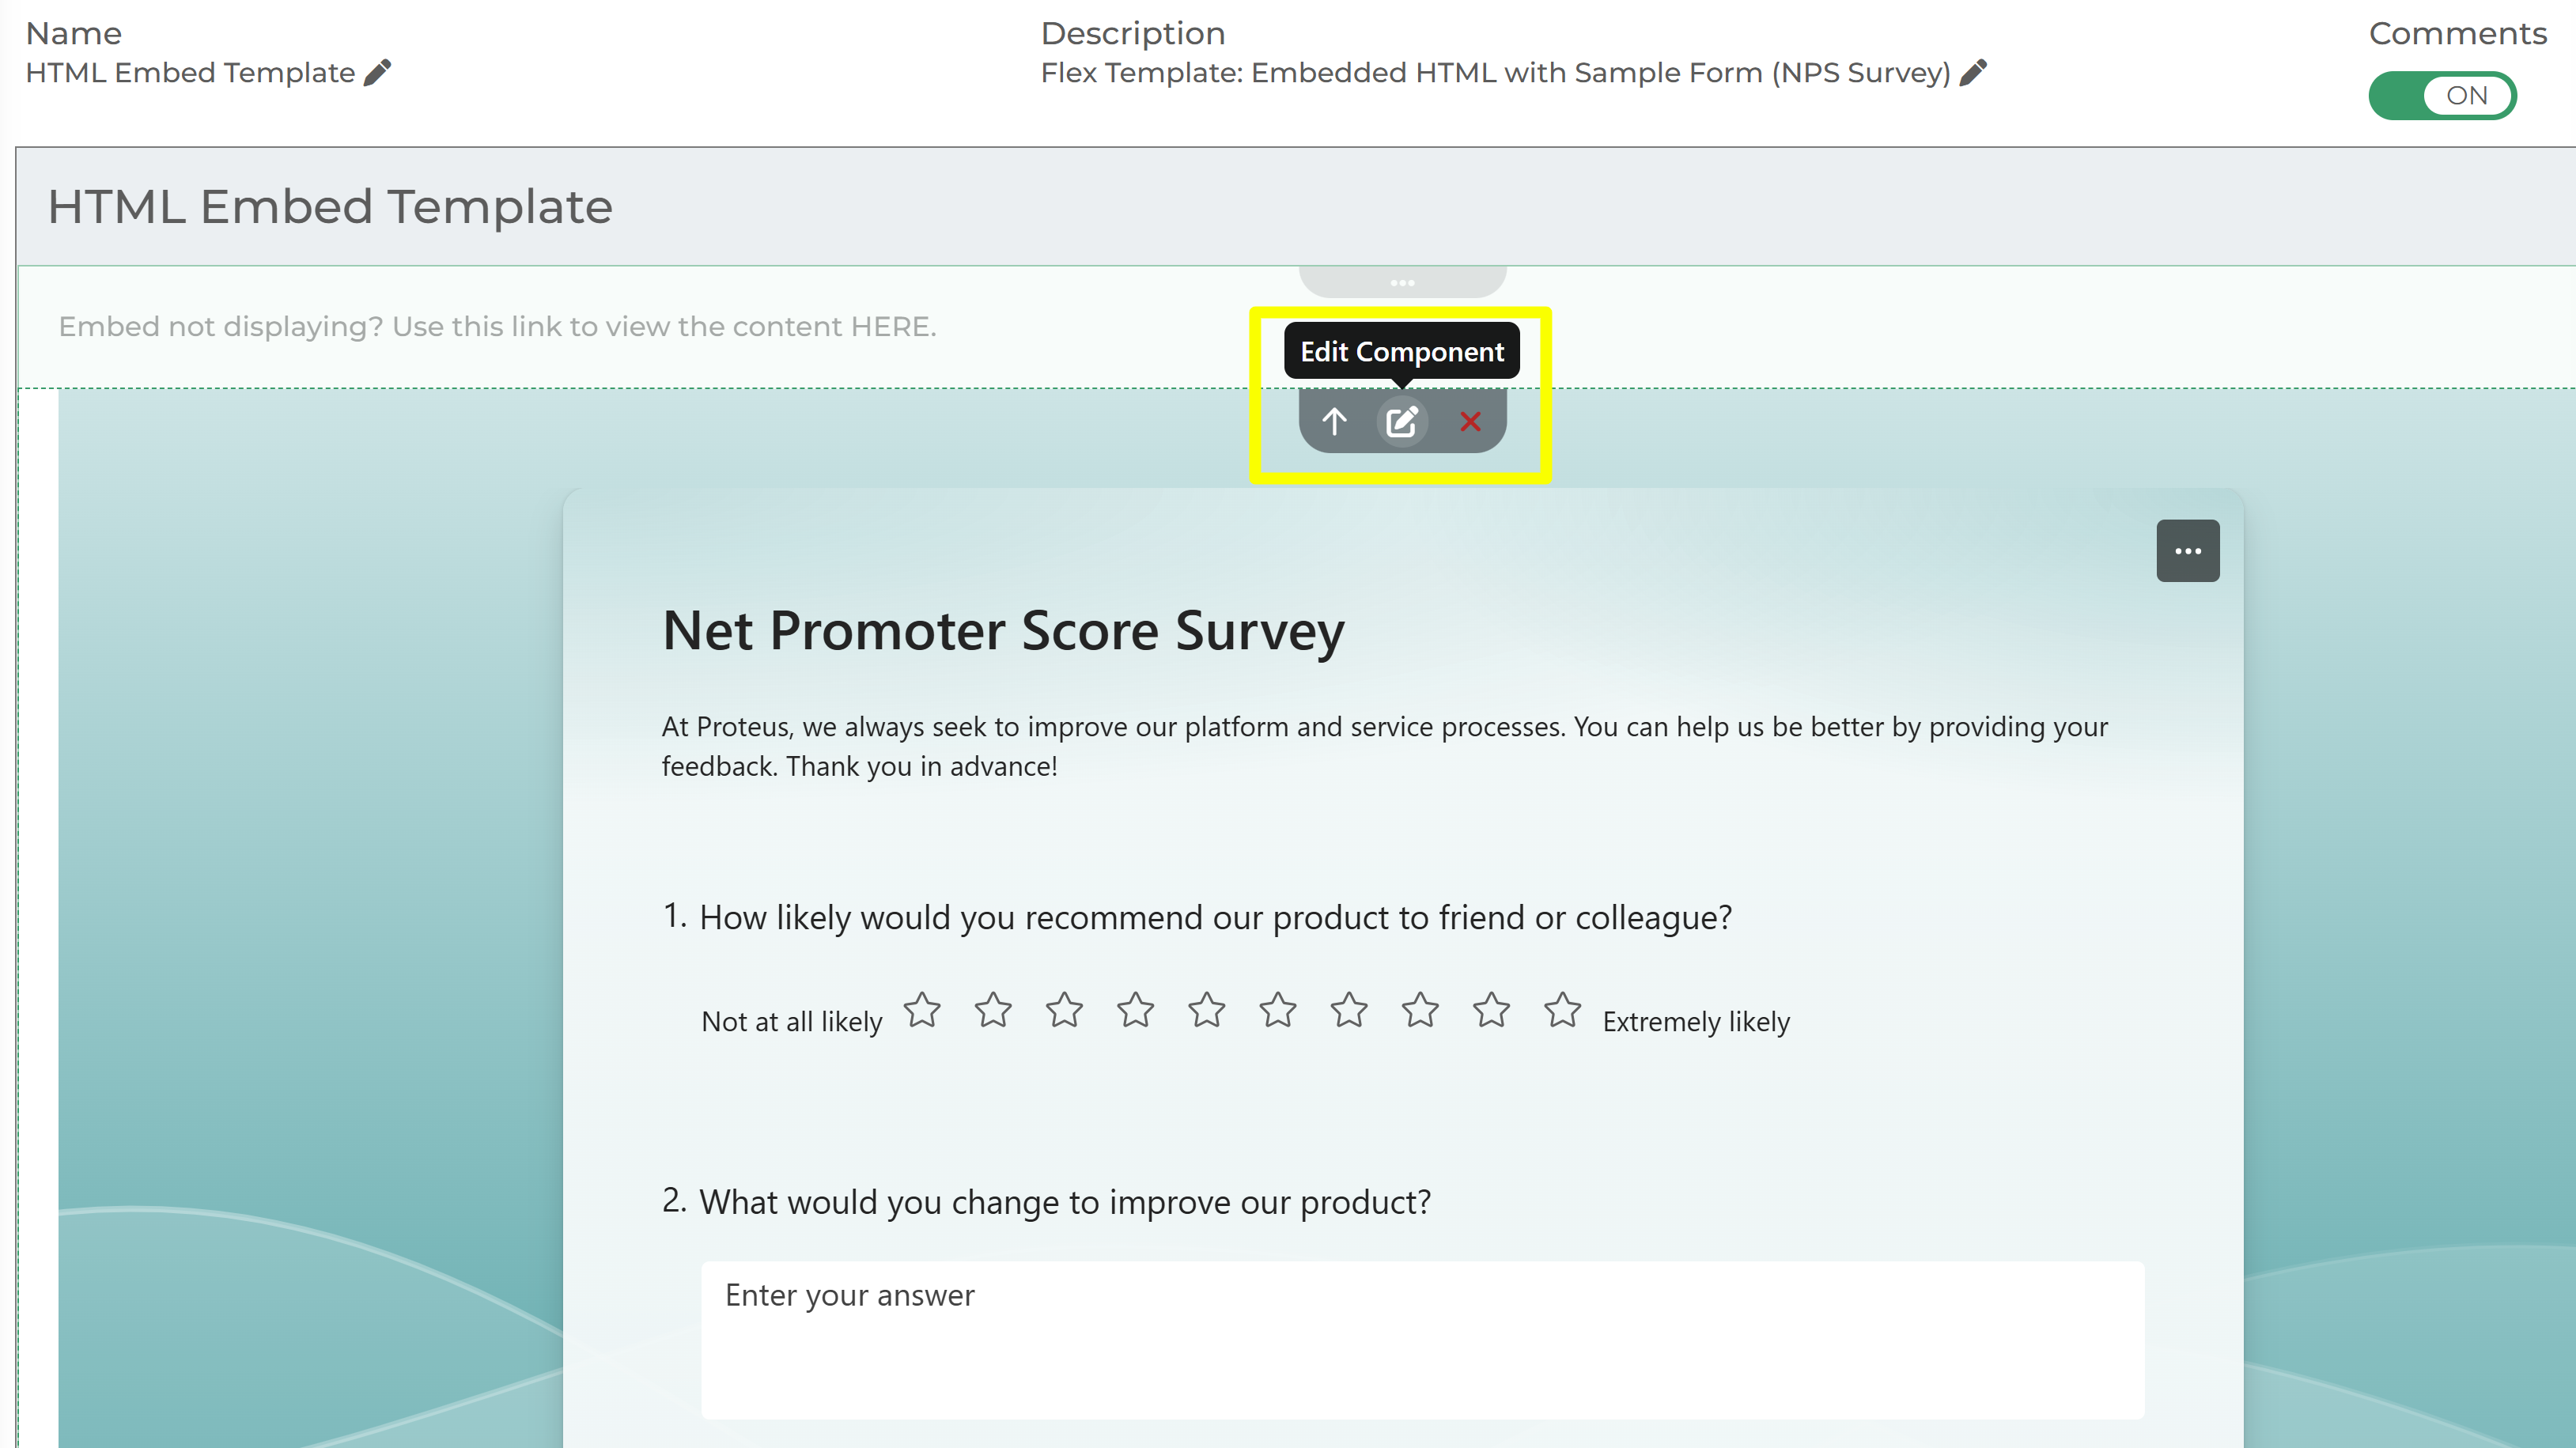
The module is called HTML Embed Template. This module contains a sample Microsoft Form as the default content to display. Users can edit this module and input their own embed code.
You will need to generate a embed code from whatever third party tool you are using. An embed code is a short line of text that you can copy and paste from one website to another in HTML coding language.
Keep in mind that the embed code must be generated as a public link. This means any user who interacts with this link is not required to login. There should be settings inside your third party tool to ensure the link you are generating is a public one. A good way to check this is to paste this embed code into an incognito window and see if it displays correctly.
For example, we use Calendly to help schedule meetings with our prospects/clients.
Our embed code looks something like this:
<!-- Calendly inline widget begin -->
<div class="calendly-inline-widget" data-url="https://calendly.com/awoockman/30min " style="min-width:320px;height:700px;"></div>
<script type="text/javascript" src="https://assets.calendly.com/assets/external/widget.js" async></script>
<!-- Calendly inline widget end -->
Once you have the embed code generated, you only need a portion of this code to plug into the module. We have already populated much of the ideal HTML code for optimal display on a workspace. As a result, you only need to copy the actual link inside the code. This is usually indicated by “https://”
Based on the Calendly embed code above, here is a video below on how to add this portion of your embed code to the HTML Embed Template module.
Keep in mind, this module may not support all tools that generate embed codes.
If you have any questions about how these modules could work for your organization, please click the "HELP?" button in the upper right corner of your Engage screen or contact support.