
My Profile: How to find and edit your Bio
Your Bio in Engage is a place where you can build and control the content of your own bio. In this article, learn how to update your Bio with the step-by-step guide below.
The user bio is designed to display the up-to-date bio of a user on a workspace. This means any changes to an individual bio will also update the module containing the bio on any workspace.
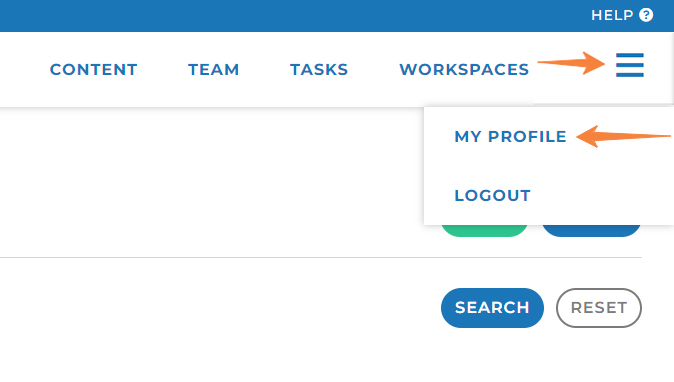
(1) Click on the hamburger menu icon on the top right hand side of the screen
(2) Then click on My Profile in the dropdown menu
(3) Click on Bio tab
(4) Click Edit on each Bio content section to edit ( * )
(5) Check "Enable sharing on workspaces" checkbox to make your Bio available for selection on a workspace. The "Enable sharing on workspaces" checkbox is unchecked by default so that if you are not yet populated your Bio content, your Bio will not be added to a workspace accidentally.
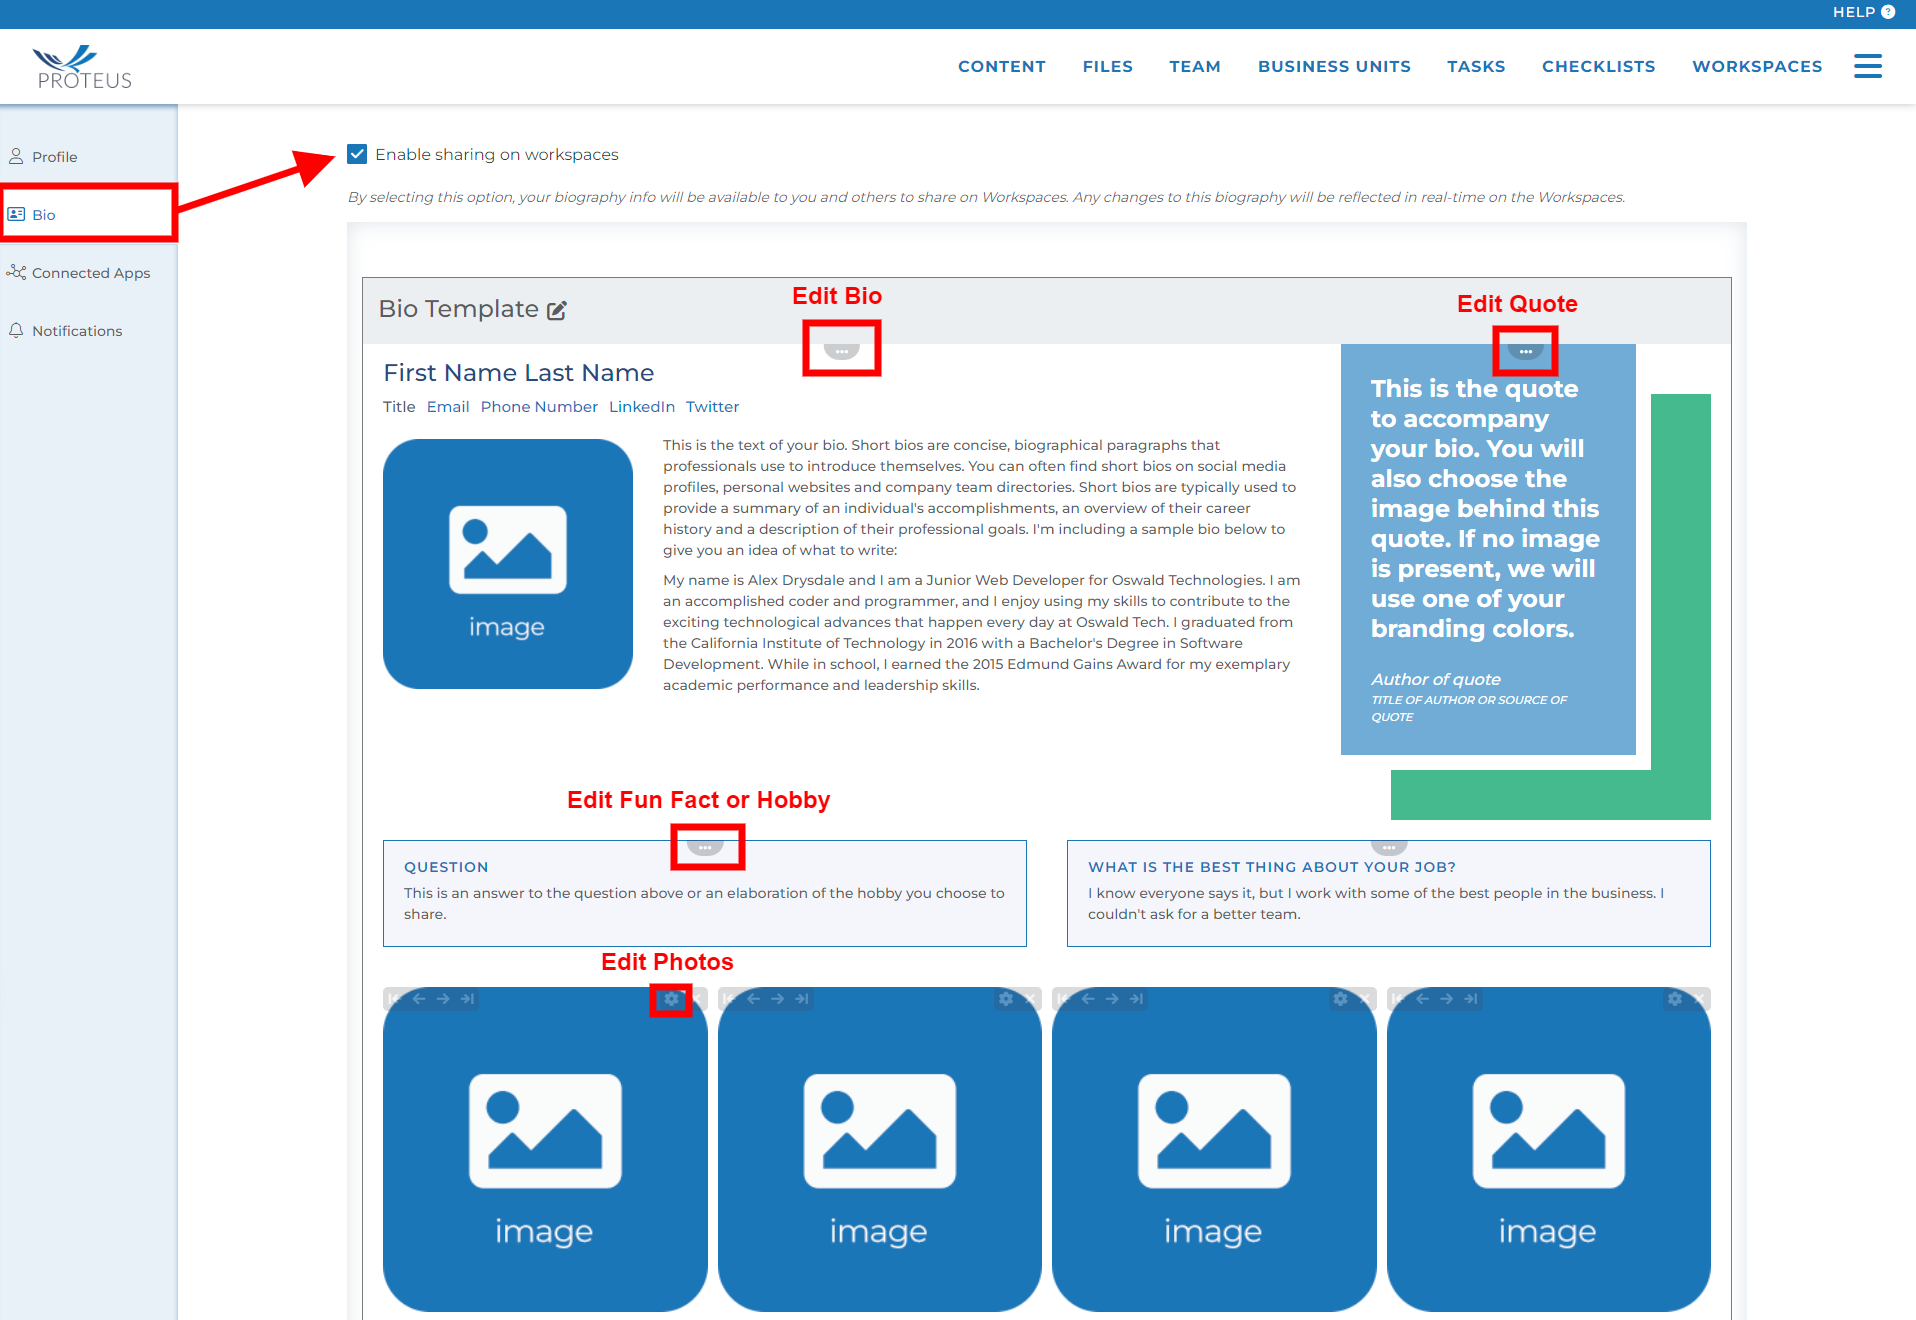
( * ) Bio Contents
In most cases, your Bio has four different content sections. Each Bio content section is indicated with horizontal ellipse icon. You can click on this icon to edit each section. However, your Bio can have more or less than four content sections as it is specified and designed for your specific company.
Bio: Includes email, phone number, photo, and text regarding the user. This section is meant to highlight some background about the user using text. Examples: your role in the company, educational background, what you like to do in their spare time, etc.
Quote: Includes the author, title, and quote of a particular phrase that you feel best reflects you, the company, or simply a quote you enjoy (it could even be your own quote).
Fun Facts or Hobbies: Includes a question and answer. This section is to highlight and share two fun facts about you (personal or professional).
Photos: This section gives a visual to your life. Examples: family photos, dream destinations, pets, favorite sports teams, etc. Includes spots for 4 photos. You can add more and less photos if you choose.
Note: Users with “User Admin” permissions are able to access the bio and content for each user.
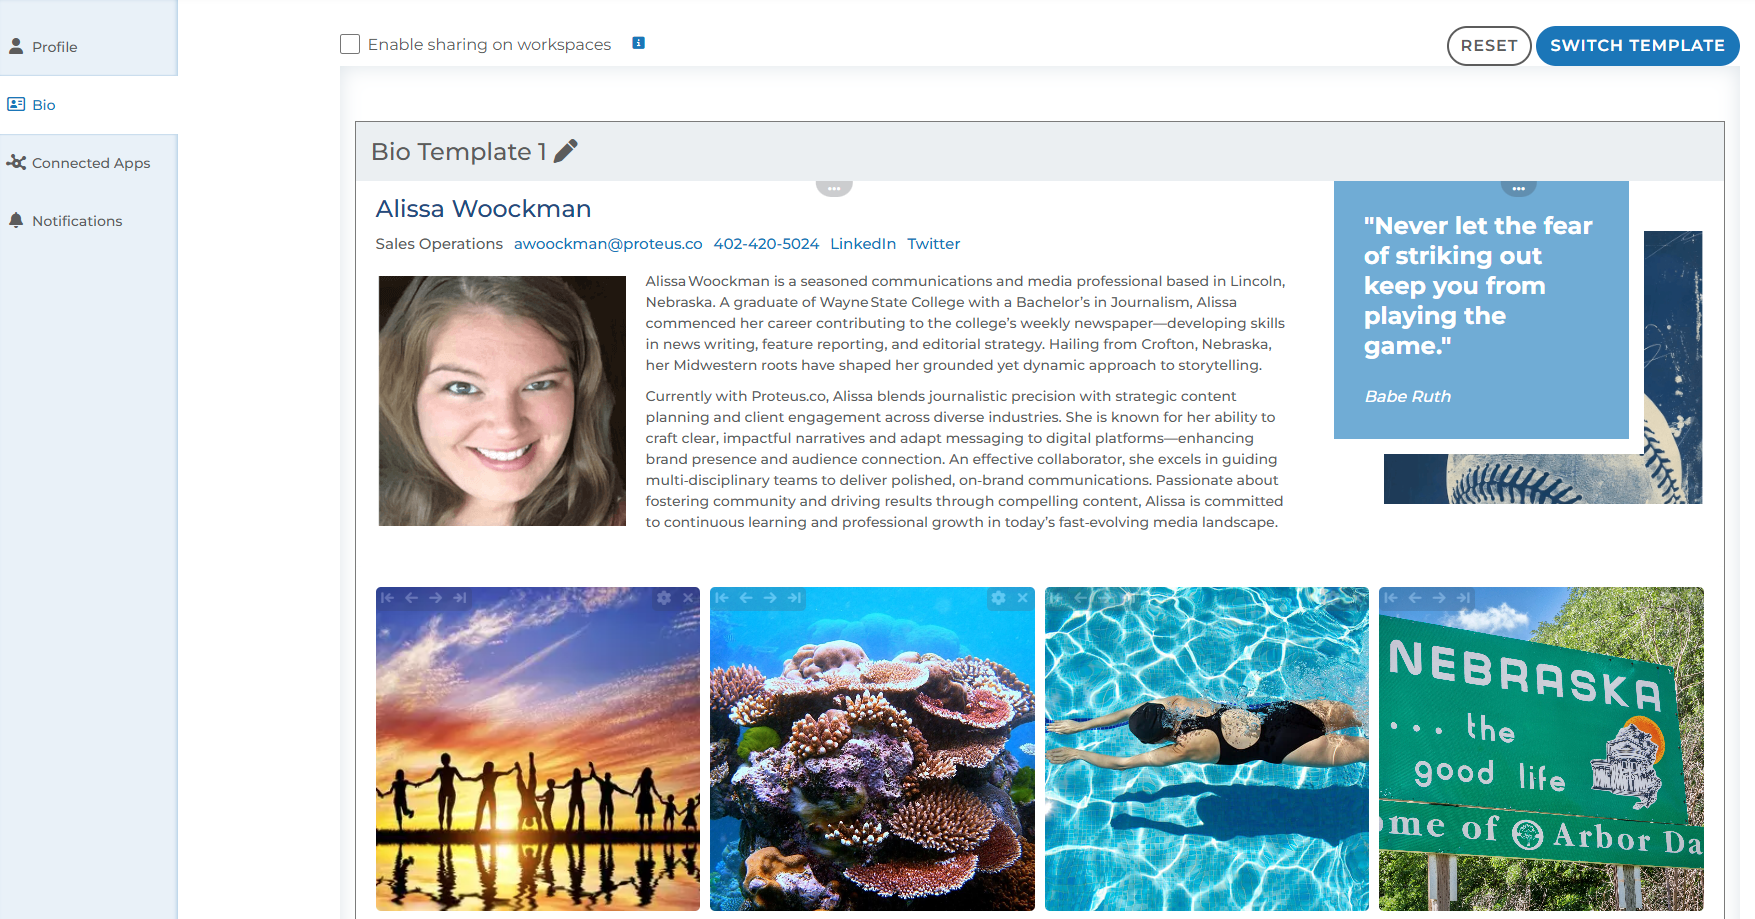
Templates
Each Engage install is set up with our default bio template. Content Managers can create multiple versions of a user’s bio. This way, certain users can have certain bios depending on content needs or team requirements.
Once multiple versions of a bio is available, each user can use the “Switch Template” button.

Any bio template available (expect for the template that is currently selected) will appear in the list of drop down options. Once you chose a new template, your bio tab will reflect this new template.
Keep in mind that content is unique to the individual template. If you have content on one template, you will have to copy and paste that content into the new template. The content will not automatically sync or transfer between templates.
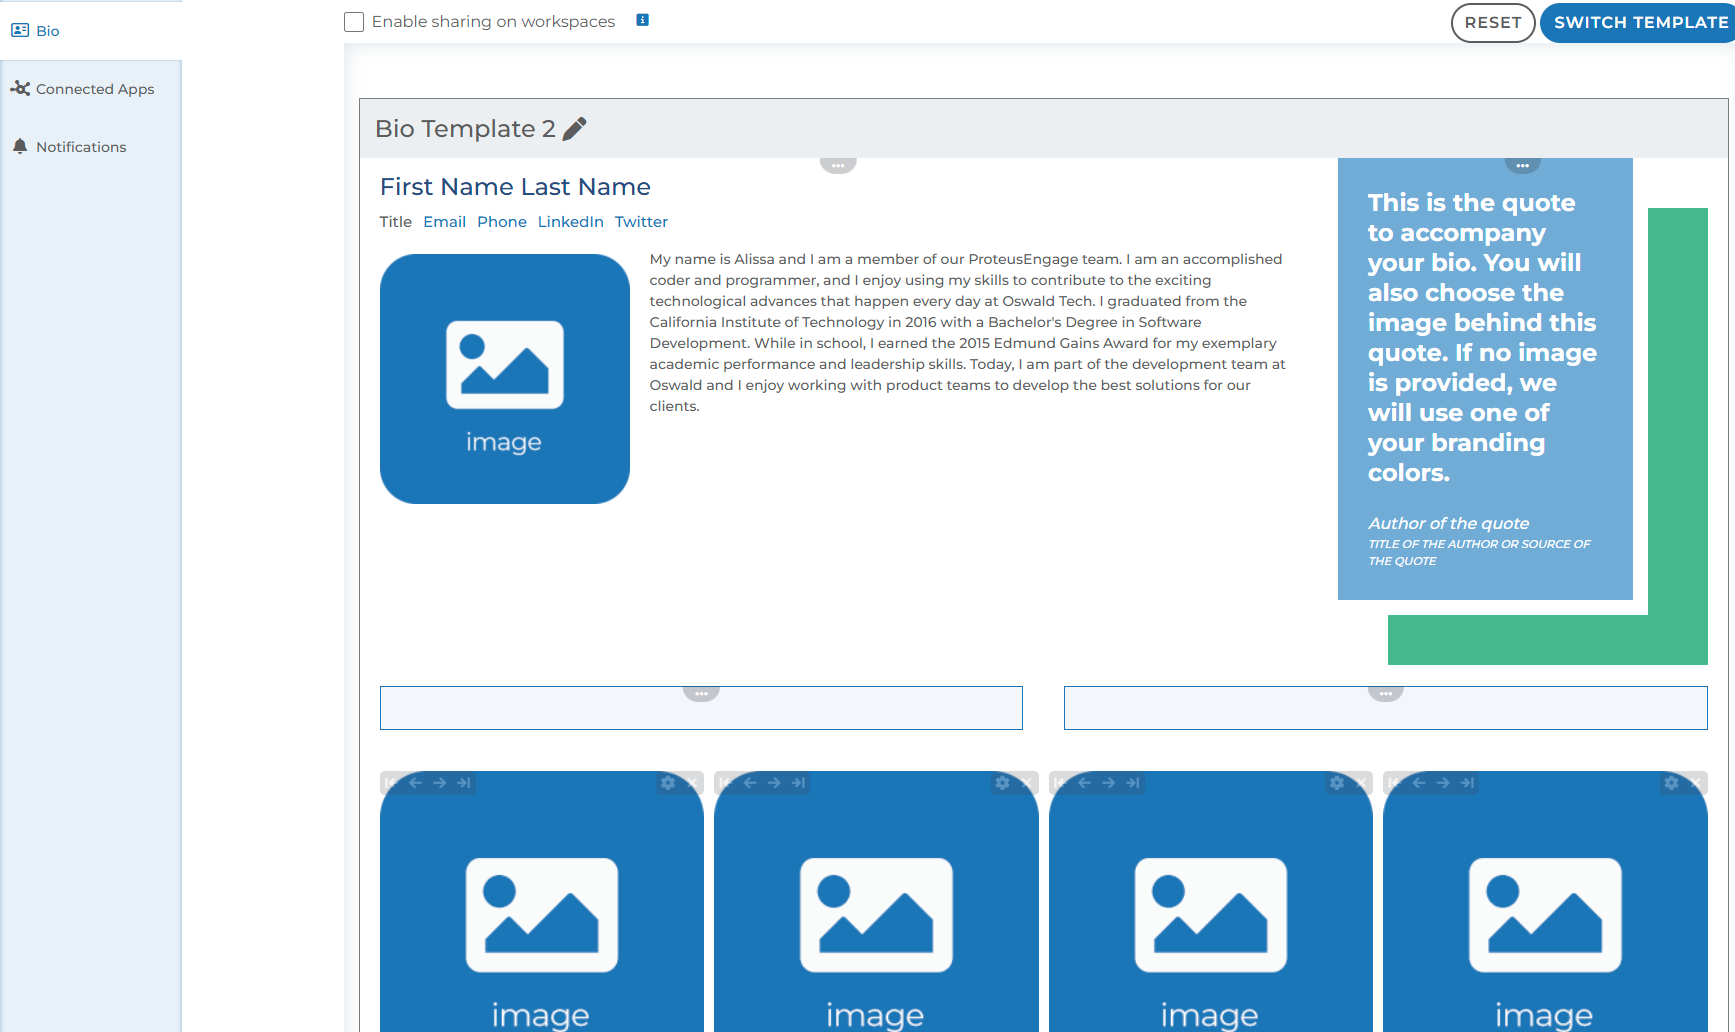
Any content you have saved on each individual template will retain when switching between templates.
Is your bio ready to publish live to workspaces? Learn how via our Team Member Bio module.
Questions? Please click the "HELP?" button in the upper right corner of your Engage screen or contact support.