Creating/Editing Business Units
Business Units are a way of organizing workspaces into certain categories to better customize content and/or user access.
Example Use Case: Your company sells multiple products. Some products are only available at certain locations. Therefore, each location would be added as a business unit. Workspaces under “Location A” would feature content and people specific to that location. This would help to consolidate all your company info and put it to work where it counts automatically.
Users with Account Manager access have the ability to add new and configure existing Business Units for your organization.

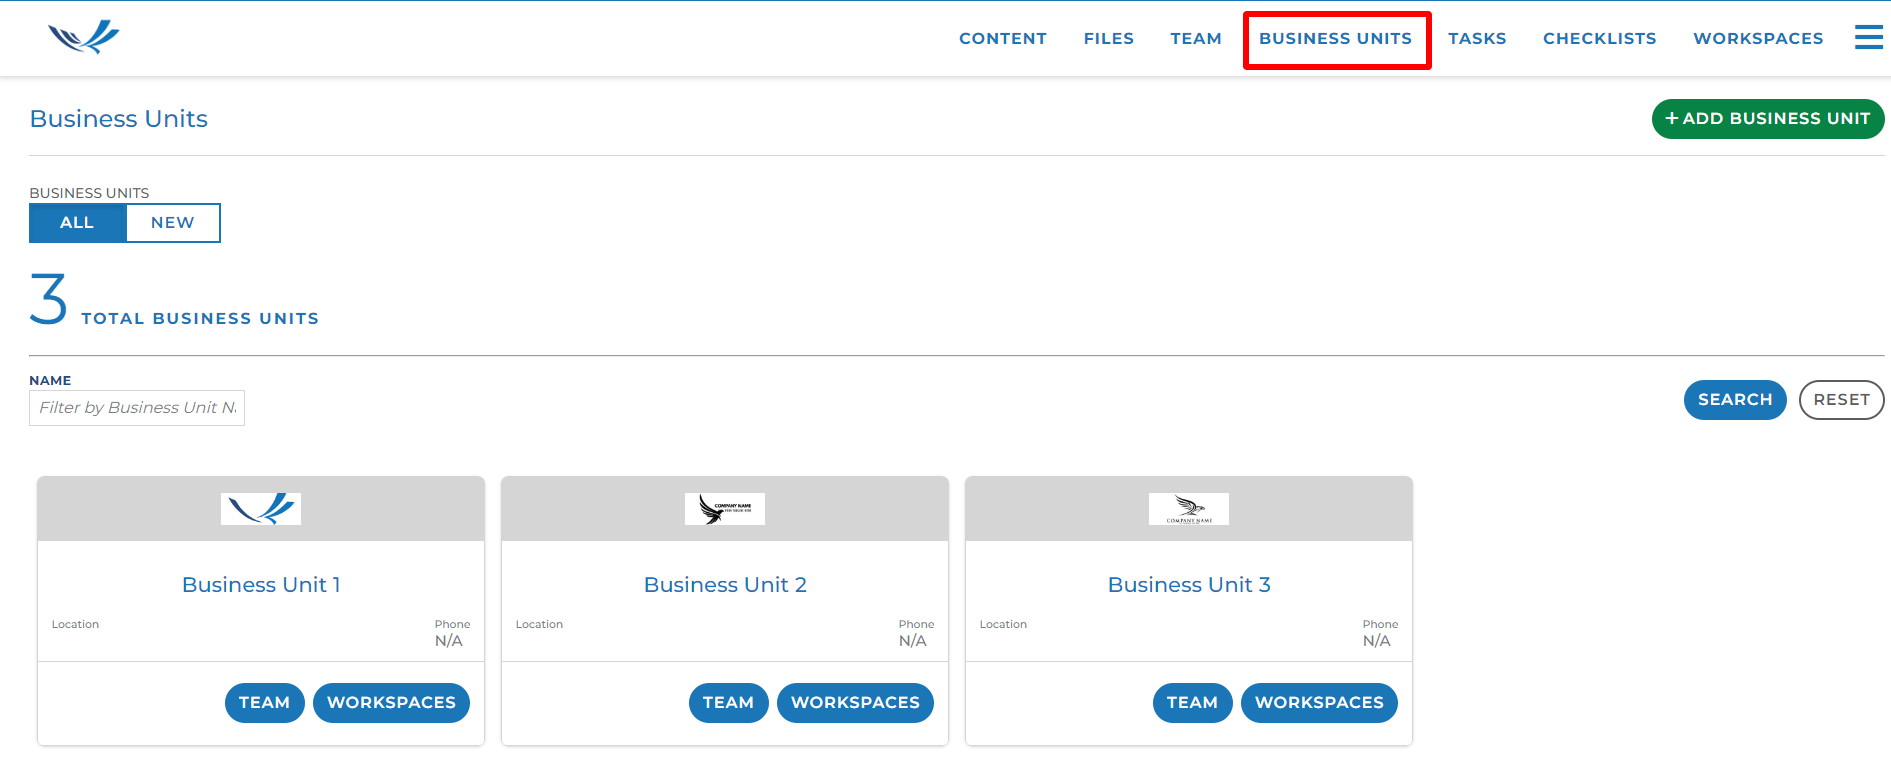
Clicking the “Team” button within each Business Unit will show you which users have access to create or manage workspaces within this business unit.
Clicking the “Workspaces” button within each Business Unit will show you which workspaces belong to this business unit.
Adding New Business Units
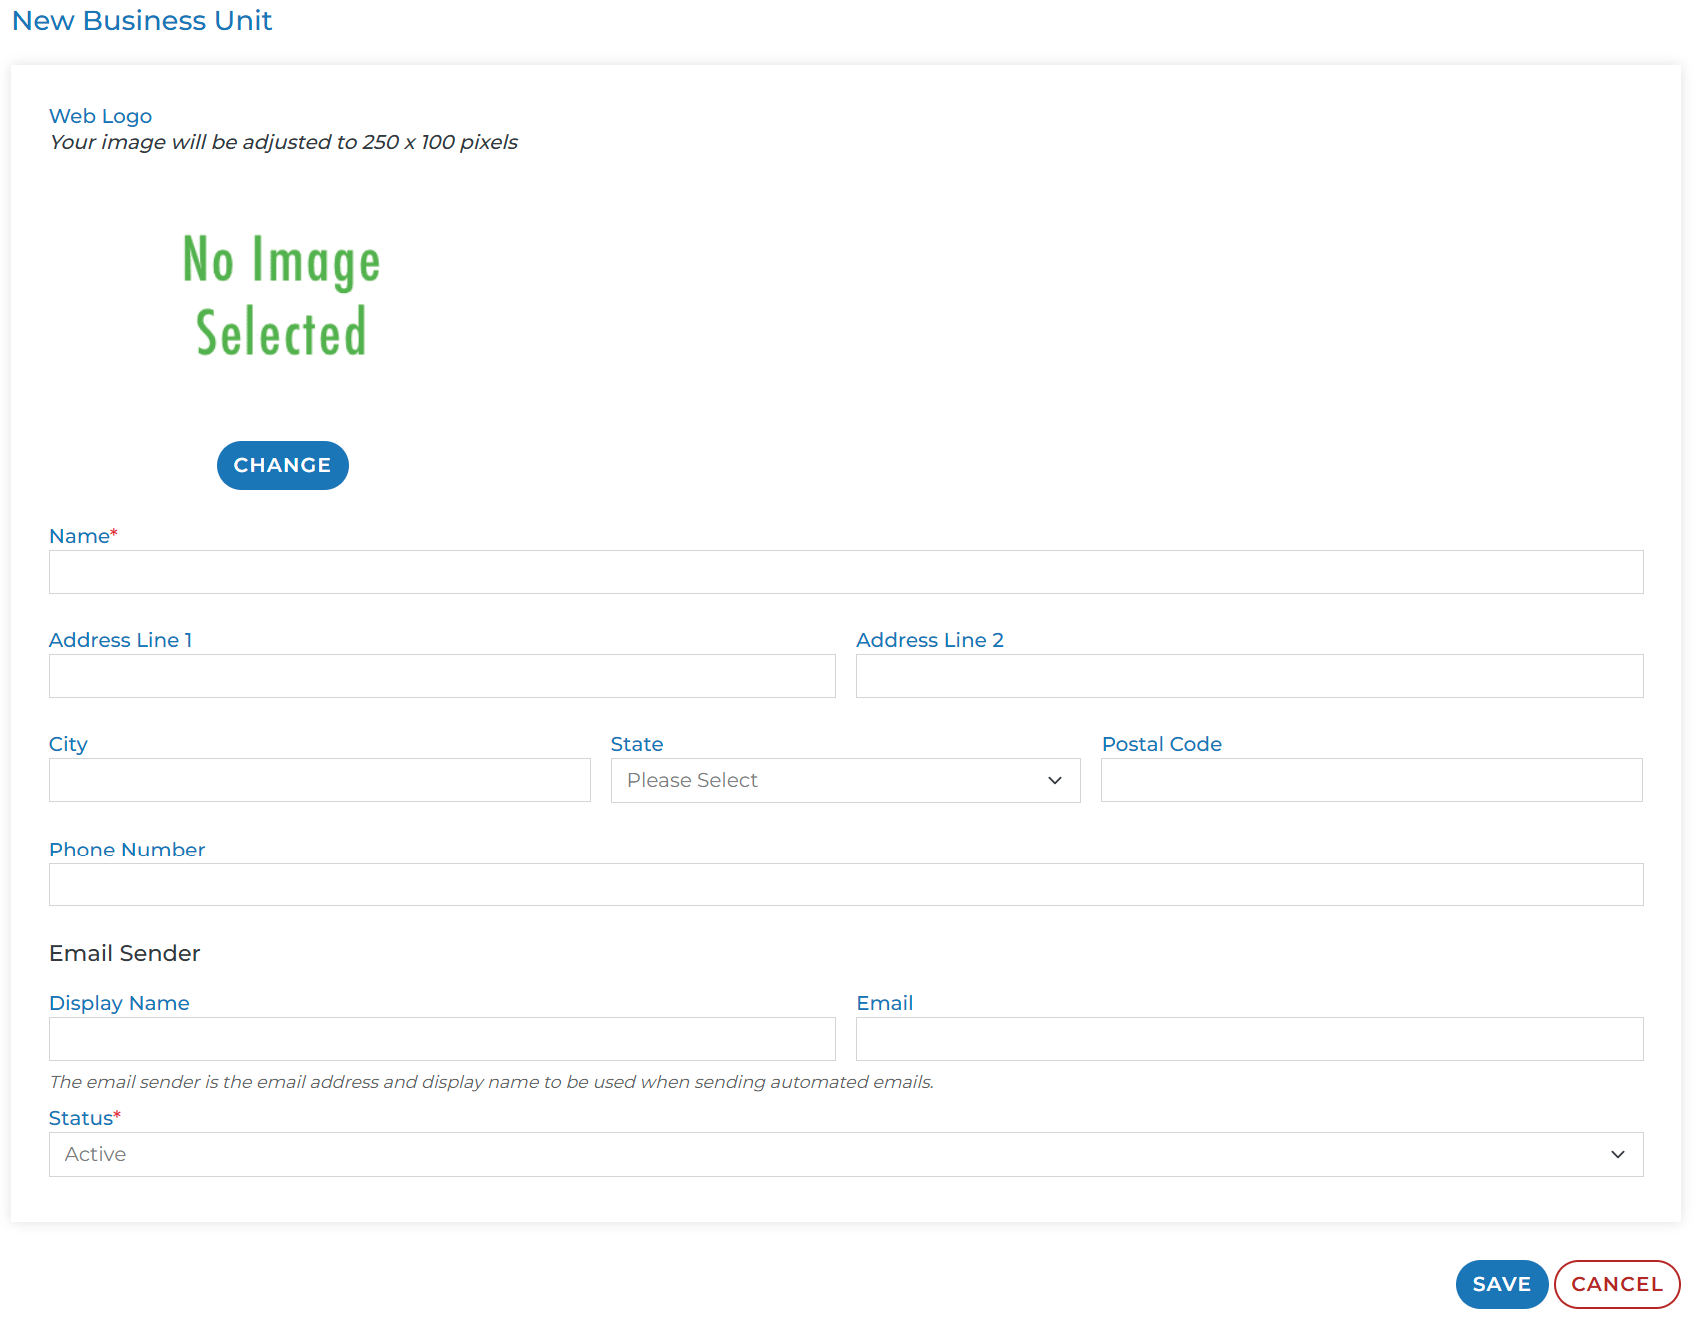
To add a new Business Unit, click the “Add” button and fill out all required fields.

Web Logo: Although the web logo is not a required field, we recommend populating one as this will appear at the top of a contact’s live view of a workspace.
If a web logo is not populated, we will use the logo of your Engage Install (Company logo) in it’s place.

Name: This is the only required field for a Business Unit. This name can be anything but should be distinguishable from the other business units as well as your company name.
Email Sender: These fields control how notifications via the platform appear to recipients.
If both display name and email are not populated, notifications sent to your users and contacts will come from “notifications@proteusengage.co”
Status: A Business Unit will be created in “Active” status by default. This means the business unit will be able to be selected when creating new workspaces as well as added to existing workspaces. Pending status will allow you to save information, but will not make the Business Unit visible. Inactive status can be used for those Business Units that you no longer want to use. Workspaces can still belong to an inactive business unit, those workspaces are just hidden from the active view. But they can still be searched for in the workspace management UI.
Edit Existing Business Units
Once Business Units have been created, you can edit the logos and information of existing business units by navigating to the Business Unit management UI under your hamburger menu.

Click the “View” button to the right of each business unit to edit the fields of that business unit.
