
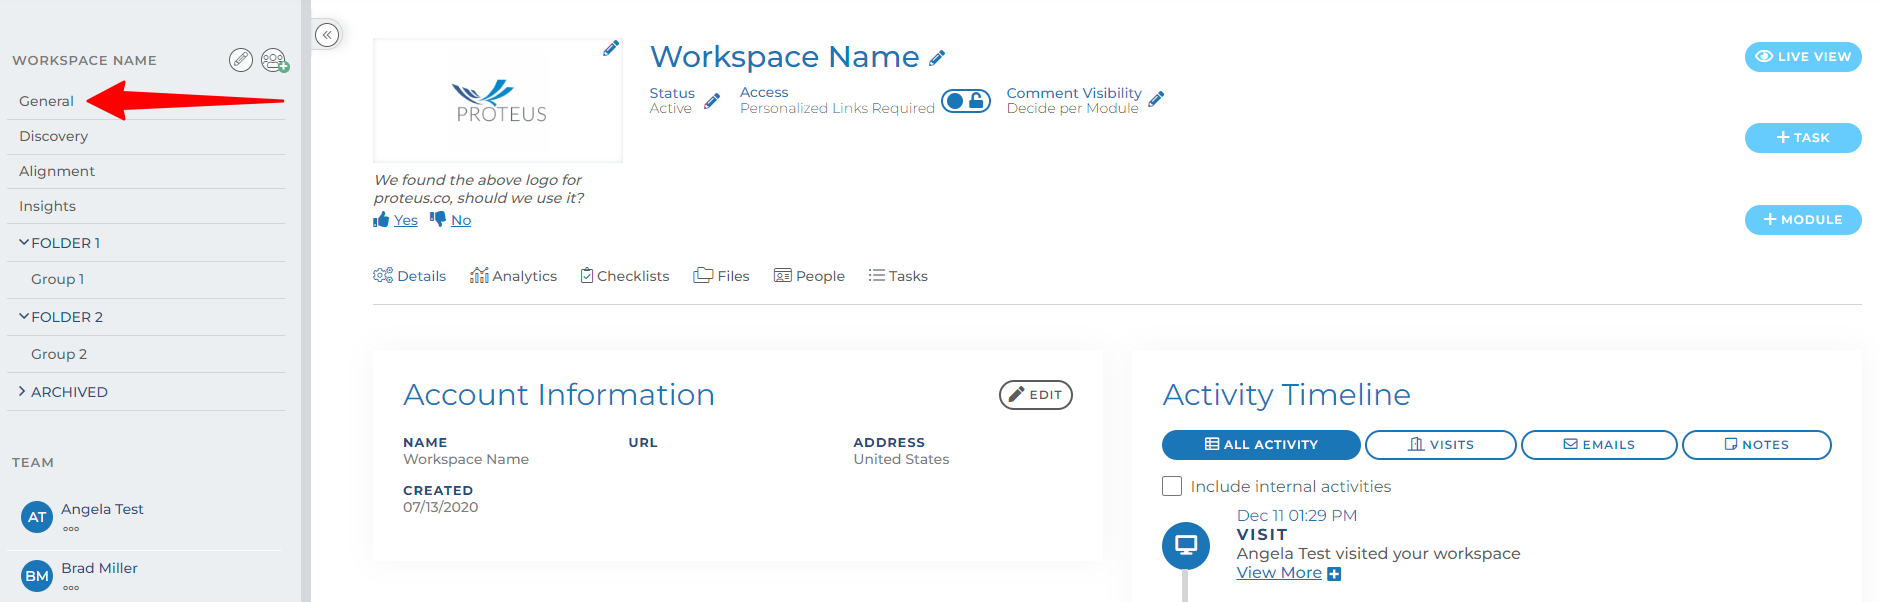
Customizing or Editing a Module
When working in Engage, there are two words that you will hear frequently:
Workspace - The page created for a client that contains all of your shared messages and materials
Module -The specific units on the workspace that share information with the contacts
The information included in a module may include any of the following: videos, images, GIFs, text, documents, PDFs, or any other files you may want to share. Customizing modules to share the content you want in the way you want, is the art of mastering Engage. This page will give you a brief tutorial on how to place and edit any module on a workspace.
Step-by-step Guide
To add a module to a workspace:
From the workspace listing page, click on the workspace you want to add a module to.
When you enter a specific workspace, you will be directed to the "Details" tab by default
In order to add a module to a workspace, you need to open a group. You'll find the list of available groups on the left side panel
Each workspace is always created with a group called "general."
The general group is automatically accessible by all active contacts.
Other groups can be added by reps or contacts at any time. You can learn more about creating groups via this article.
The "general" group may be renamed by request. But the new general group name will be applied across all workspaces.
Click on the "general" group. This will open the group feed.
Once in Edit View, click on the + Module button in the top right corner
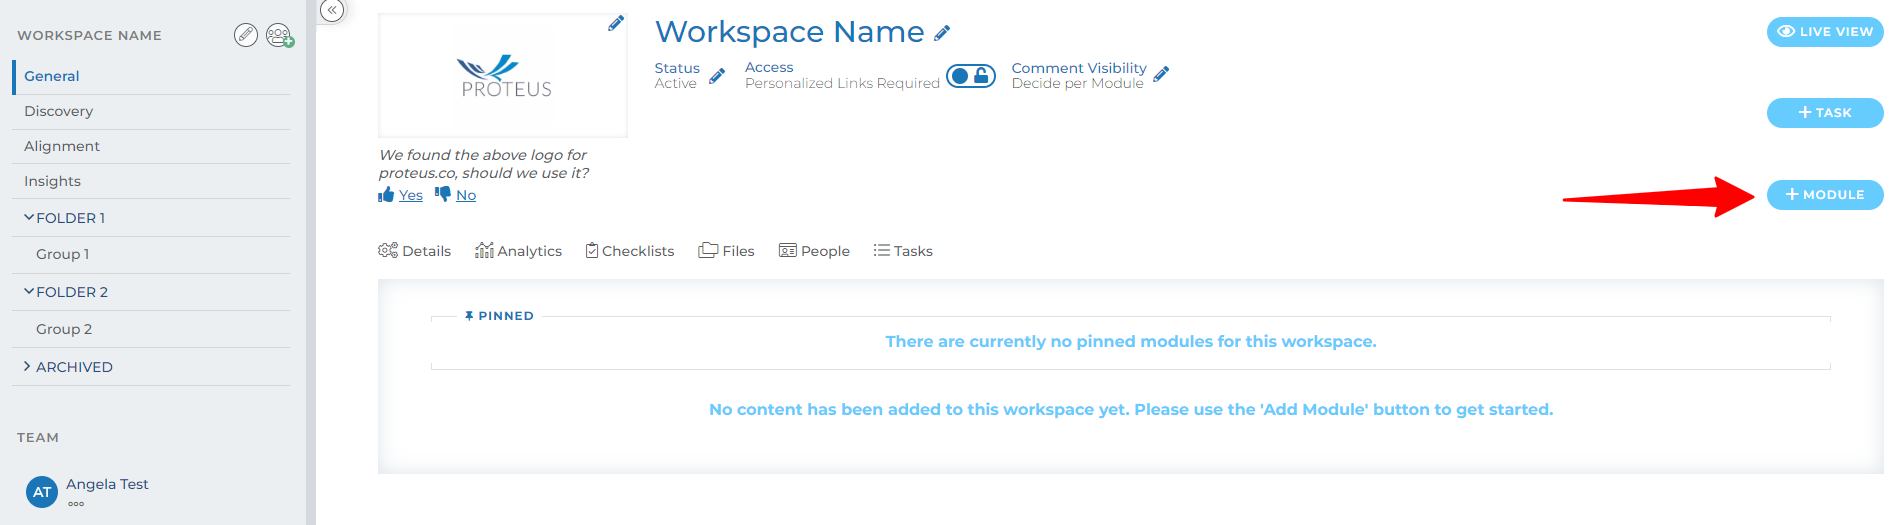
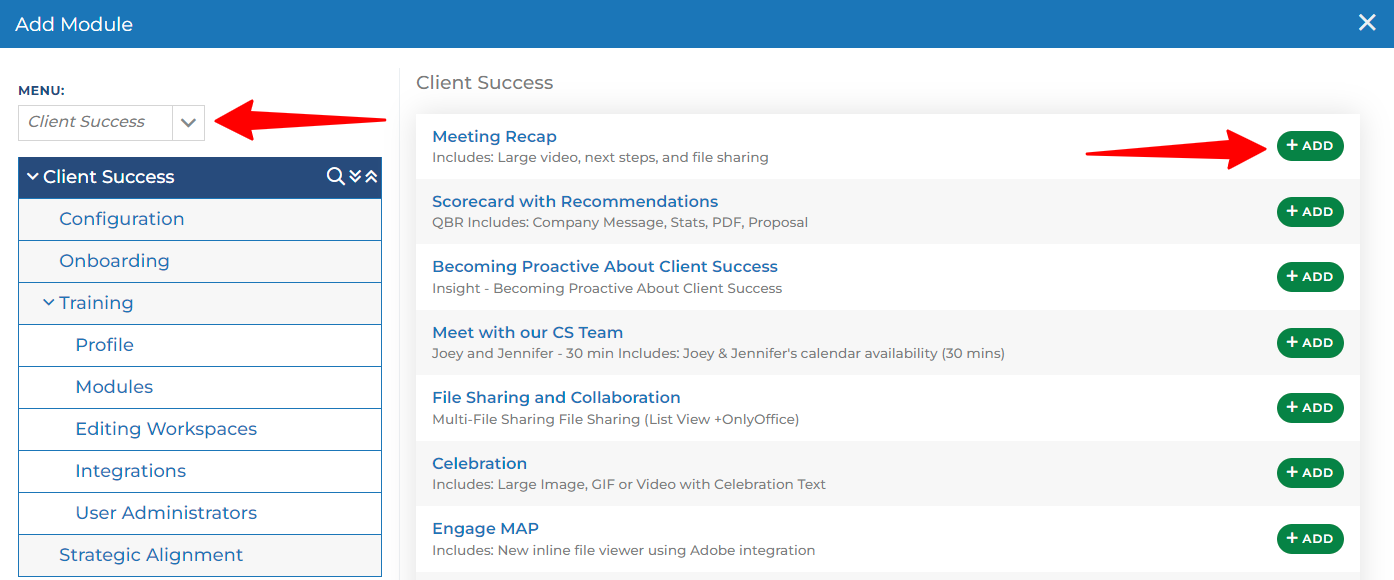
After you click the + Module button, your module menu will pop up in the middle of the screen.
Select the module you wish to place on the workspace from the module menu.
There may be several menus that you have access to as a rep.
Click the "add" button next to the module you wish to add to the group feed.
Once your chosen module is added to the workspace, you will see the default information that included in the module. You can choose to edit or customize any of this information.
Modules are automatically added in a "hidden" view, meaning they are not published or visible to contacts yet. They are not viewable until you choose to publish them.
To customize or edit a module:
To customize or edit any information on a module, click on the horizontal ellipsis icons in the top center of every section of the module that you are able to customize/edit.
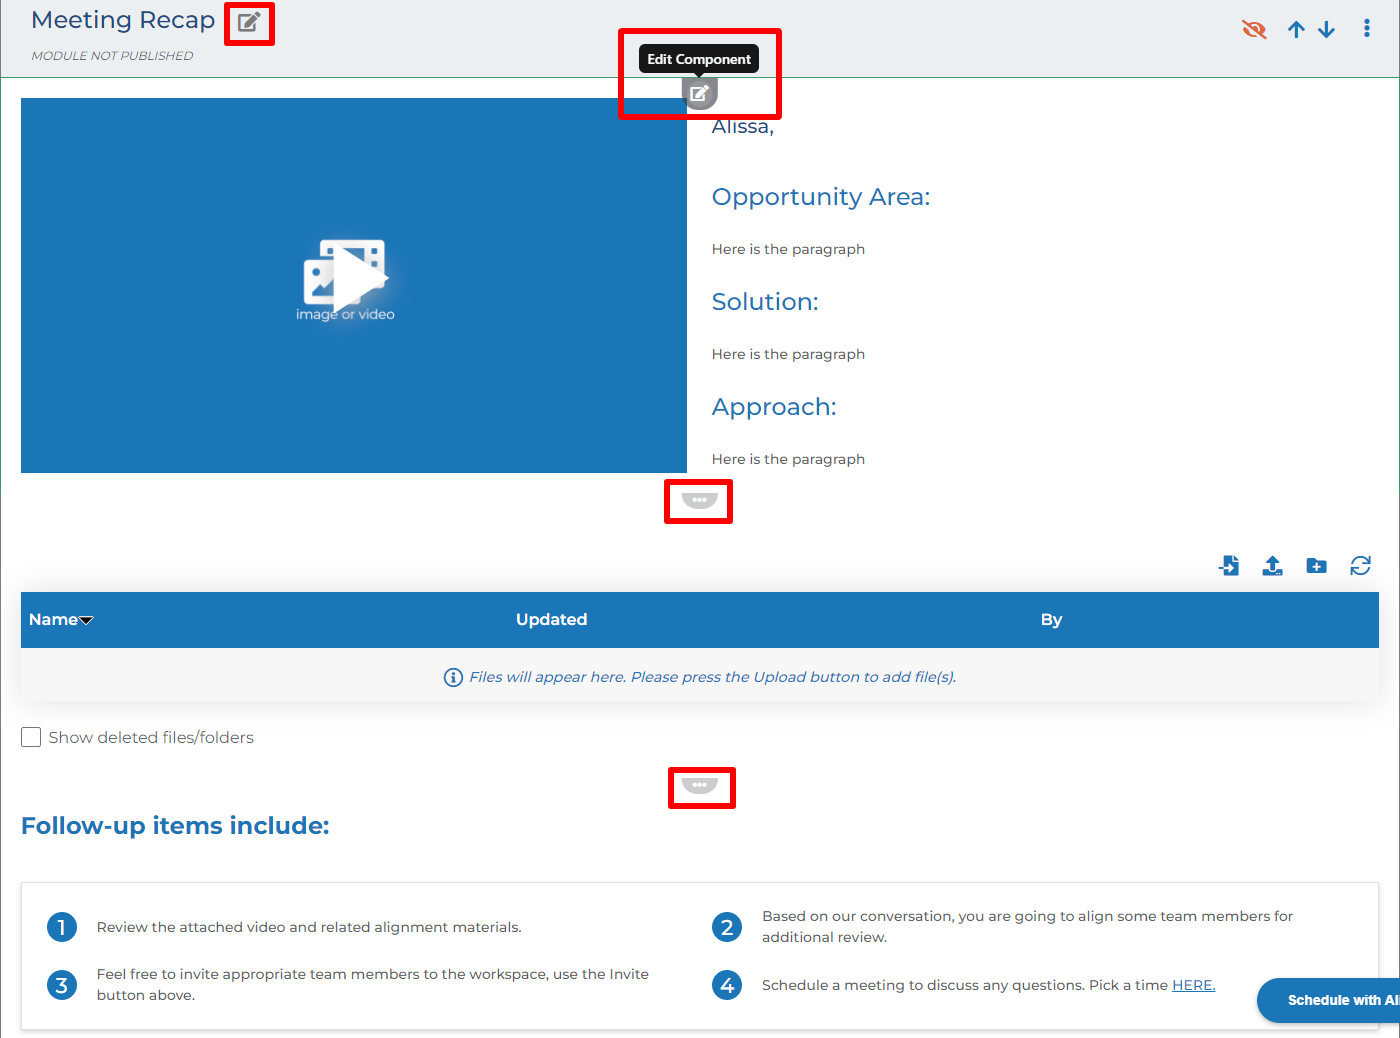
A pop-up will open with the content that you can customize.
You can select "Copy from Library" to load any content that has been previously created by your content team and placed in the asset library.
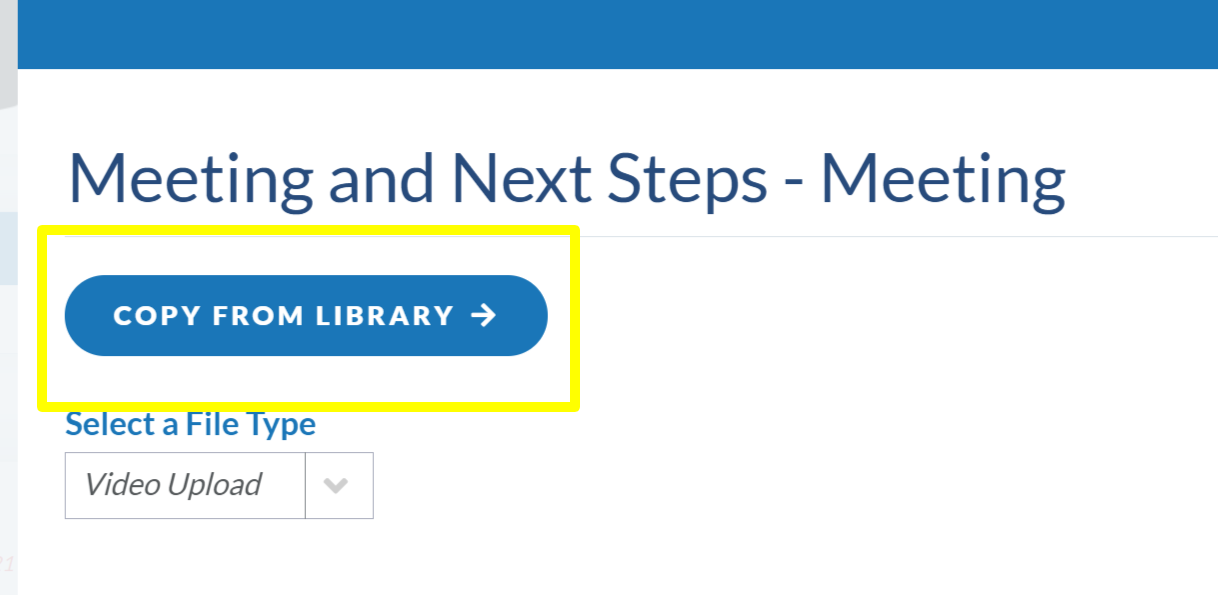
For images, videos, or GIFs, you will choose from a dropdown to select the type you want and then upload the appropriate file.
Text modifications are done in a text editor box with the ability to modify formatting, add links, or change font appearance as needed.
Once every area in the pop up is completed to your liking, click Save and Exit to place it in the module.
Continue editing all sections of the module in order to complete the customization. (Don't forget the title of the module where you must click the green checkmark after you have finished editing to save your changes. )
To notify contacts that a new module has been placed:
Once your module is on the workspace and you have customized it to your liking, then you are ready to publish it to the live view. Click on the orange eyeball icon to set the module to publish.

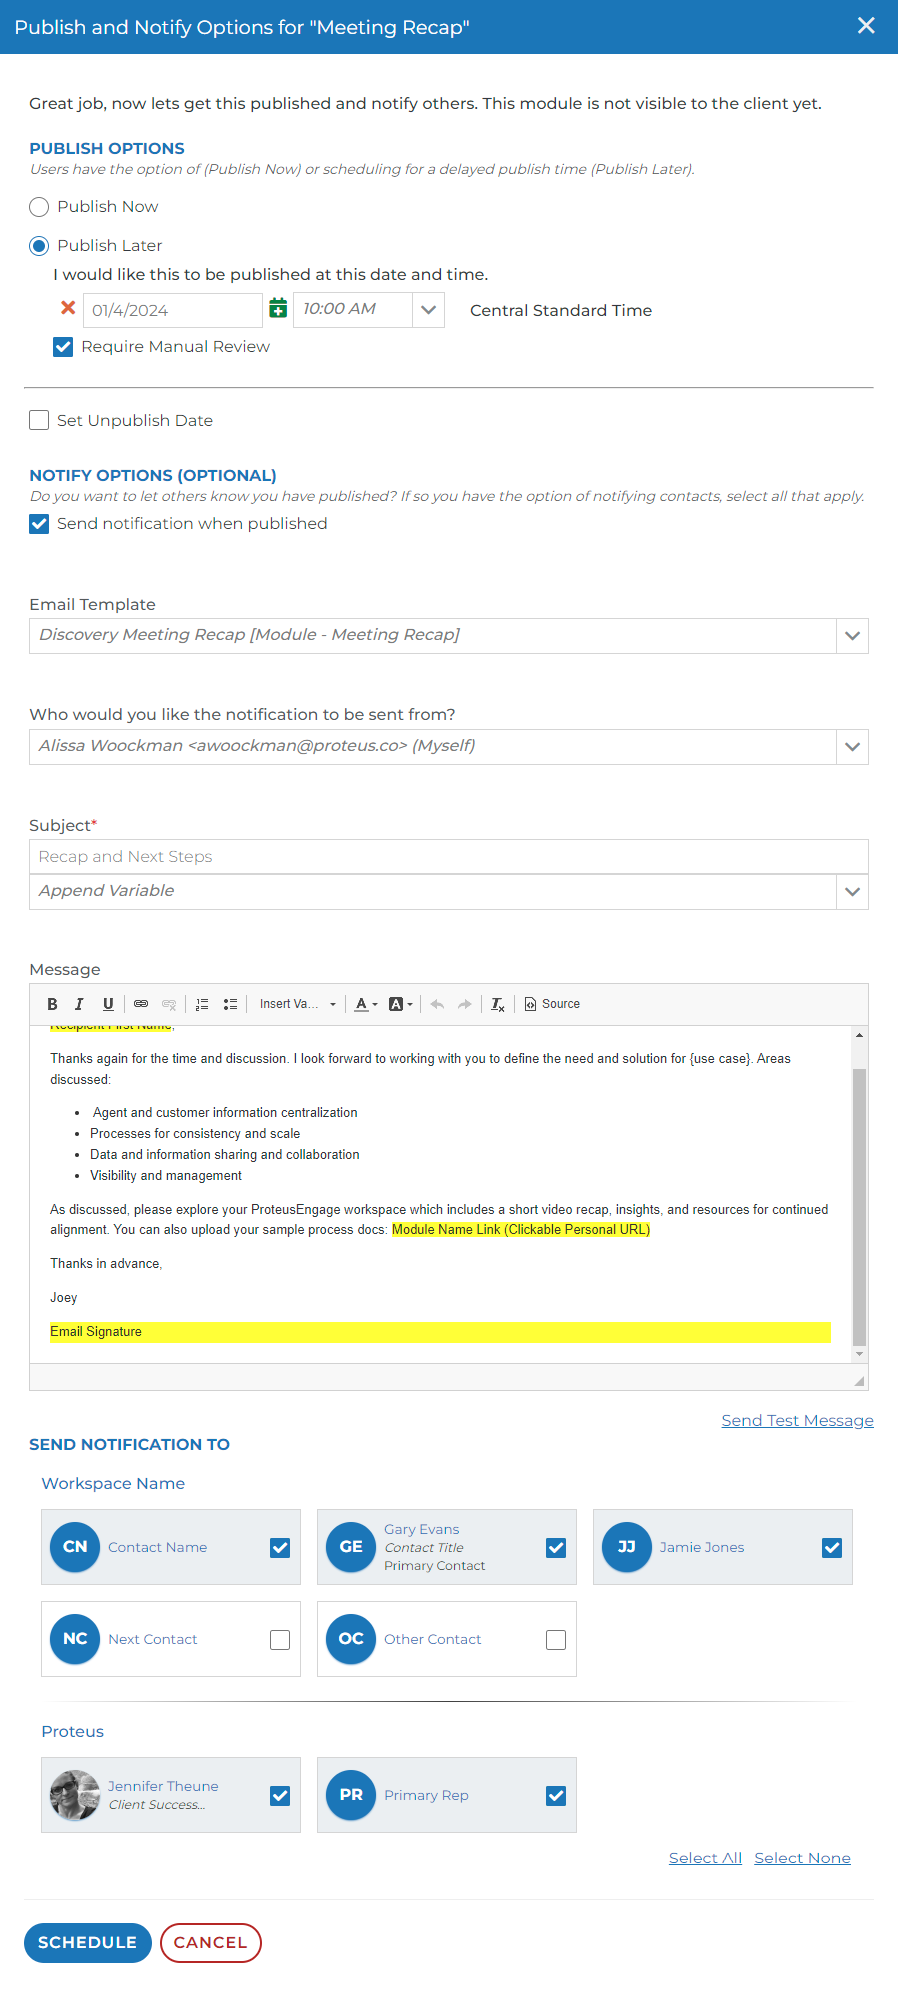
Once you click the icon, a pop up will appear that gives you options for publishing now or scheduling the publication for later, as well as the ability to set the unpublish date in the future if you know it will no longer be valuable after a specific date.
If you choose Publish Later option, you can also opt in to create a review task by clicking on "Require Manual Review" checkbox. This will create a task for the primary rep of the workspace to review the content before the module is published and visible to and notification emails are sent out to all workspace members.
When the module is published, you can also notify the workspace members by checking the "Send notification when published" checkbox. An email editor will show below the "Send notification when published" checkbox and you are able to choose the individuals you would like to send the message to, who you want the message to be from, and the actual content of the message itself.
You can select from available email templates that are attached to the module.
You can also insert variables into the email such as contact's first/last name, workspace name, company name, etc.
Each email should always contain the "Module Name Link (Clickable Personal URL)" variable which will direct the contact to their view of the module inside the workspace.
Once the email is completed, you click the Publish/Schedule button at the bottom of the dialog.
If you choose Publish Now option with email notification, emails will be sent out immediately to selected individuals after you click the Publish button.
If you choose Publish Later option with email notification, emails will not be sent out when you click the Schedule button until the module is published. And hence, you can cancel the publishing at anytime if you change your mind.
NOTE: Editing a module on a workspace will not save that content for future use, or 'save over' the content from the library. If you would like to add your new or edited content to the asset library, please contact your content manager or your ProteusEngage Client Success Manager.
Questions? Please click the "HELP?" button in the upper right corner of your Engage screen or contact support.