
Importing Workspaces
If you have multiple workspaces you want to create at once, take advantage of our Workspace Import feature. This allows you to create multiple workspaces at once using an import csv file.
Here’s how:
Log in to your Engage platform. You URL should look like this: "https://[company name].proteusengage.co/".
Once logged in, you will automatically be redirected to your workspace management page. This page displays all workspaces in an active status that your user has permissions to see and manage.
On this page, click the “IMPORT” button

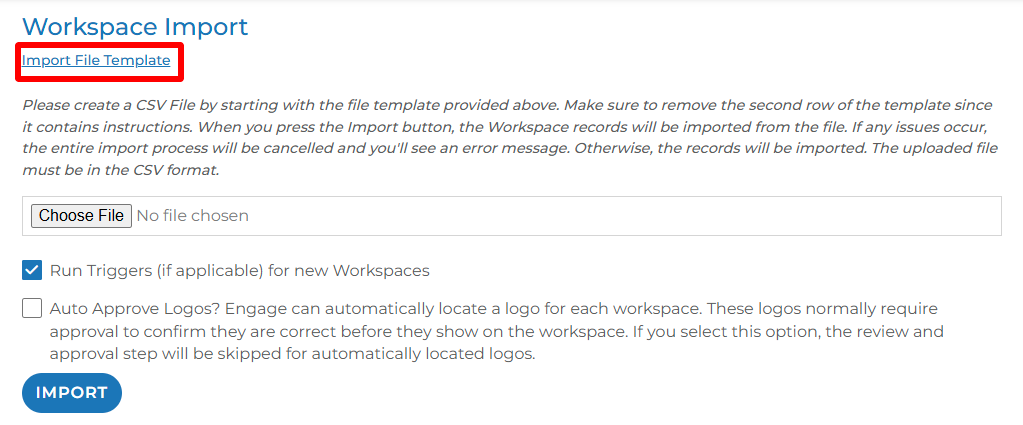
Once the import dialogue box is open, you’ll notice instructions on uploading a csv file containing the information for each of the workspaces you wish to import. Download our “Import File Template.”
Your import template will be specific to your Engage install as it contains
Row 1 of this csv file will contains all the proper column headings.
Row 2 contains a more detailed version of each column heading and if that column is required in order to upload. Once you have your data populated, delete row 2 (as this row contains reference guides for each column and should not be uploaded).
The only required fields inside the import file are:
Workspace Name: "The workspace name might be a company name or the name of the person when not a company.
Contact’s Email Address: To create a workspace with multiple contacts, please include multiple rows with the same workspace name.
We do strongly recommend you populate: first name, last name, and workspace status column as these are used in email notification variables.
Once you have all the data you need inside the template file, save this file as a csv on your computer and give it a new name for reference.
Click the “choose file” button. Select and open the file you just saved.
Click the “import” button.
Run Triggers (if applicable) for new Workspaces checkbox: This will ensure automations that have been built will run for these newly created workspaces appropriately.
Auto Approve Logos checkbox: Each workspace has an option to display a logo. Logos are suggested based on the email domain of the contacts and/or the website inside each workspace. This checkbox will add the first suggested logo to each workspace. These can be manually updated later if needed.