
Adding a Workspace Logo
When creating a workspace you can (and should) include the logo of your prospect or client to further customize and enhance the look/feel their workspace. See instructions below for finding and adding a logo to your workspace.
Engage will populate a suggested logo based on the email address of the contact's within the workspace.
Engage will populate a suggested logo based on the account website of the workspace (found in Workspace Information section of the Details tab of the workspace).
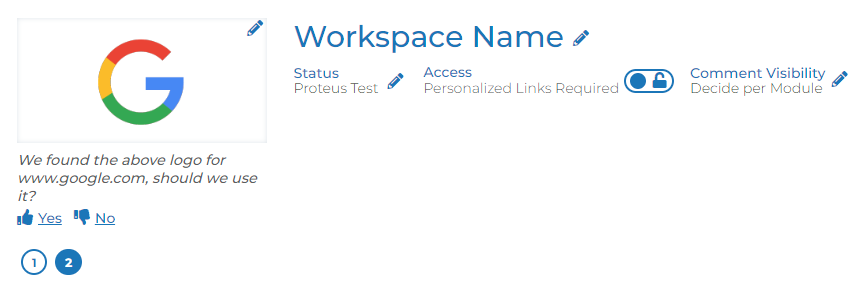
- If you click the yes (thumbs up) option, the logo will automatically be applied as the workspace logo.
- If you click the no (thumbs down) option, this logo option will disappear and move to the next suggested logo (if more than one is found).
- A dialogue appears where the user can submit a reason (optional) as to why the suggested logo was not accurate. This helps Engage improve in its logo suggestion.
- If you decide you want to use one of the logos you previously rejected, you can do so:
- Clicking the pencil icon in the upper right corner of the logo box.
- There is a "logo suggestions" drop down where all of the suggested logos are stored.
- Once opened, you can click the "import" button next to any logo you'd like to use.
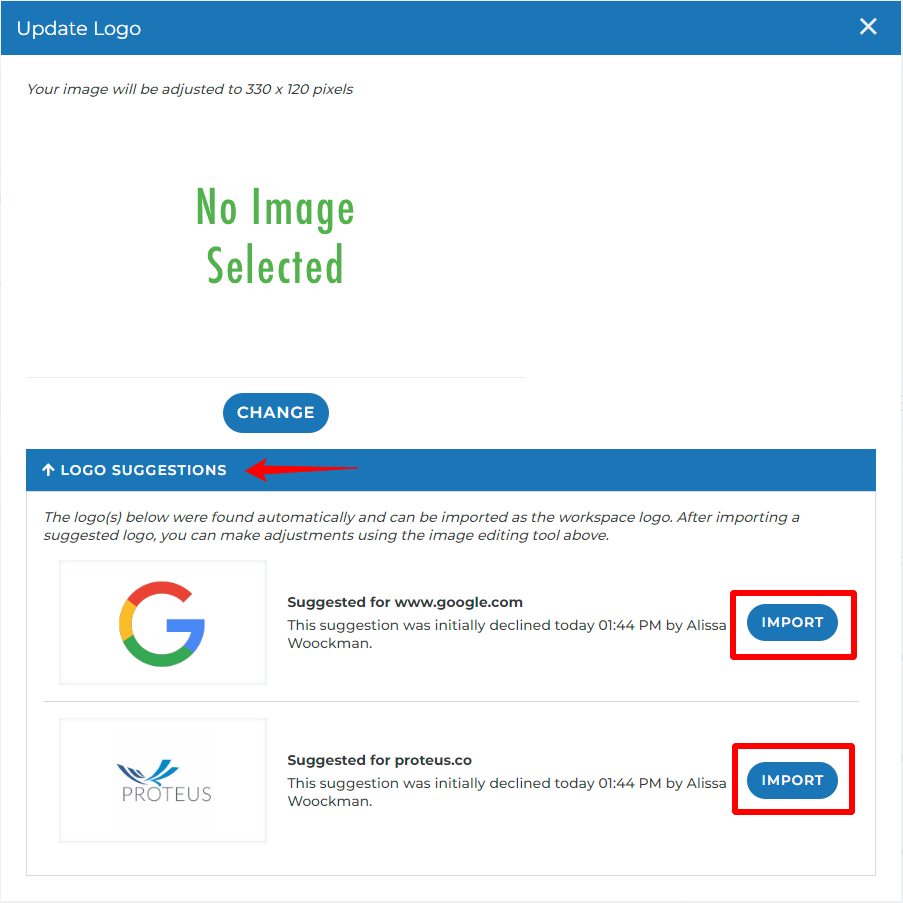
This will automatically apply this logo as the logo for the workspace.
If Engage can not populate a logo for any of the above, the user can always find, download, and import an ideal logo for your workspace:
Here is how to find an image for your workspace logo:
- Google the name of your prospect and click on the Image option

- Locate the logo that you are looking for and click on it to open a preview on the right hand side of the screen
- Right click on the image that shows in the preview and click "Save Image As"
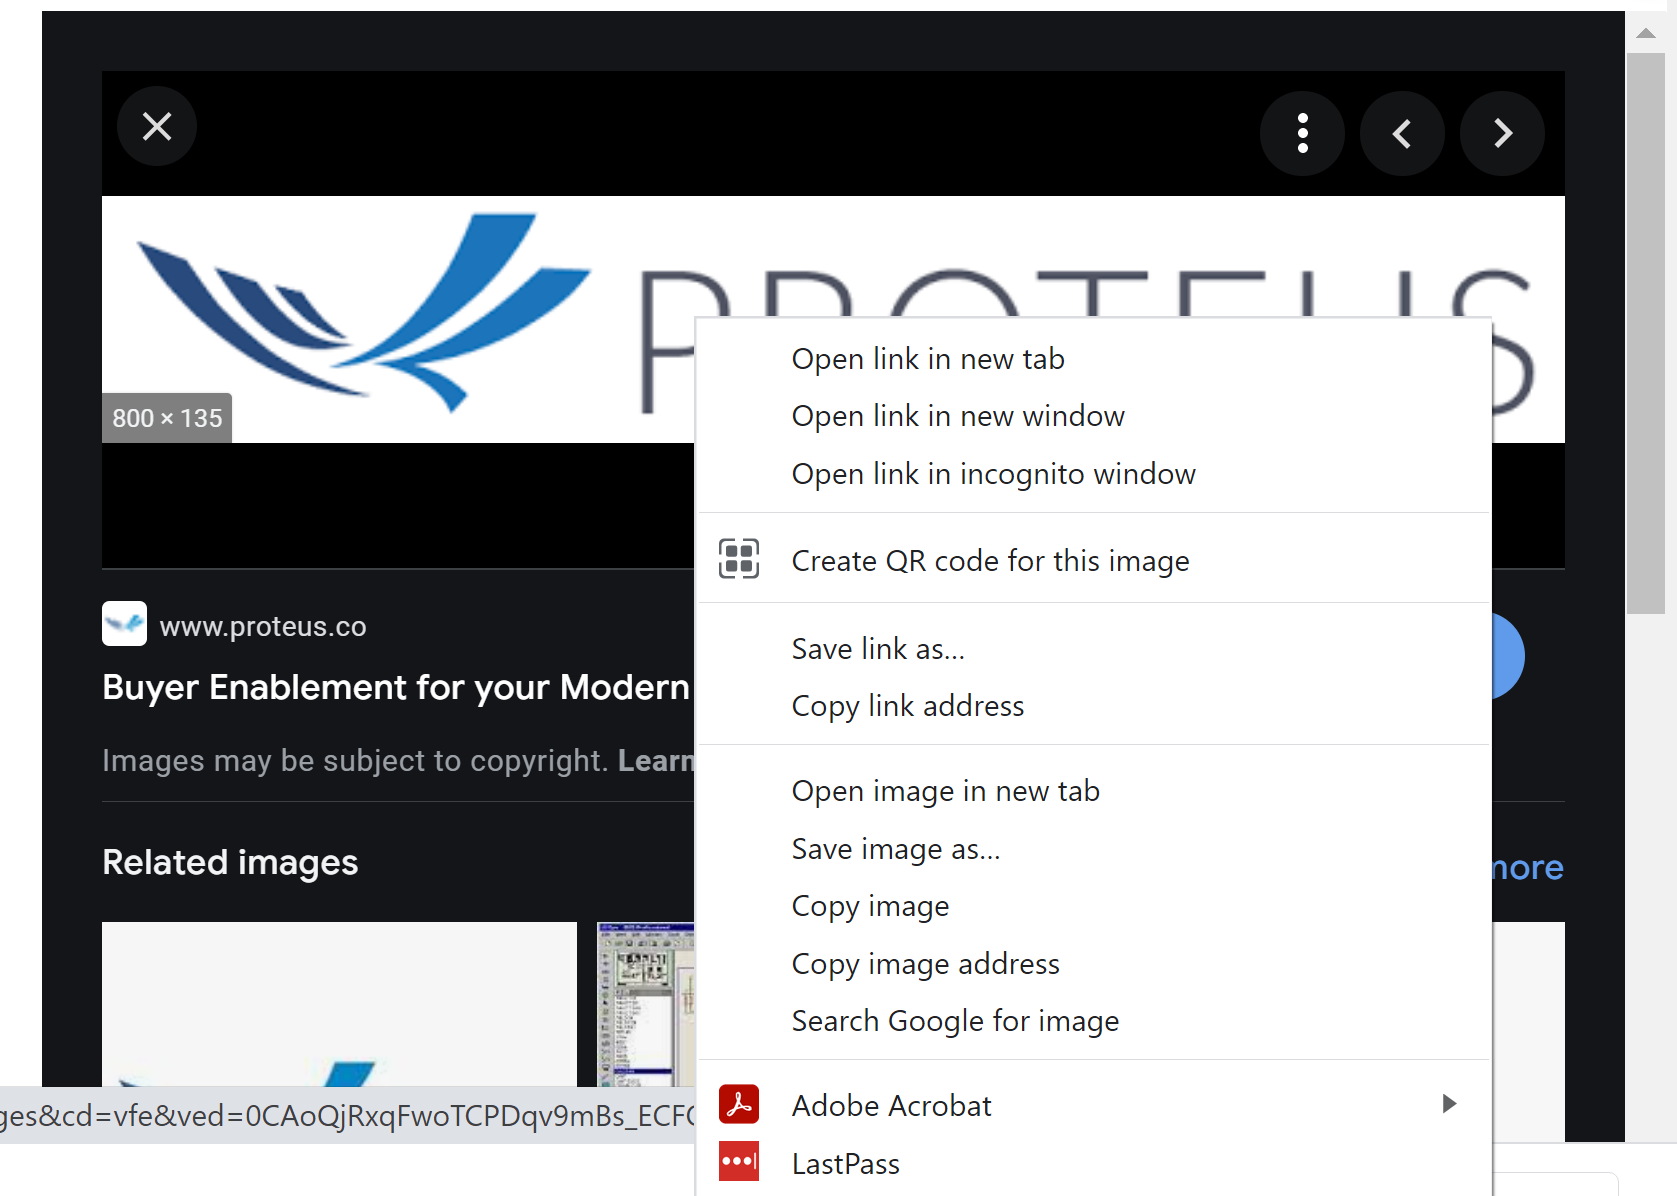
- Save the image on your computer, and then go back to the details page of your existing Engage workspace.
Adding the Logo to the Workspace:
There are two ways to manually upload an image as the logo for an existing workspace:
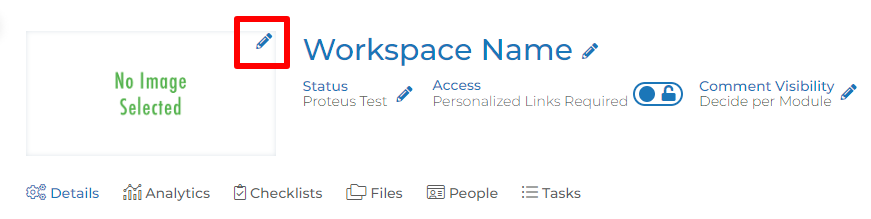
(1) At the top of your workspace detail page, click the pencil icon on the upper right corner of the logo box
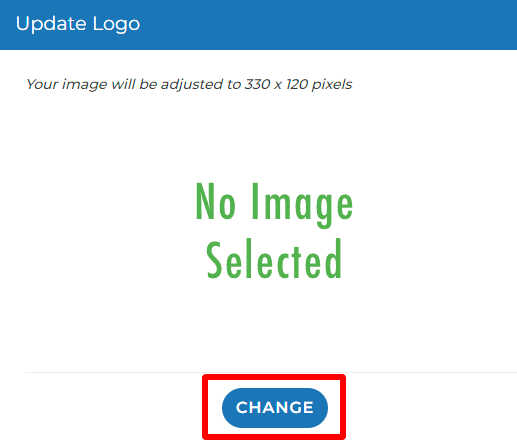
Then click the change button in the update logo pop up
OR
(2) Go to the Details & Analytics page of the workspace and then scroll down to the Workspace Information area and click Edit.png?inst-v=291b74b5-47f8-4e32-8370-1e378bcb2cb4)
Scroll to the Client Logo area and click on the Change button.png?inst-v=291b74b5-47f8-4e32-8370-1e378bcb2cb4)
This will bring up a pop up that allows you to add the logo by clicking on Change the Image and choosing the file from your computer.png?inst-v=291b74b5-47f8-4e32-8370-1e378bcb2cb4)
Adjust the logo to fit within the red border box by using the arrows to expand or contract the sides, anything outside of the red border area (like that highlighted below) will be automatically cropped when you click the crop and upload button.png?inst-v=291b74b5-47f8-4e32-8370-1e378bcb2cb4)
Does your image look not right or having trouble cropping your image? Here is a detailed article of some tips to help.
After clicking the Crop and Upload button,
- If adding logo using option 1 from above, the image will be automatically saved as the new logo for your workspace and replace any logo that was previously imported.
- If adding logo using option 2 from above, scroll to the bottom of the Workspace Information screen and click Submit to apply this new image as your workspace logo.
Verify your new workspace logo:
You can always preview what the logo will look like for the contact by clicking the "live view" button on your workspace detail page.

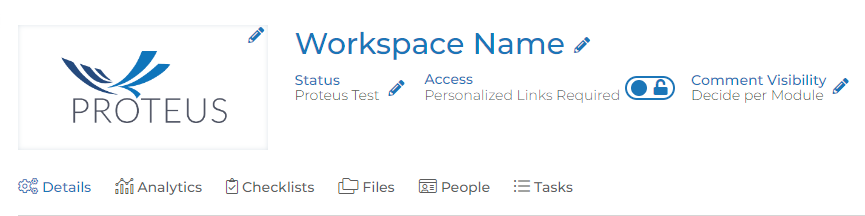
The logo will show up in the upper left hand corner of the workspace, like in the highlighted box below
Questions?
Questions? Please click the "HELP?" button in the upper right corner of your Engage screen or contact support.