Creating Users
Users or Rep Users are your internal team members who have login access to your Engage platform. In order to give these people access to the platform, they need to be added as users in User Management.
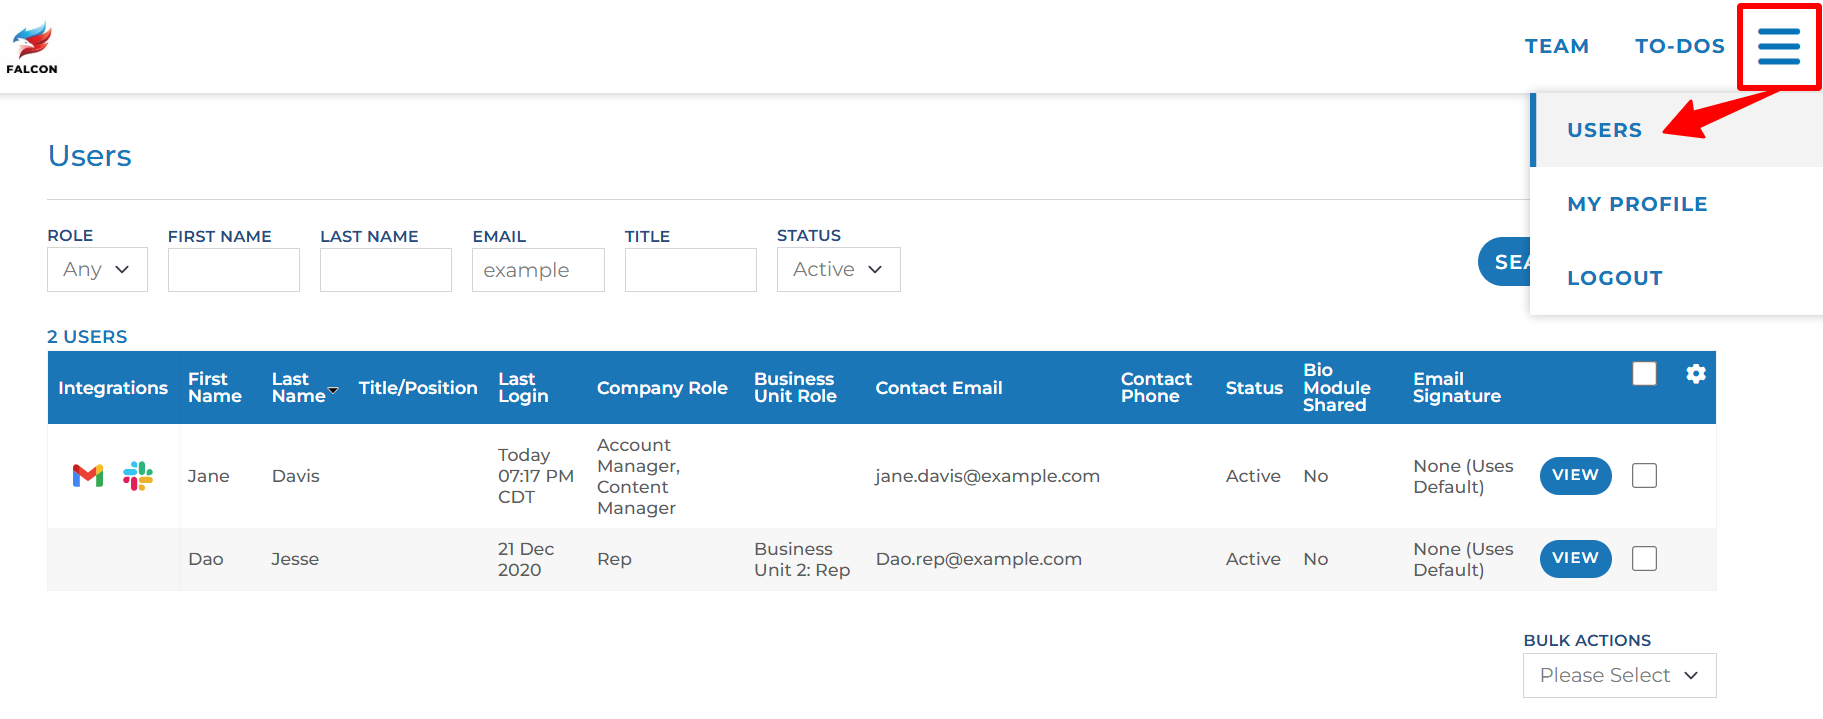
Only users with User Administrator permissions can access user management by clicking the hamburger menu in the upper right corner of the screen and selecting the “Users” option.

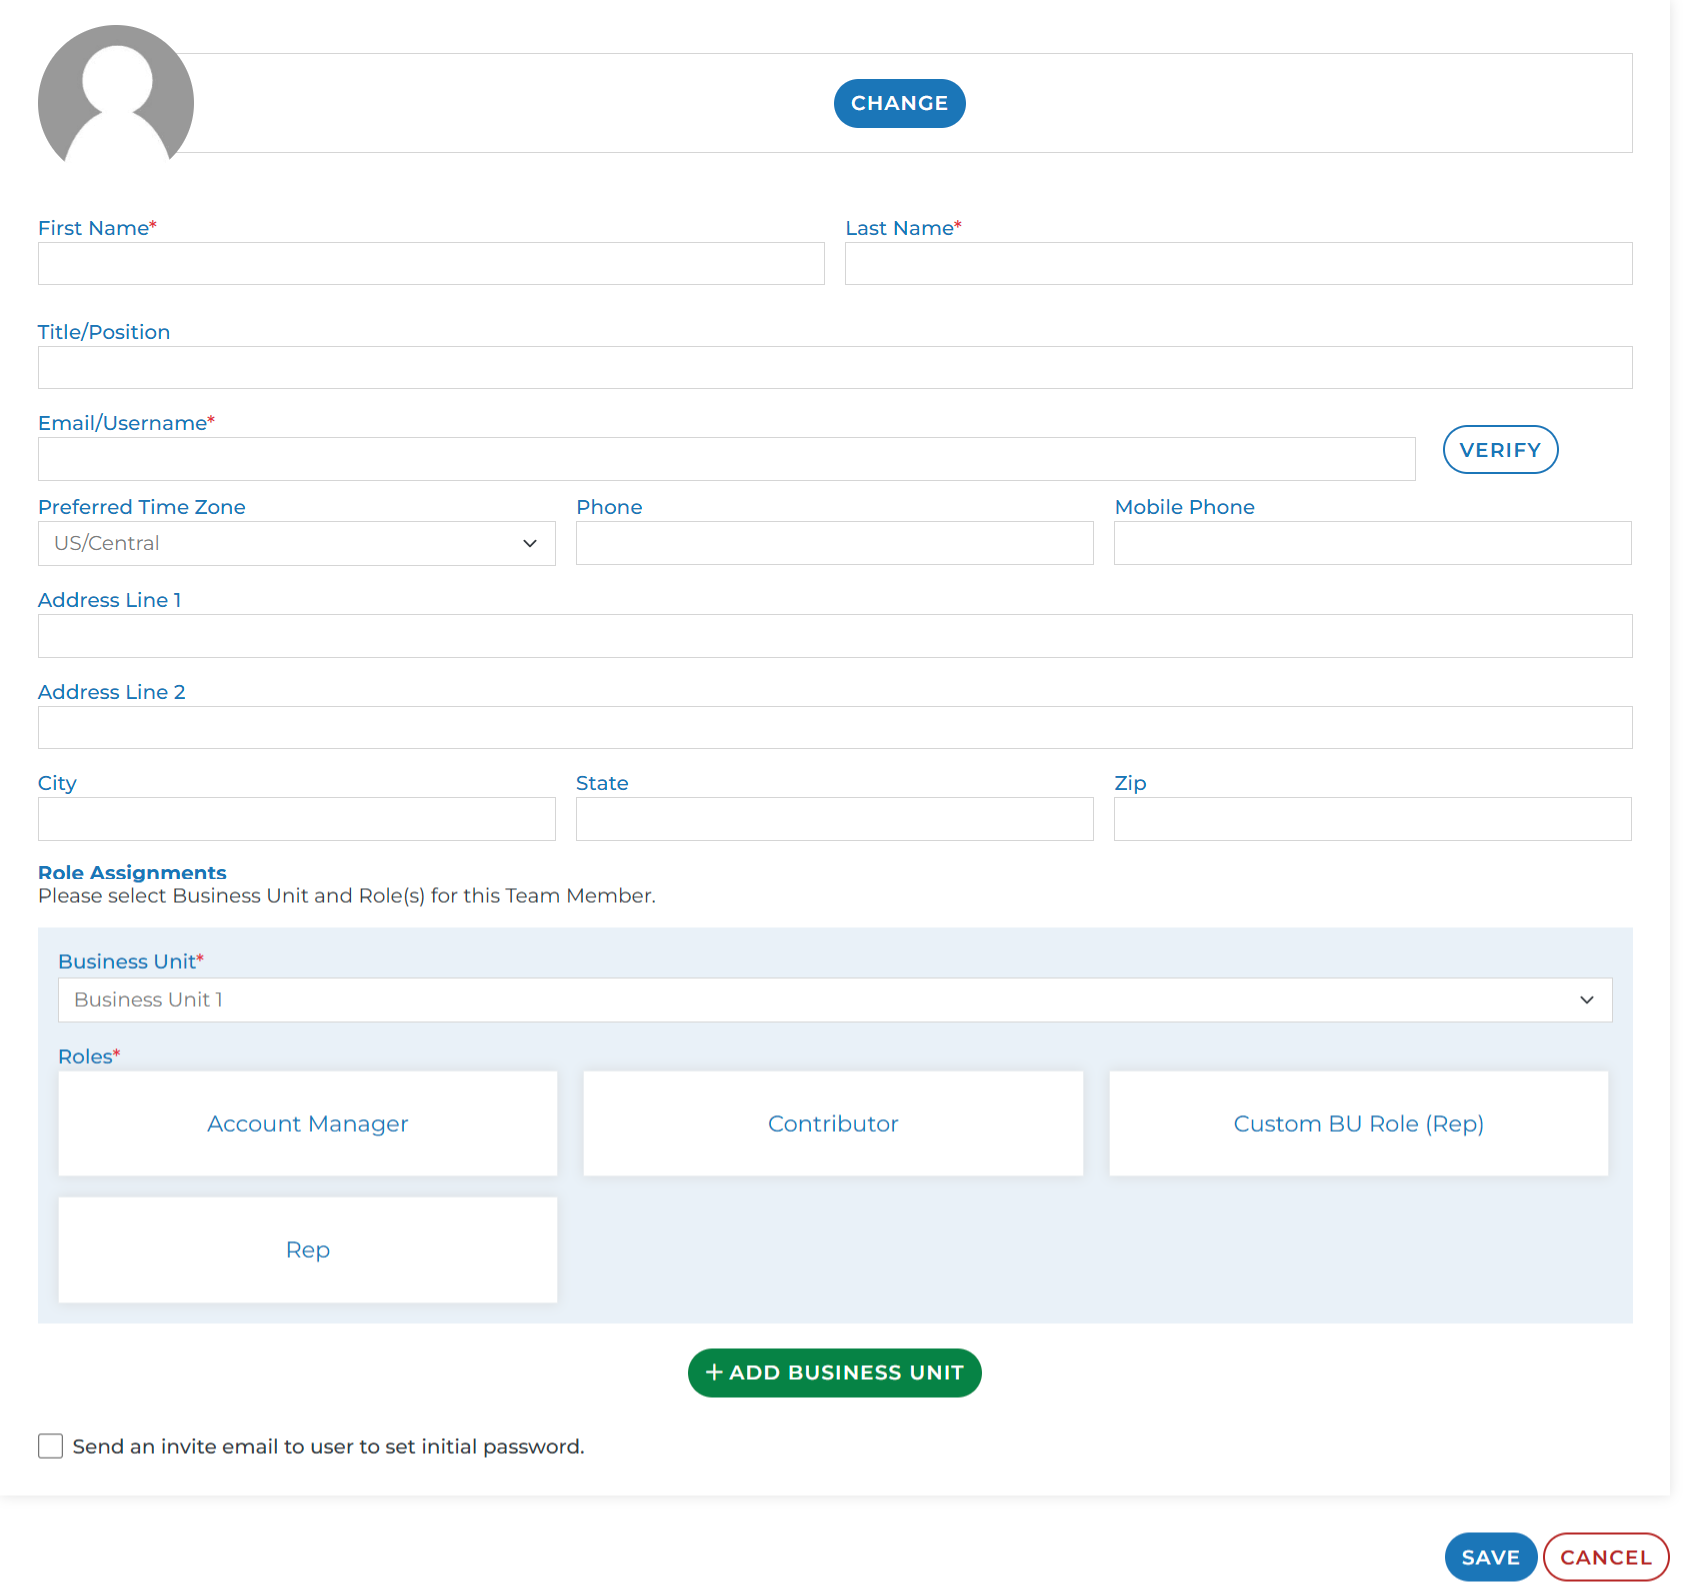
Click the green “+ADD” button on the User Management UI and fill out the corresponding form of the new user’s information.

Photo: This will be added to the user’s profile as well as be visible in the People section of a workspace and the team section of a contact’s live view.

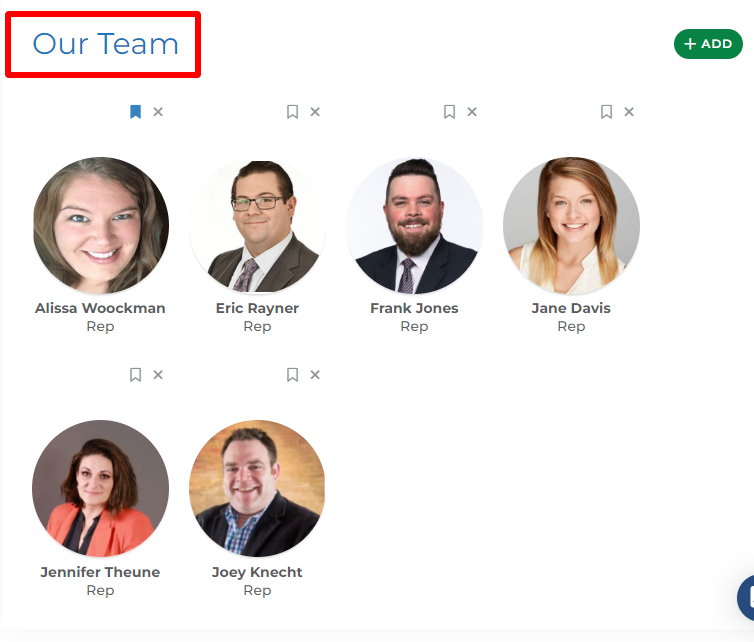
Team Section of Rep User’s workspace view

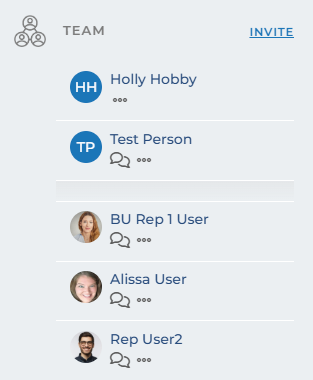
Team Section of Contact’s Live View
Name: First Name and Last name are required fields that must be populated in order to create a new user. Both will display to reps and contacts as shown in the images above.
Email: This email address will be the user’s login name. This should match the email account (Gmail, Outlook, ect.) that the user will later connect their Engage user to in order to send email.
Optional Fields: Title, Phone, Address, City, State, Zip, etc. The title and phone numbers only display in the live view for a contact. But they are hidden by default. If a contact clicks on the horizontal ellipse icon below your name in the team section (shown in image above), those fields will display. The rest of the fields do not display anywhere and are just for reference.
Business Unit: This option is only available for those companies who are utilizing Business Units. If you see this option, Business Units have been configured for your organization and one will need to be selected.
Roles: You must give this new user at least one of the available roles. You can select multiple roles if applicable. To learn more about which role you should choose, review this article. You can always edit these roles later by via a user’s Role Assignment tab.
The user can always populate or change any of these fields via their profile once they gain login access to the platform.
Invite Checkbox: You’ll notice there is a “Send an invite email to user to set initial password” checkbox. If you check this box, upon saving this user record, an email will be sent to the email address you populated in the email field above. The email will contain their specific link to the platform where they can set their password.
This email will come from “notifications@proteusengage.co” so be sure that your user accepts this email address as a trusted sender. Keep in mind that this link will expire after 5 days. If the rep does not visit that link within 5 days, you will have to resend the set password instructions email. This can be found By clicking the “View” button next to the user in User Management and selecting the “Send Set Password Instructions” button on their user profile.
If you choose not to utilize this checkbox, you can send the user a manual email with the URL of your company’s Engage install and the user will need to request a password reset email manually.
Once all required fields are populated (indicated by red asterisk), you can click the “SAVE” button to create this new user.
